
Understand Dreams of Aether item categories. Learn where to find Consumables and other items to maximize their strategic potential for Aethernauts.
Understanding the different item categories in Dreams of Aether is crucial for efficient exploration, combat, and character progression. This section breaks down every major item type, detailing where to find them, their primary uses, and strategic tips for maximizing their potential.
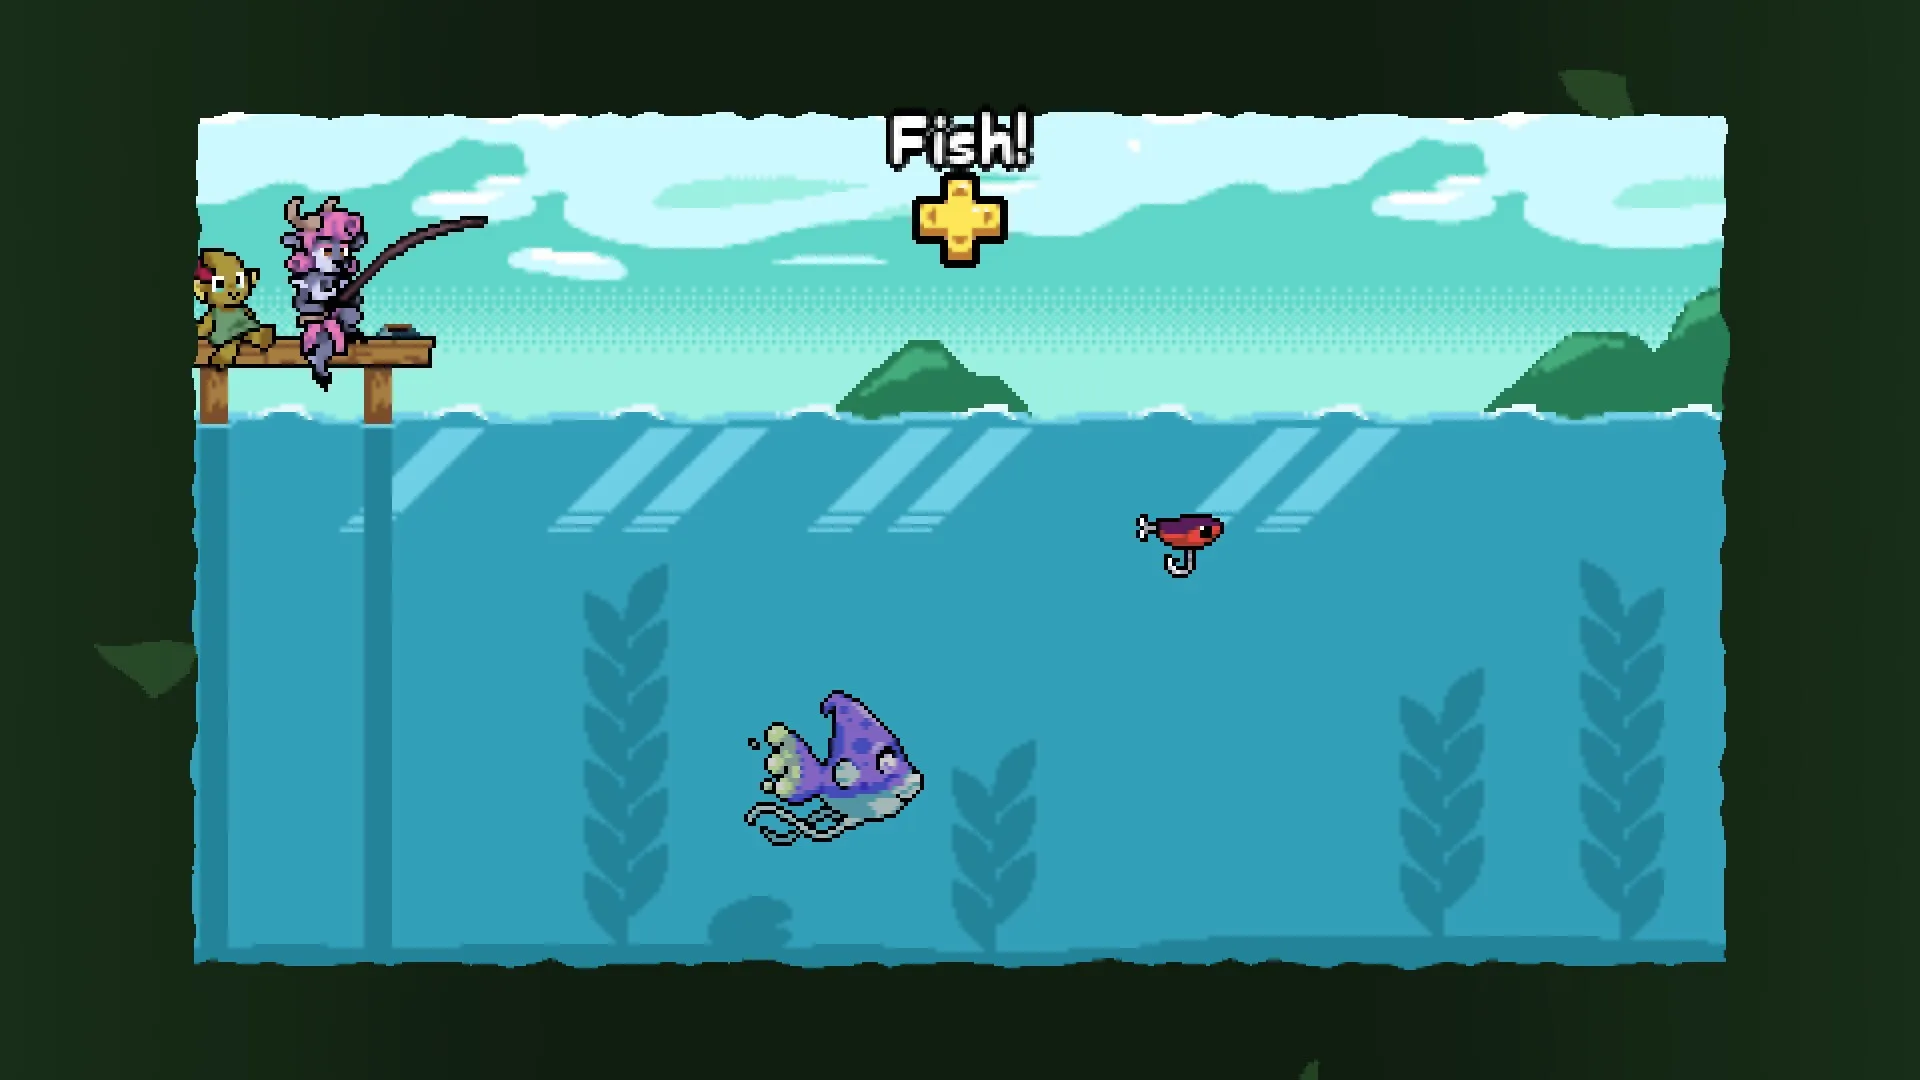
Consumables
Consumables are single-use items that provide immediate benefits, often critical for surviving challenging encounters or recovering from damage. Always keep a healthy stock!
- Aether Vials: These glowing vials restore a portion of your Aether Gauge, essential for activating powerful Aether Arts.
- Location: Commonly dropped by defeated enemies in the Whispering Woods and the Sunken City. Can also be purchased from the Wandering Merchant in the Sky-Docks for 50 Glimmer per vial.
- Strategy: Save larger Aether Vials (e.g., Greater Aether Vial) for boss fights or areas with high enemy density. Use smaller ones (Minor Aether Vial) for general exploration to maintain a steady flow of Aether.
- Healing Salves: Your primary source of health recovery. Comes in various potencies.
- Location: Found in treasure chests throughout the Celestial Spire and the Obsidian Depths. Craftable at any Crafting Altar using 2x Lumina Petals and 1x Sunstone Dust.
- Strategy: Prioritize upgrading your Healing Salve capacity at the Blacksmith in Aethelburg. During combat, use them strategically when your health drops below 30% to avoid being one-shot by stronger enemies.
- Elemental Grenades: Deal area-of-effect damage and can inflict elemental status effects.
- Types:
- Inferno Grenade: Deals fire damage, inflicts Burn. Effective against Frost Golems in the Crystal Caves.
- Frost Grenade: Deals ice damage, inflicts Slow. Useful against the swift Shadow Stalkers in the Twilight Mire.
- Shock Grenade: Deals lightning damage, inflicts Stun. Excellent for interrupting enemy attacks, especially the charging attacks of the Ironclad Guardians in the Forgotten Foundry.
- Location: Schematics for crafting are found in hidden alcoves within their respective elemental zones. Components are dropped by elemental enemies.
- Strategy: Observe enemy weaknesses. A well-placed Elemental Grenade can turn the tide of a difficult fight.
- Types:
Equipment
Equipment permanently enhances your character's abilities. This category includes weapons, armor, and accessories.
- Weapons: Dictate your primary attack style and damage output.
- Blade of the Zephyr: A swift, one-handed sword.
- Location: Starting weapon. Upgradeable at the Blacksmith.
- Strategy: Focus on quick combos and dodging. Excellent for players who prefer agility.
- Hammer of the Earthshaker: A heavy, two-handed hammer.
- Location: Found in a locked chest in the Ancient Quarry, requiring the Quarry Key from the Foreman's Office.
- Strategy: Slower but deals massive damage and can break enemy guards. Best for methodical players.
- Bow of the Celestial Hunter: A ranged weapon for precision attacks.
- Location: Reward for completing the "Fallen Star" side quest given by Elara in the Sky-Docks.
- Strategy: Ideal for kiting enemies and targeting weak points from a distance. Pair with elemental arrows for added effect.
- Blade of the Zephyr: A swift, one-handed sword.
- Armor: Reduces incoming damage and can provide passive bonuses.
- Aetherweave Vestments: Light armor, boosts Aether regeneration.
- Location: Craftable after acquiring the Aetherweave Schematic from the Arcane Library. Requires 3x Aether Silk and 2x Spirit Shards.
- Strategy: Perfect for Aether Art-focused builds.
- Ironclad Plate: Heavy armor, significantly increases defense.
- Location: Dropped by the Ironclad Guardian mini-boss in the Forgotten Foundry.
- Strategy: Best for tanking hits, especially against hard-hitting bosses like the Colossus of Cinder.
- Aetherweave Vestments: Light armor, boosts Aether regeneration.
- Accessories: Provide unique passive buffs or active abilities.
- Talisman of Swiftness: Increases movement speed by 10%.
- Location: Hidden behind a destructible wall in the Sunken City, near the Sunken Temple entrance.
- Strategy: Useful for exploration and dodging fast enemy attacks.
- Ring of the Aetherflow: Reduces Aether Art cooldowns by 15%.
- Location: Reward for defeating the optional boss, the Spectral Weaver, in the Twilight Mire.
- Strategy: A must-have for any Aether Art-heavy build.
- Talisman of Swiftness: Increases movement speed by 10%.
Crafting Materials
These items are essential for crafting new gear, upgrading existing equipment, and brewing powerful consumables. Always gather everything you see!
- Lumina Petals: A common plant used in basic healing salves.
- Location: Abundant in the Whispering Woods and along the paths of the Celestial Spire.
- Strategy: Gather these constantly; you'll always need them.
- Sunstone Dust: A rare mineral with restorative properties.
- Location: Mined from Sunstone Veins found in the Crystal Caves and occasionally dropped by Crystal Golems.
- Strategy: Prioritize mining these whenever you encounter a vein. They are crucial for higher-tier healing items.
- Spirit Shards: Remnants of defeated ethereal enemies, used in advanced crafting.
- Location: Dropped by Shadow Stalkers in the Twilight Mire and Spectral Wraiths in the Obsidian Depths.
- Strategy: Farm these in the Twilight Mire for early access to Aetherweave armor.
- Aether Silk: A rare, magical fabric.
- Location: Obtained from defeating the Silk Weaver boss in the Arcane Library or found in rare treasure chests within the library itself.
- Strategy: This is a bottleneck material for many powerful items. Prepare for the Silk Weaver fight!
Key Items
Key Items are unique, non-consumable items that unlock new areas, progress the story, or grant permanent abilities.
- Celestial Compass: Points towards the next main objective.
- Location: Given to you by the Elder of Aethelburg at the start of the game.
- Strategy: Always check your compass if you're unsure where to go next.
- Quarry Key: Unlocks the Foreman's Office in the Ancient Quarry.
- Location: Found on the body of a fallen miner near the entrance to the Ancient Quarry, guarded by a Stone Golem.
- Strategy: This key is essential to progress through the Ancient Quarry and obtain the Hammer of the Earthshaker.
- Aetherial Lens: Reveals hidden pathways and invisible enemies.
- Location: Reward for completing the "Echoes of the Past" quest line in the Sunken City.
- Strategy: Equip this in areas like the Twilight Mire to uncover secret passages and avoid ambushes from invisible foes.
100% Human-Written. AI Fact-Checked. Community Verified. Learn how AntMag verifies content