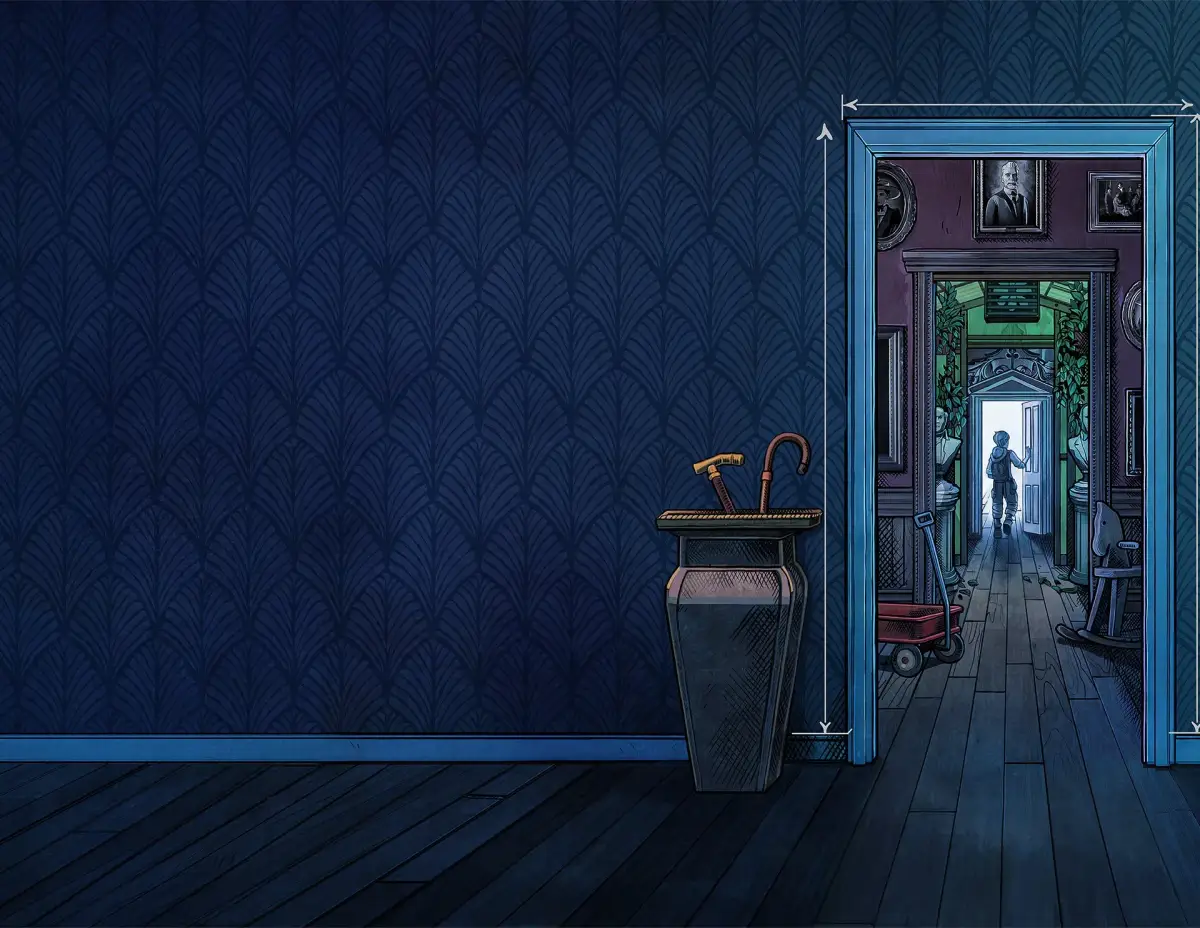
Welcome to Oakhaven, adventurer. Blue Prince, the atmospheric first-person exploration game from Dogubomb and Raw Fury, casts you as a lone soul unraveling the mysteries of a fallen kingdom. Prepare for a story-rich journey where every corner of this atmospheric world holds secrets waiting to be discovered. With full controller support and Steam Achievements, Blue Prince offers a deep, engaging experience for players seeking a captivating narrative and rewarding exploration.
This guide is your key to mastering Blue Prince. We'll equip you to conquer the game's treacherous dungeons, providing strategies for challenging combat encounters and detailing the path to uncovering every secret Oakhaven has to offer. Whether you're aiming for a 100% completion or simply want to overcome the toughest obstacles, we've got you covered.
TRAPS, SWITCHES AND OTHER EVIL STUFF
Master the dungeon's dangers in Blue Prince! Learn about gate-opening/closing switches, level switches, loose slabs, deadly pits, spikes, and cutters. Essential guide for survival.
Throughout the dungeon, there are a lot of trap doors, switches, and insta-kill machines. This guide lists all of them.
Switches
- Gate-opening switch — Used to open a gate barring an area. The gate will remain open for a certain period of time before closing. Once the time finishes, the gate will start to close, bit by bit. The gate will remain open as long as the switch is continuously held (e.g., by dropping a slab on it or killing a guard on it). First appears in Level 1 and is found throughout the entire game.
- Gate-closing switch — A trap used to shut a gate down before its time expires. The gate shuts down instantly with a THWACK! This device mainly wastes time, as the gate you have opened suddenly closes, and you have to press the gate-opening switch again. This device cannot work if it is held down. If the trap is held down by something, and when you open the gate, nothing happens, so the gate can no longer close instantly. .
- Level switch — The switch which opens the door to the next level. Often put in awkward and hard-to-reach places, you normally have to get past some obstacles to hit the switch. Once activated, the door will remain open, waiting for you to step in. First appears in Level 3 and is found in every level.
Traps & Hazards
- Loose slabs — These slabs can be anywhere. They could be below you or above you. The only way to tell the difference between a loose slab and a firm one is by hopping (UP button). Hop and all loose slabs will shake, giving them away. You can run across loose slabs, but remain idle for too long and you go down with it. First appears in Level 3 and is found throughout the entire game.
- Pits — These pits are incredibly deep, and falling into them forces you to restart the level. .
- Spikes — These spikes have sensors that react instantly to any life form within its sensor range. You'll normally find these at the bottom of ledges or pits, but are sometimes placed along the floor. To get across these, take step-by-step, or if you think you can, run and jump over them. You can do short runs across ground-level spikes, but you can never run at full speed directly across them. First appears N/A and is found N/A.
- Cutters — A pair of evil-looking blades that snap shut and open again at intervals. The intervals are slower when there is a guard around and become slightly faster when the guard dies. First appears N/A and is found N/A.
To activate switches, just step on them. To enter the level door, press hop while in front of it, provided the door is open.
LEGEND, TERMS AND REFERANCE
Complete walkthrough for Blue Prince Level One: The Great Escape, including item locations and enemy strategies.
Stuff To Pick Up: 4x Healing Potions, 1x Sword
Enemies: 2x guards
Level Difficulty: 2 (on a scale of 1-10, 1 being easiest)
Enemy Difficulty: 1 (on a scale of 1-10, 1 being easiest)
My Time: 59 minutes
- 1Start in a dungeon cell. Go to the bottom-right corner and find a loose slab. Walk onto it and hold SHIFT to hang on when the floor falls. Let go to drop unharmed.
- 2To your right is a guard. You need a sword to defeat him. Climb the ledge on the left.
- 3In the next screen, you will find your first gate-opening switch. Below are spikes. Open the gate and move left.
- 4You'll find your first pit and a switch beside it. Use it to open the gate to the left.
- 5You will see a long platform with loose slabs and a switch at the end. Hit the switch, go down, and in the next screen, activate the next switch. Avoid the trap switch.
- 6Enter the left gate. There is a pit and a platform to the left with loose slabs. Run and jump to the platform towards the left.
- 7In the next screen, you will find a skeleton with a sword next to it. Press SHIFT to pick it up.
- 8Go back the way you came. If you broke all the loose slabs on the platform, go down and climb on the switch. Walk carefully (SHIFT + Right) to the end of the platform.
- 9Jump (UP button + RIGHT button) to reach the platform on the right. Run and jump. You should land on the trap of the next screen.
- 10Jump to the right and climb the platform there. Activate the switch. At the last step of the gate, do a run and jump, holding SHIFT. You should land on the ledge above the pit.
- 11Jump over the spikes and head towards the guard. Defeat him in your first swordfight.
- 12After killing the guard, go right. You will see a door and a switch in the left corner. Tap the switch, the door opens, and you win Level 1.
- When the floor in your cell falls, holding SHIFT allows you to hang on the ledge.
- You cannot defeat the first guard without the sword.
- Be careful not to step on the trap switch.
- To get past the broken platform, climb on the switch and walk carefully to the end before jumping.
- When activating the last gate switch, perform a run and jump to land on the ledge above the pit.
Runthrough!
Complete the Runthrough! level in Blue Prince by escaping your cell, luring a guard, and hitting switches.
- 1Get out of your cell via the loose slab.
- 2Go to the room with the guard, and he will come after you.
- 3Lure the guard to the left section, below your cell.
- 4When he comes, climb up the ledge on your left.
- 5Bring down the loose slab, and climb up.
- 6Hit the switch.
- 7Go back to your cell and climb down.
- 8The guard is now below you. Run!
- 9Keep running until you get to the level switch.
- 10Hit the switch.
- 11Enter the door to end the level.
- The guard will pursue you once you leave your cell.
- Use the environment to your advantage to evade the guard.
Additional Stuff; Exploring
Discover hidden potions, secret paths, and enemy encounters in Blue Prince's 'Additional Stuff' and Level Two. Learn strategies for navigating traps and guards.
This section covers miscellaneous exploration tips and details for Level Two of Blue Prince.
Level Two: To the Princess!
Level Two begins after a specific action involving drinking a correct letter, which opens a door. A scene will play showing the Princess and an hourglass, indicating the remaining time.
Stuff To Pick Up: 6x Healing Potions, 1x Life Extension Potion, 1x Evil Potion
Enemies: 5x guards
Level Difficulty: 3
Enemy Difficulty: 2
Time Remaining: 57 minutes
- 1Start Level Two by exiting the level door. Head left and defeat the guard. Do not go down, as it is a dead end.
- 2Continue left to find ground-level spikes and a platform. Climb to the top of the platform and jump left. Climb up two stories and go left to encounter another guard. Defeat him, activate the switch to open the gate, and proceed. You will be on the top floor with a potion below and a trap ahead. You can descend via a loose slab or open the gate, evade the trap, and go left.
- 3You will reach an orange guard near spikes on the bottom-right. You can push him onto the spikes or defeat him. Continue left to find a Healing Potion, a trap switch, and the first Evil Potion. Be aware that touching the trap switch prevents turning back.
- 4You will encounter a pit separating higher ground from lower ground where a blue guard stands. To attack him before he attacks you, jump exactly one step from the ledge's end. Pushing guards into pits is an option. Head left again to find a suspicious platform. Climb up to find a Life Extension Potion (LEP) above you, with ground-level spikes below.
- 5Descend and head left past more ground-level spikes. Jump over the pit to the next platform.
- 6You have two choices: climb up two stories to fight a guard, or go left and drop a loose slab. The loose slab path is recommended. Climb up one story and go left. At the corner, a loose slab is present. Position yourself under it to drop it, but move out of the way to avoid injury. Climb the ledge and find a level switch in the left corner. Climb the remaining ledge to run and jump to the level switch. Activate it, walk to the ledge's end, and jump. The level door will be on the right. Enter it to finish Level Two.
Additional Exploration Notes:
- After escaping your cell and climbing the left ledge, find a loose slab before the switch. Breaking it reveals a potion and two gates. The right gate is the entry point.
- Before the trap switch area, a platform of loose slabs has another loose slab below it. This leads to a Healing Potion, spikes, and the previous area's pit.
- Near the pit that separates you from the sword, there's a loose slab above. Dropping it and climbing up allows access to a potion on a high ledge to the left, or a guard to the right who leads back to the cell gate.
- Near the skeleton where you got your sword, a loose slab to your right leads down to spikes on the left and the bottom of two pits on the right.
Similar guides you might like


100% Human-Written. AI Fact-Checked. Community Verified. Learn how AntMag verifies content