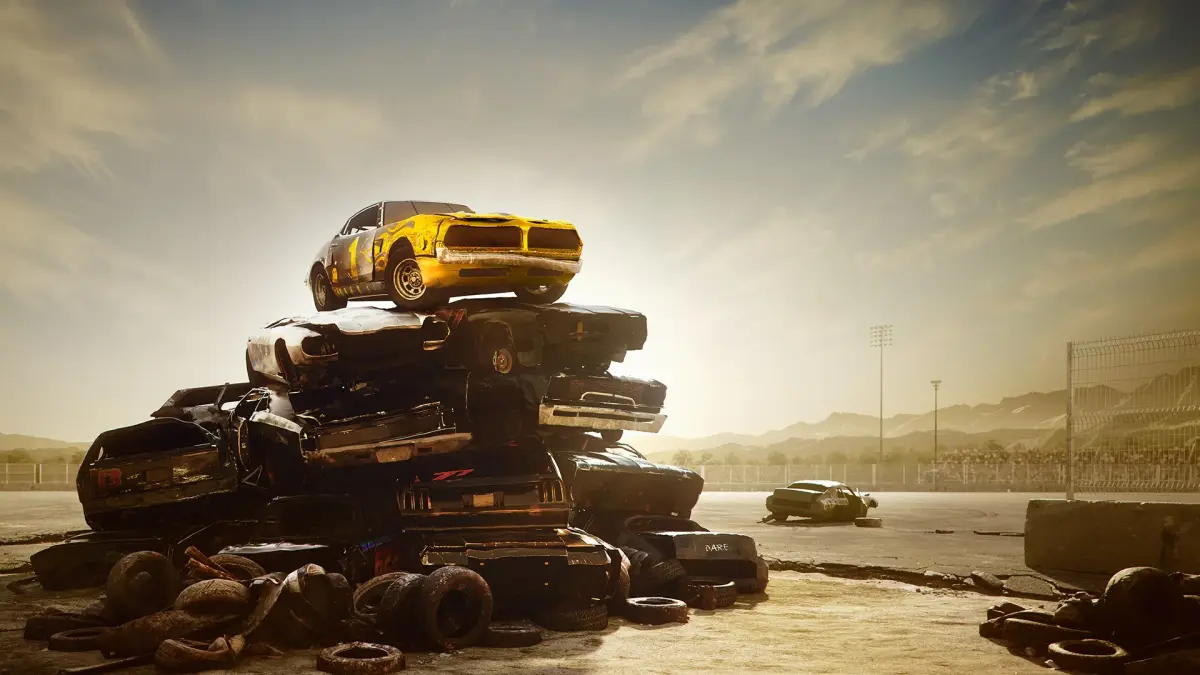
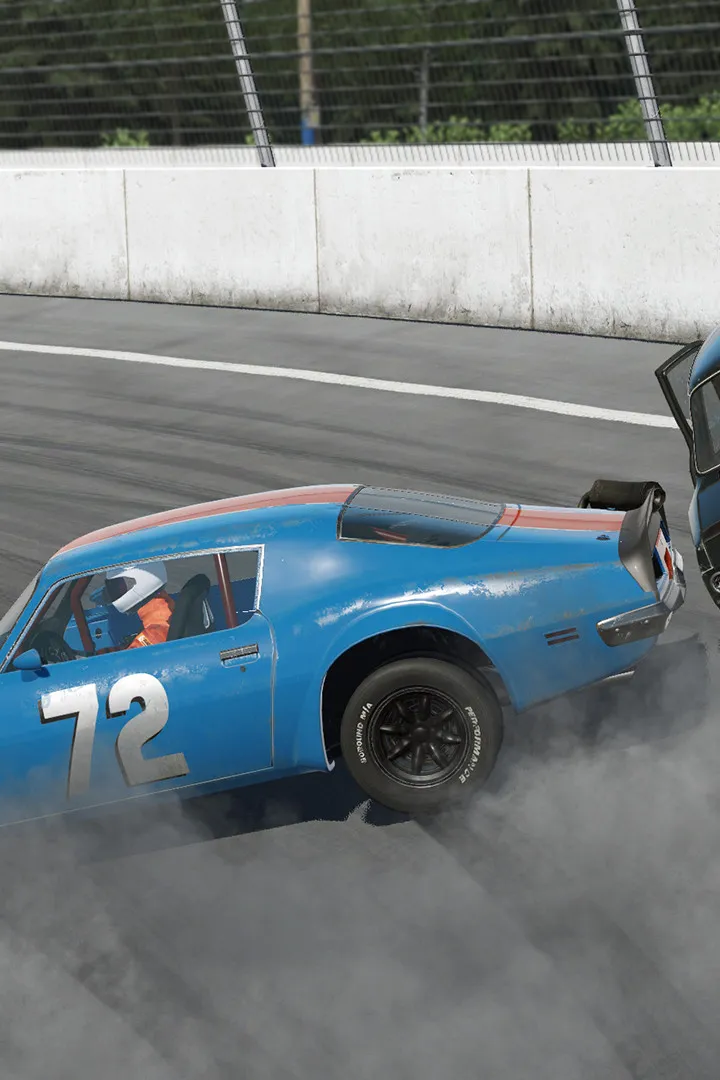
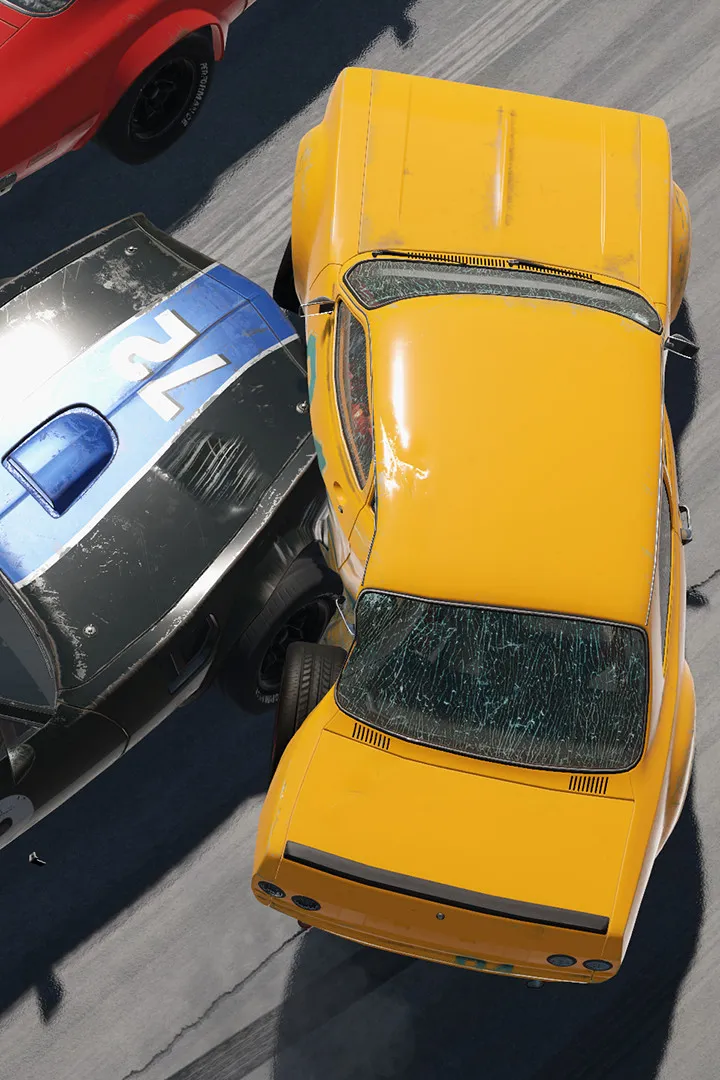
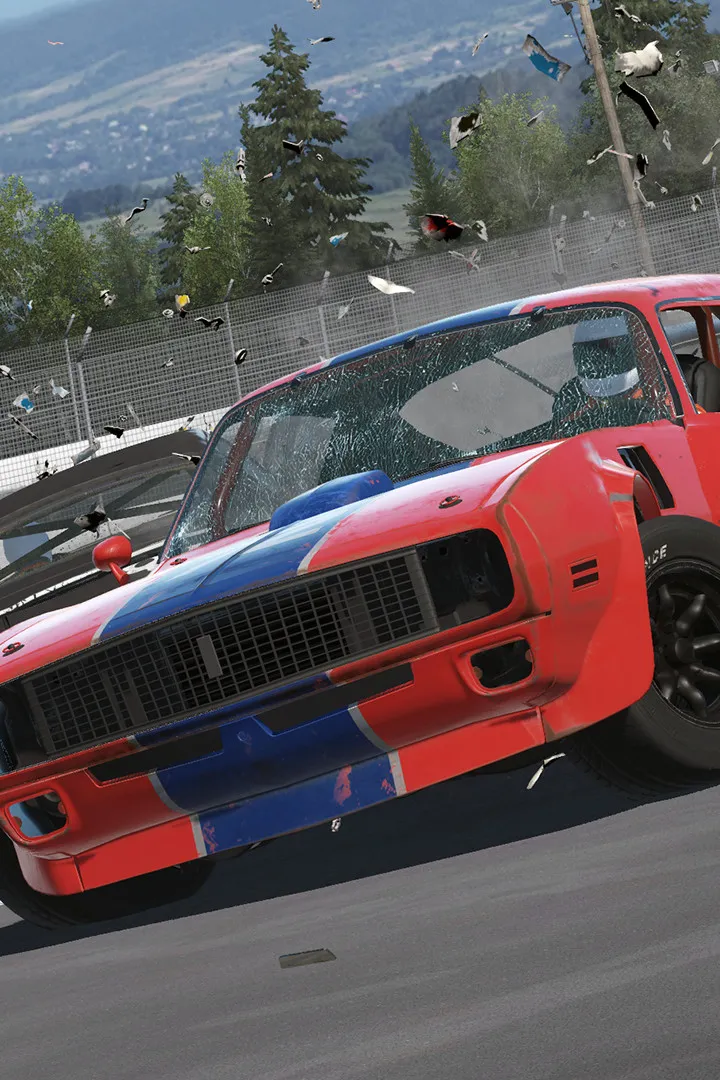
Wreckfest is all about mastering destructive racing and demolition derbies. You’ll be battling it out in events ranging from the Sandpit to the National Amateurs Finale, dominating the dirt and leaving opponents in a cloud of mud and discarded metal. It’s a game where the moment-to-moment action is pure, unadulterated vehicular mayhem, perfect for anyone who loves a good crash.
This guide is here to help you conquer every event and truly master the game. We’ll cover everything from understanding car classes to walking you through each event, offering beginner tips that will benefit even seasoned players. Get ready to dominate the track and every derby you enter.
Getting Started
New to Wreckfest? This guide breaks down the Career mode, from Regional Juniors to Pro Internationals. Learn about events like Eat Dirt! and Mud Mayhem.
Getting Started
New to Wreckfest? This guide breaks down the Career mode, from Regional Juniors to Pro Internationals. Learn about events like Eat Dirt! and Mud Mayhem.
Installation & First Launch
Get started with Wreckfest by following our guide for smooth installation and first launch. Optimize settings for an optimal demolition derby experience.
Welcome to the exhilarating world of Wreckfest! Before you dive headfirst into the chaos of demolition derby and high-speed racing, a smooth installation and initial setup are paramount for the best possible experience. This section will guide you through getting the game up and running, optimizing your settings, and ensuring your first moments are spent wrecking, not wrestling with configurations.
1. Game Installation & Initial Boot
Whether you're on PC, PlayStation (PS4/PS5), or Xbox (One/Series X), the installation process is straightforward. Follow your platform's standard procedure for downloading and installing games. Once installed, launch Wreckfest.
- PC (Steam/Epic Games Store): Locate Wreckfest in your library and click "Play."
- PlayStation/Xbox: Select the Wreckfest icon from your dashboard and press "X" (PlayStation) or "A" (Xbox).
Upon your very first launch, the game may perform an initial shader compilation or present you with an End User License Agreement (EULA). Accept the EULA to proceed. You'll then be greeted by the iconic Wreckfest main menu.
2. Essential First-Launch Configurations
Before jumping into a quick race, taking a few moments to fine-tune your settings will significantly enhance your gameplay. We'll focus on graphics, controller setup, and keybinds.
2.1. Graphics Settings Optimization (PC Specific, but principles apply)
Wreckfest is a visually impressive game, but its physics engine and detailed damage models can be demanding. Finding the right balance between visual fidelity and a stable frame rate is crucial for competitive play and overall enjoyment. A choppy frame rate can lead to missed turns, mistimed crashes, and frustration.
Navigate to Options > Graphics from the main menu.
General Recommendations:
- Start with a Preset: Begin with a preset like "Medium" or "High" and then adjust individual settings. Avoid "Ultra" initially unless you have a high-end system.
- Target Frame Rate: Aim for a consistent 60 FPS (frames per second) or higher. If you have a high refresh rate monitor (120Hz, 144Hz, etc.), aim for that target.
- Monitor Your Performance: Many graphics cards have overlay tools (e.g., NVIDIA GeForce Experience, AMD Radeon Software) that can display your current FPS. Use these to gauge the impact of your changes.
Specific Wreckfest Settings & Their Impact:
| Setting | Impact on Performance | Visual Impact | Recommendation |
|---|---|---|---|
| Resolution | VERY HIGH | VERY HIGH | Match your monitor's native resolution. Lower only if absolutely necessary for FPS. |
| Anti-Aliasing (AA) | HIGH | Medium (reduces jagged edges) | FXAA is less demanding than MSAA. Try FXAA first, or disable if struggling. |
| Shadow Quality | HIGH | Medium | One of the biggest performance hogs. Lowering to "Medium" or "Low" can yield significant FPS gains with minimal visual loss during fast gameplay. |
| Post-processing Quality | HIGH | Medium (bloom, depth of field, motion blur) | Another major performance hit. Consider lowering this first if you need more FPS. Disabling "Motion Blur" can also improve clarity and performance. |
| Texture Quality | Medium (VRAM dependent) | HIGH | Set to "High" or "Ultra" if your GPU has sufficient VRAM (4GB+). Low impact on FPS if VRAM is adequate. |
| Global Illumination | Medium | High (realistic lighting) | Can be demanding. Try "Medium" or "Low" if FPS is an issue. |
| Ambient Occlusion | Medium | Medium (adds depth to shadows) | Try "Medium" or "Low." |
| Particle Quality | Medium (during crashes) | Medium (dust, sparks) | Can impact FPS during heavy collisions. "Medium" is a good balance. |
| View Distance | Medium | Medium | "High" is generally fine, but lowering can help on very large tracks. |
Optimization Strategy:
- Start with a "Medium" preset.
- Disable "Motion Blur" and "Depth of Field" in Post-processing for clarity and performance.
- Test in a quick race (e.g., a demolition derby with many AI cars).
- If FPS is too low, first reduce Shadow Quality and Post-processing Quality.
- If still struggling, lower Anti-Aliasing or even your overall Resolution Scale (not ideal, but effective).
- If FPS is consistently high, gradually increase Texture Quality, then other settings like Global Illumination or Ambient Occlusion, testing after each change.
2.2. Controller Calibration & Keybinds
Whether you're using a gamepad, steering wheel, or keyboard, ensuring your controls are responsive and comfortable is vital. Wreckfest offers excellent support for various input devices.
Navigate to Options > Controls from the main menu.
- Gamepad Users (Recommended):
- Controller Calibration: Go to "Advanced" settings within the controller options. Check your dead zones and linearity. If your analog sticks have drift, slightly increase the "Dead Zone" for steering and throttle/brake. Experiment with "Linearity" to find a feel that suits you – lower linearity makes steering more sensitive around the center, higher makes it less so.
- Vibration: Adjust "Vibration Intensity" to your preference. Stronger vibration can provide better feedback but might be distracting for some.
- Steering Wheel Users:
- Wheel Calibration: Wreckfest typically auto-detects popular wheels. Go to "Advanced" settings to calibrate your wheel's rotation range (e.g., 900 degrees for simulation, less for arcade). Adjust force feedback strength and effects to your liking.
- Pedals: Ensure your accelerator and brake pedals are registering correctly and calibrate their range if necessary.
- Keyboard Users (PC):
- Keybinds: Review the default keybinds. While functional, you might prefer to reassign certain actions (e.g., handbrake, camera view, repair) to more accessible keys. Ensure your primary movement keys (WASD or arrow keys) are comfortable.
- Steering Sensitivity: Adjust "Steering Sensitivity" and "Steering Rate" in the keyboard settings to make turning feel more natural.
Actionable Tip: After adjusting controls, jump into a "Custom Event" with a single AI opponent on a familiar track. This allows you to test your settings without the pressure of a full race or demolition derby, letting you fine-tune your inputs until they feel just right.
3. Audio Settings (Optional but Recommended)
While not critical for performance, adjusting audio settings can significantly enhance immersion and even provide tactical advantages (e.g., hearing approaching opponents).
Navigate to Options > Audio.
- Master Volume: Set to a comfortable level.
- Music Volume: Adjust to your preference. Some players prefer lower music volume to better hear engine sounds and collisions.
- SFX Volume: Keep this high! Engine roars, tire squeals, and the crunch of metal are core to the Wreckfest experience and can give you cues about your car's condition or nearby threats.
- Dynamic Range: "Full" is generally good for headphones or good speaker systems. "Compressed" can be better for smaller speakers or if you need to hear quiet sounds more clearly without loud sounds blasting.
4. Saving Your Settings
Wreckfest typically saves your settings automatically upon exiting the options menu or the game. However, it's always a good practice to ensure your changes are applied before you quit the game entirely. Once you're satisfied with your initial setup, you're ready to hit the track and experience the glorious destruction that Wreckfest has to offer!
Understanding the User Interface (UI) — Wreckfest Guide
Understand the Wreckfest user interface. Navigate the main menu, race HUD, and damage indicators to improve your gameplay and track awareness.
Understanding the User Interface (UI) — Wreckfest Guide
Understand the Wreckfest user interface. Navigate the main menu, race HUD, and damage indicators to improve your gameplay and track awareness.

Advanced UI Features — Wreckfest Guide
Master advanced UI features in Wreckfest. Streamline garage management and race preparation by customizing your Heads-Up Display for optimal performance.
While Wreckfest's core UI is intuitive, mastering its advanced features can significantly streamline your garage management, race preparation, and overall gameplay experience. This section delves into the less obvious but incredibly powerful UI elements designed to give you an edge.
Customizing Your HUD for Optimal Performance
The Heads-Up Display (HUD) is your primary source of real-time information during a race. While the default settings are functional, tailoring them can provide crucial insights without cluttering your view.
- Accessing HUD Customization:
- From the Main Menu, navigate to Options.
- Select Display Settings.
- Locate the HUD Elements sub-menu.
- Key Customization Options:
- Damage Indicator: By default, this shows a general car health bar. For advanced players, switch to Detailed Component View. This will display individual health bars for your engine, wheels, and chassis, allowing for more strategic driving to protect critical parts.
- Lap Timer & Position: Consider moving this to a less central position if you find it distracting. Some players prefer it in the top-right corner to keep their focus on the track.
- Mini-Map Zoom Level: Adjust this based on track complexity. For tight, technical tracks like "Mud Pit Arena," a higher zoom level (closer view) can help anticipate turns. For wide-open tracks like "Big Valley Raceway," a lower zoom (further view) offers better awareness of distant opponents.
- Opponent Health Bars: Enable this! It's invaluable for targeting weakened opponents, especially in demolition derbies or last-man-standing events. You'll see a small health bar above each opponent's vehicle.
Leveraging the Advanced Garage Sort & Filter System
As your vehicle collection grows, finding the perfect ride for a specific event can become a chore. The advanced sort and filter options in your garage are your best friends.
- Accessing Advanced Filters:
- From the Main Menu, select Garage.
- At the top of the vehicle list, you'll see a small icon resembling a funnel (Filter) and an arrow (Sort).
- Clicking the Filter icon opens the advanced filter panel.
- Strategic Filtering:
- Class Filter: Essential for events with specific vehicle class restrictions (e.g., "B Class Only" races). Select the desired class (e.g., A, B, C, D) to instantly narrow down your choices.
- Vehicle Type: Looking for a specific type of vehicle? Filter by Sedan, Coupe, Pickup, Minivan (especially useful after the recent "spacious family minivan" update!), or Special. This is great for themed events.
- Damage Rating: If you're preparing for a particularly brutal demolition derby, filter by High Damage Resistance to quickly find your most durable vehicles.
- Performance Rating: For speed-focused races, filter by High Top Speed or High Acceleration.
- Advanced Sorting:
- Sort by Performance: Order your vehicles by their overall performance index to quickly identify your fastest or most agile cars.
- Sort by Damage Resistance: Prioritize vehicles that can take a beating.
- Sort by Last Used: Useful for quickly returning to a vehicle you were recently tuning or racing.
- Sort by Custom Tag: (Requires prior setup) See the "Custom Vehicle Tagging" section below.
Custom Vehicle Tagging for Personalized Organization
This often-overlooked feature allows you to create custom tags for your vehicles, making garage management incredibly efficient for specific strategies.
- How to Create and Apply Tags:
- In the Garage, select a vehicle.
- Navigate to the Vehicle Details screen.
- Look for the Add Tag button, usually near the vehicle's name or statistics.
- Enter your desired tag (e.g., "Derby King," "Speed Demon," "Figure 8 Specialist," "Mud Runner").
- You can apply multiple tags to a single vehicle.
- Strategic Tagging Examples:
- Event-Specific Tags: Tag vehicles as "Figure 8," "Demolition," "Race," "Minivan Madness" to quickly find suitable cars for different event types.
- Build Tags: If you have multiple builds for the same car (e.g., a "Stock Car" build and a "Rally Build" for the same "Speedie"), tag them accordingly.
- Favorite Tags: Simply tag your go-to vehicles with "Favorite" for quick access.
- Using Tags in Filters: Once tagged, return to the advanced filter menu in the garage. You'll find a new option to filter by your custom tags, allowing for instant retrieval of highly specific vehicle sets.
By actively utilizing these advanced UI features, you'll spend less time navigating menus and more time wrecking the competition, whether you're dropping off non-existent offspring or just looking for some muddy motor murdering!
Similar guides you might like


100% Human-Written. AI Fact-Checked. Community Verified. Learn how AntMag verifies content