Find all items and defeat enemies in the Dragonscrypt and Palace of the Venerated Dragon in Valkyrie Profile 2: Silmeria. Learn about Sealed Stones.
Walkthrough
- 1After completing the Dragonscrypt map (100%), exit to the World Map. The Dragonscrypt will appear.
- 2Within the Dragonscrypt, head right to another area. Collect the Magic Bangle in the upper left, using 1 or 2 enemies.
- 3In the upper right, use a few enemies to obtain the Arbalest.
- 4Above that, collect the Dwarf's Sacred Herb. This requires using all 3 enemies/crystals, Exchange Transfer, After Jump, and Angling. Position a crystal near the box, switch places with it, and immediately jump up.
- 5Proceed right to the next area.
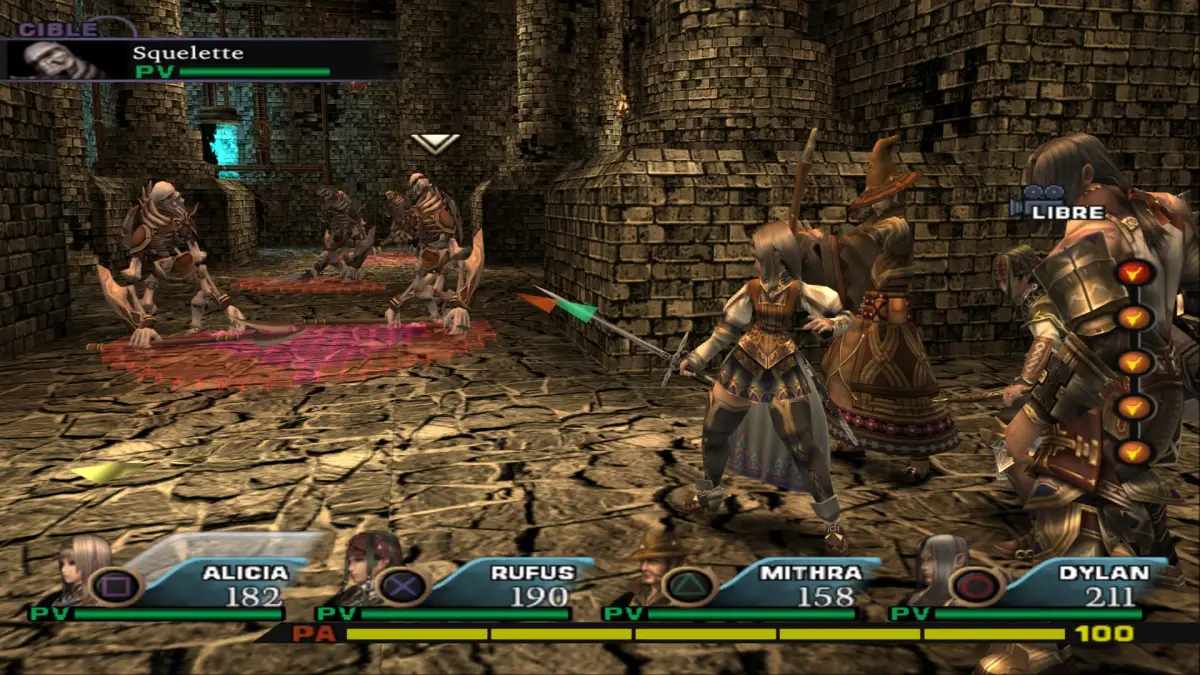
- 6Jump right to find a box containing 20000 OTH, which has a trap.
- 7Go up to the right to the next area. Collect the Healer's Secret Herb from a bag on the right.
- 8Jump up to a box using enemies; it contains Double Search and has a trap. This completes the treasure and map collection (100%) for this area.
- 9Head east to the Palace Of The Venerated Dragon.
- 10Proceed right to the next area. Choose to go east or north.
- 11Go north to save your game.
- 12Return and head right. Collect the Sun Light Stone to the right.
- 13Go back to the room with the save point and use the Sun Light Stone on the statue.
- 14In the new room, collect the Solar Eclipse Stone.
- 15Go south and check the left for the Book Of Chaos.
- 16Head right to another area. Collect the Healer's Secret Herb.
- 17Jump left to find a box with a trap containing a Liqueur Potion.
- 18In the upper right is the Sealed Stone EXP-Providing Friend's Reason. Head upper left to another area.
- 19Jump up to a box containing a Union Plum, which has a trap.
- 20For the statues in this area, attack them from behind without being seen by other statues to avoid the Poison Room.
- 21The Poison Room contains boxes with traps: upper right has a staff/Einferia, lower right has a Fairy's Sacred Herb, lower left has a Charge Break, and upper left has the Dragon Staff Dragon Lore. Use the statue and the Sun Light Stone to exit the Poison Room.
- 22To solve the statue puzzle: slash the left of the middle group, then the right of the middle group, then the one at the east.
- 23Collect the Ring Light Stone and 30000 OTH.
- 24Backtrack to a statue and use the Ring Light Stone. A Spring will appear nearby.
- 25Proceed west.
- 26Check the NE and E for the Spell Potion, Flare Baselard, 25000 OTH, and Vallo Greave. One of these boxes has a trap.
- 27In the upper left is the Sealed Stone Sword As The Offering Commandment.
- 28Proceed west. Paths lead west and south.
- 29Go west to fight an enemy for the Sealed Stone Only Life As The Food Commandment. A sword/Einferia is at the left end.
- 30Backtrack and go south.
- 31Go left for the Sealed Stone Catapult's Commandment.
- 32Go right to another area with an Altar. The box is in the upper left. Use crystals to reach it for 15000 OTH.
- 33Place one of the four Sealed Stones found so far into the Altar.
- 34Go west to backtrack, then north and east. A new path will appear.
- 35Go west to save your game.
- 36To the west, defeat an enemy to obtain the Glowing Clouds Stone.
- 37Go east to collect Fairy's Sacred Herb, Union Plum, and Healer's Secret Herb.
- 38Return to a statue and use the Glowing Clouds Stone.
- 39Go south to another area.
- 40Go east and jump over the statue. In this east room, collect the Fairy's Sacred Herb, Vallo Gauntlet, and Might Potion. The middle box triggers a trap that summons enemies.
- 41To the right is the Sealed Stone Powerless Cotton Hat's Commandment. Leave it for now.
- 42Go west. To get the Book Of Alchemy on the left end, jump over 2 statues. This box also has a trap.
- 43Take the middle path up. The west path leads to the Ice Clothes Crystal Garb, which has a trap.
- 44The east path leads to an Altar and the Reverse Moon Stone.
- 45Use crystals to reach a high-up item and collect the Guard Potion.
- 46Go back to a statue and use the Reverse Moon Stone.
Tips
- Consider completing optional objectives like obtaining the Cat's/Bird's/Dog's Ring and clearing Chateau Obsession before leaving this dungeon.
- Leveling Leone and Aluze to Level 40 can provide overpowered weapons.
- Be cautious of traps in many of the treasure boxes.
- The statue puzzle requires stealth to avoid the Poison Room.
100% Human-Written. AI Fact-Checked. Community Verified. Learn how AntMag verifies content