
Conquer tough boss fights in Under Night In-Birth Exe:Late[cl-r]. This guide covers key tactics and weaknesses to aid your Chronicle episode progression.
Welcome, UNIEL [cl-r] players! This section will guide you through the most challenging encounters in the game's story mode and Chronicle episodes. Mastering these boss fights is crucial for unlocking hidden lore and achieving 100% completion. Remember, while character-specific strategies exist, these general tactics will provide a solid foundation for any combatant.
Waldstein: The Ancient Beast
Waldstein, with his immense reach and devastating grapples, can be intimidating. His primary weakness lies in his slow recovery frames after many of his heavy attacks and his predictable movement patterns.
- Phase 1 Strategy:
- Keep your distance: Waldstein's normal attacks have incredible range. Focus on zoning him out with projectiles (e.g., Hyde's Black Orb, Linne's Hien) or quick pokes.
- Punish Whiffs: After he uses moves like Giga Fall or Megaton Press, there's a significant window to counter-attack. Dash in with a quick combo or a strong single hit.
- Guard Crush Awareness: Waldstein's attacks deal high guard damage. Be prepared to use your Assault or a well-timed Shield to avoid being guard crushed and opened up for a devastating grapple.
- Phase 2 Strategy (Below 50% HP):
- Waldstein gains access to his EX moves more frequently. His EX Giga Fall has increased range and damage.
- Focus on Cross-Ups: His large hitbox makes him susceptible to cross-up attacks. Use air dashes or character-specific movement options to get behind him and start combos.
- Vorpal State Advantage: Try to enter Vorpal State during this phase to maximize your damage output and take advantage of the increased GRD gain from successful attacks.
- Recommended Items:
- GRD Booster (Found in "Under Night Alley - East"): Increases GRD gain, allowing for more frequent Vorpal States and EX moves.
- Defense Enhancer (Purchased from "The Hollow Night Merchant"): Reduces incoming damage, helping you survive Waldstein's powerful hits.
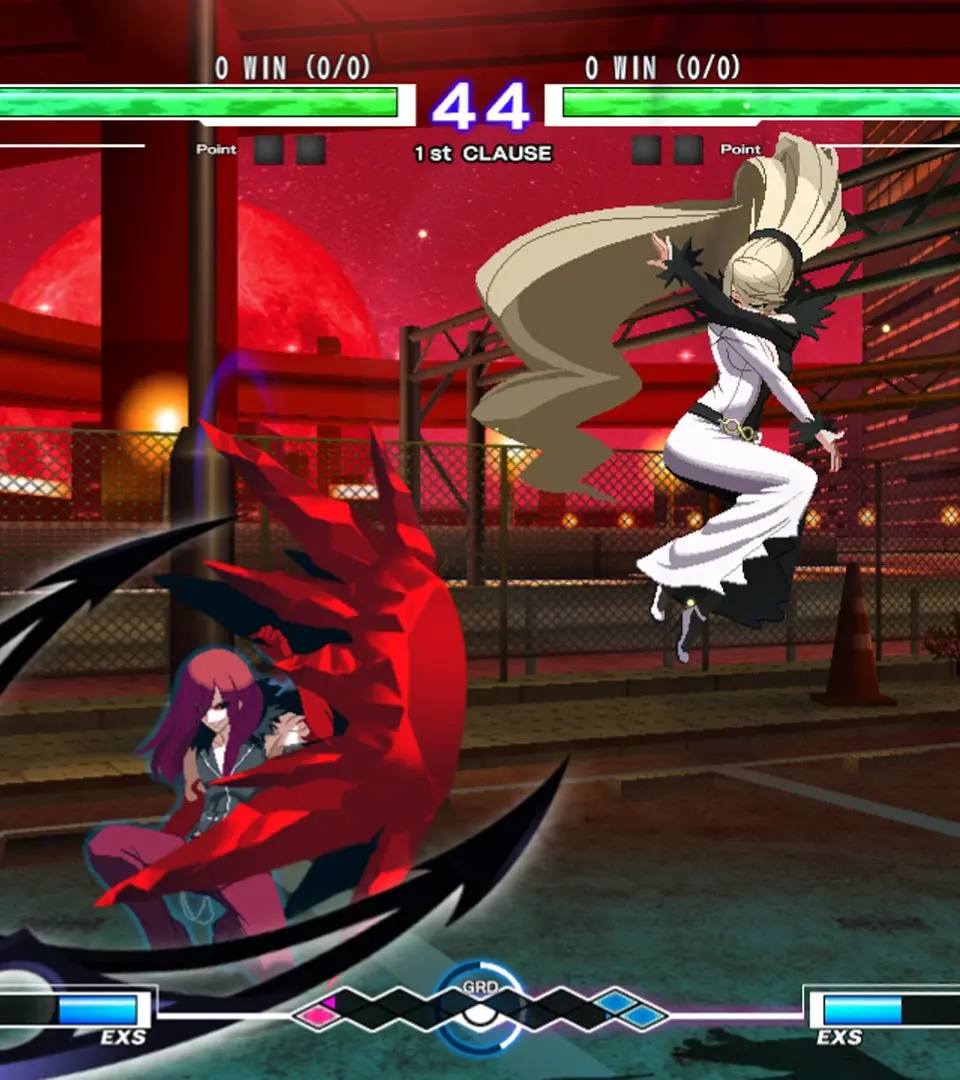
Hilda: The Paradox
Hilda is a tricky opponent, utilizing her teleportation and projectile traps to control the screen. Her main weakness is her relatively low health and her vulnerability when she's forced to commit to an attack.
- Phase 1 Strategy:
- Anticipate Teleports: Hilda often teleports after certain attacks or when pressured. Pay attention to the sound cue and visual distortion to anticipate her reappearance.
- Neutralize Projectiles: Her Grim Stinger and Void Sphere can be annoying. Characters with their own projectiles (e.g., Yuzuriha's Hien, Merkava's Worm) can clash with them, or you can use Shield to absorb the damage and gain GRD.
- Close the Gap: Once you've avoided her initial zoning, try to get in close. Hilda struggles at close range against aggressive rushdown characters.
- Phase 2 Strategy (Below 40% HP):
- Hilda's teleportation becomes more frequent and unpredictable. She also gains access to her powerful EX Grim Stinger, which tracks more aggressively.
- Burst Management: Hilda's combos can be lengthy. Consider saving your Burst for her longer sequences to break out and reset the neutral.
- Corner Pressure: If you can corner Hilda, she has fewer options to escape her teleportation. Keep the pressure on with mix-ups and frame traps.
- Recommended Items:
- Attack Enhancer (Found in "The Old City - Sewers"): Boosts your damage, allowing you to end combos quicker and reduce Hilda's effective health.
- Speed Potion (Purchased from "The Hollow Night Merchant"): Increases your movement speed, making it easier to chase Hilda down after her teleports.
Chaos: The Gluttonous Void
Chaos and his familiar, Azhi, present a unique challenge with their coordinated attacks. Chaos himself is slow, but Azhi provides excellent coverage. Their primary weakness is Azhi's independent health bar and Chaos's vulnerability when Azhi is incapacitated.
- Phase 1 Strategy:
- Prioritize Azhi: Focus your attacks on Azhi first. While Azhi is active, Chaos is much more dangerous. Azhi's health bar is separate and significantly smaller than Chaos's.
- Mind the Gap: Azhi's attacks have good range. Use quick dashes and jumps to avoid his lunges and projectiles.
- Punish Chaos's Openings: When Chaos uses moves like Devour or Feast, he's briefly vulnerable. These are prime opportunities to land a full combo.
- Phase 2 Strategy (Azhi Defeated / Chaos Below 60% HP):
- Once Azhi is defeated, Chaos becomes much less threatening. However, he will occasionally summon weaker versions of Azhi or use more aggressive direct attacks.
- Aggressive Rushdown: Without Azhi, Chaos is a much easier target. Stay close, apply constant pressure, and don't let him recover.
- Watch for Counter-Attacks: Even without Azhi, Chaos can still unleash powerful, albeit slow, counter-attacks if you become too predictable.
- Recommended Items:
- Crit Chance Charm (Found in "The Abandoned Lab - Core"): Increases your critical hit rate, helping to burst down Azhi quickly.
- Health Regeneration Potion (Purchased from "The Hollow Night Merchant"): Useful for recovering from Azhi's relentless pressure, especially if you struggle to avoid his attacks.
100% Human-Written. AI Fact-Checked. Community Verified. Learn how AntMag verifies content