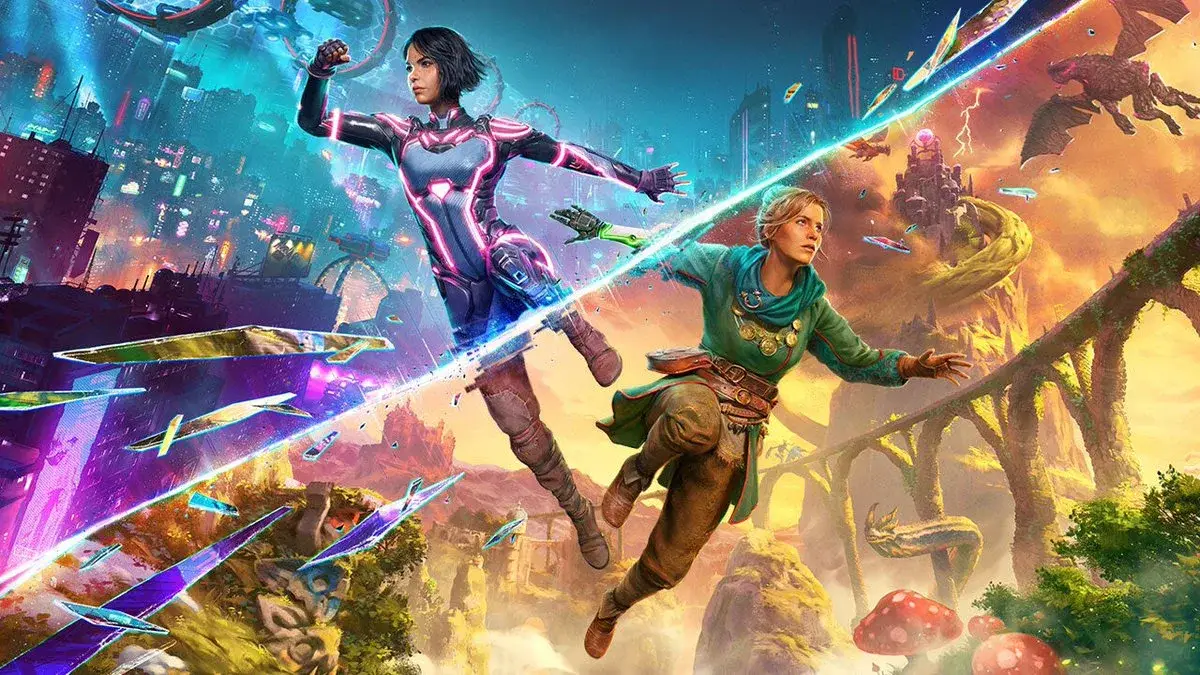
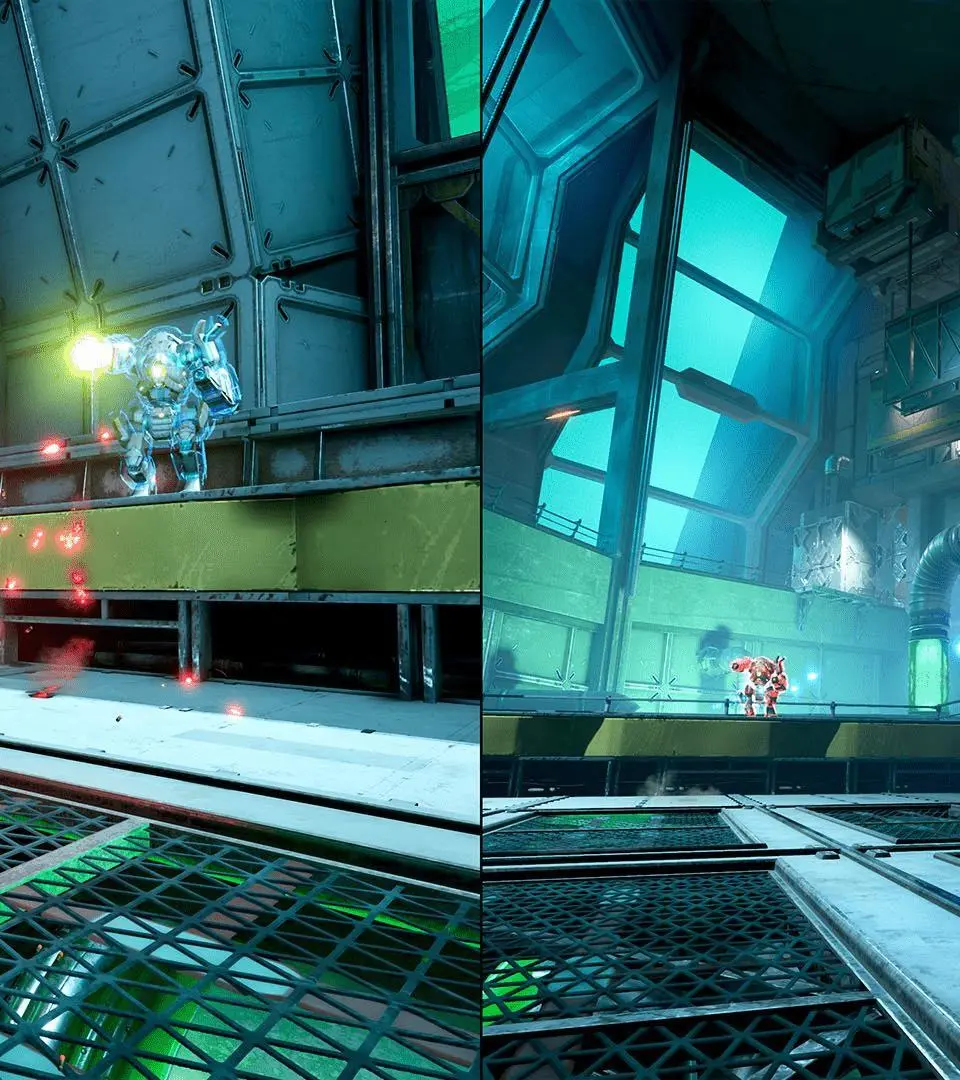
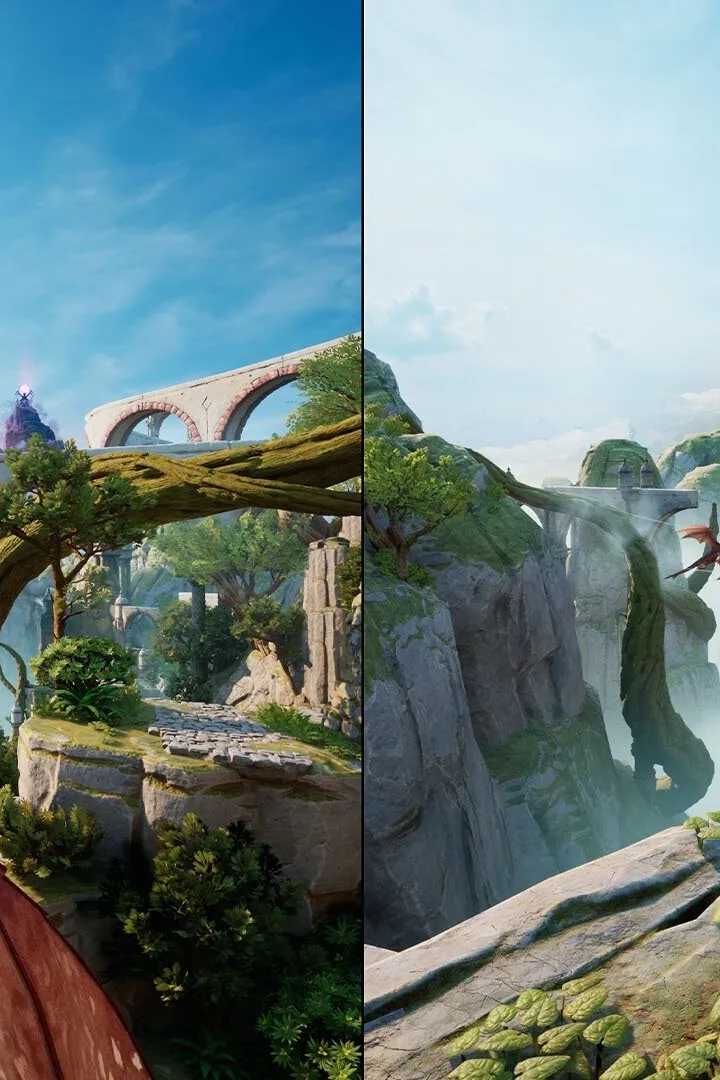
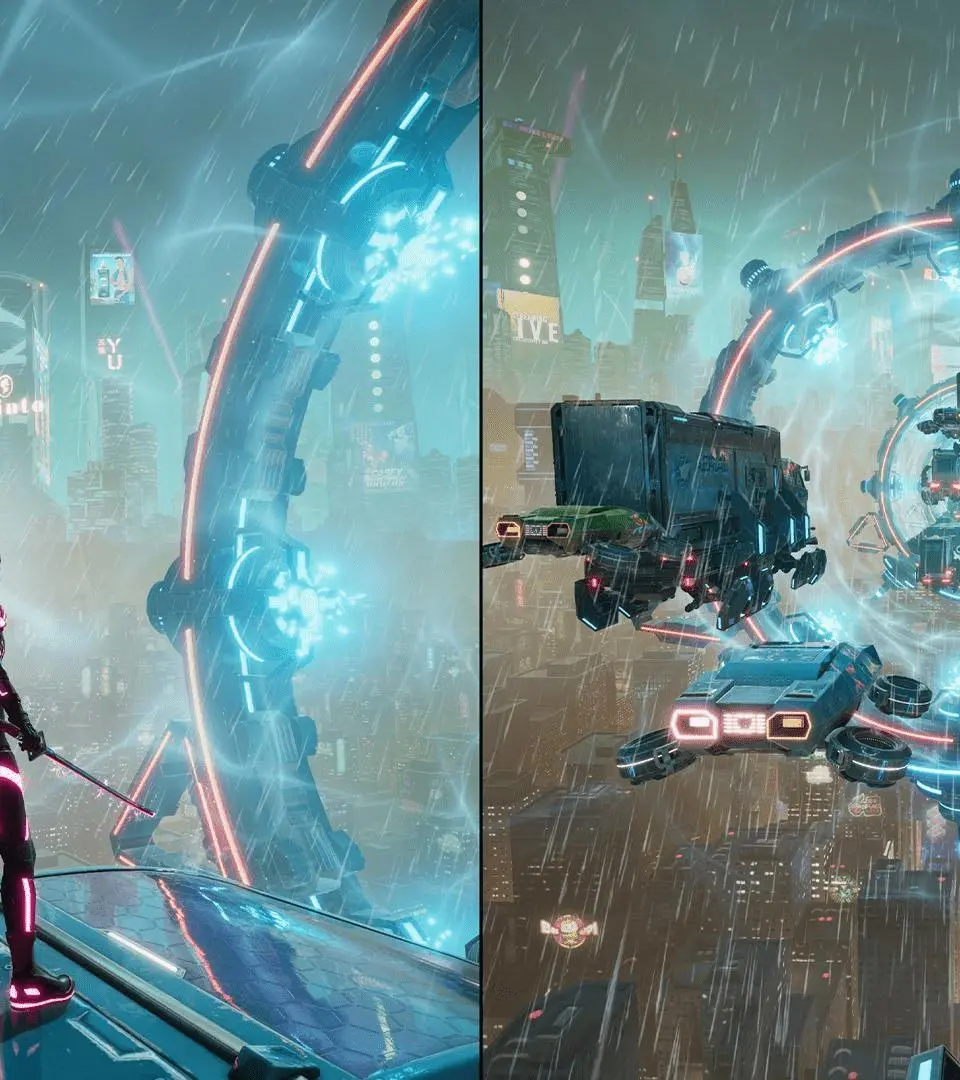
In Hazelight Studios' third-person co-op sci-fi adventure, Split Fiction, you and a friend play as two aspiring authors signed to Rader Publishing. You'll navigate fractured realms created by Rader's reality-bending machine, uncovering a sinister plot as you go. Expect a story-rich experience focused on cooperative gameplay, where mastering weapons and solving pivotal objectives are key to progressing through the game's eight distinct chapters, each set in unique environments tied to the protagonists, Mio and Zoe.
This guide covers Split Fiction from beginning to end, helping you tackle every challenge. We'll walk you through weapon mastery, objective completion, and uncovering the secrets of the Chronomancer. Whether you're aiming to access the Archives or conquer difficult challenges like the super secret Laser Hell level, this guide ensures you achieve your ultimate goals.
Getting Started
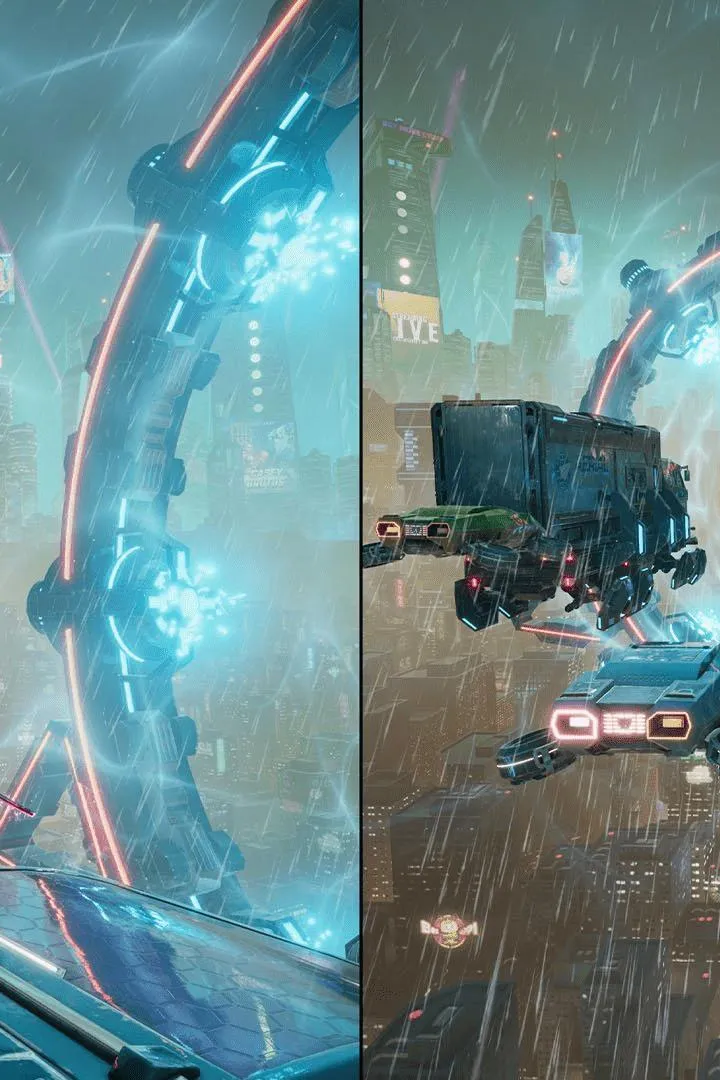
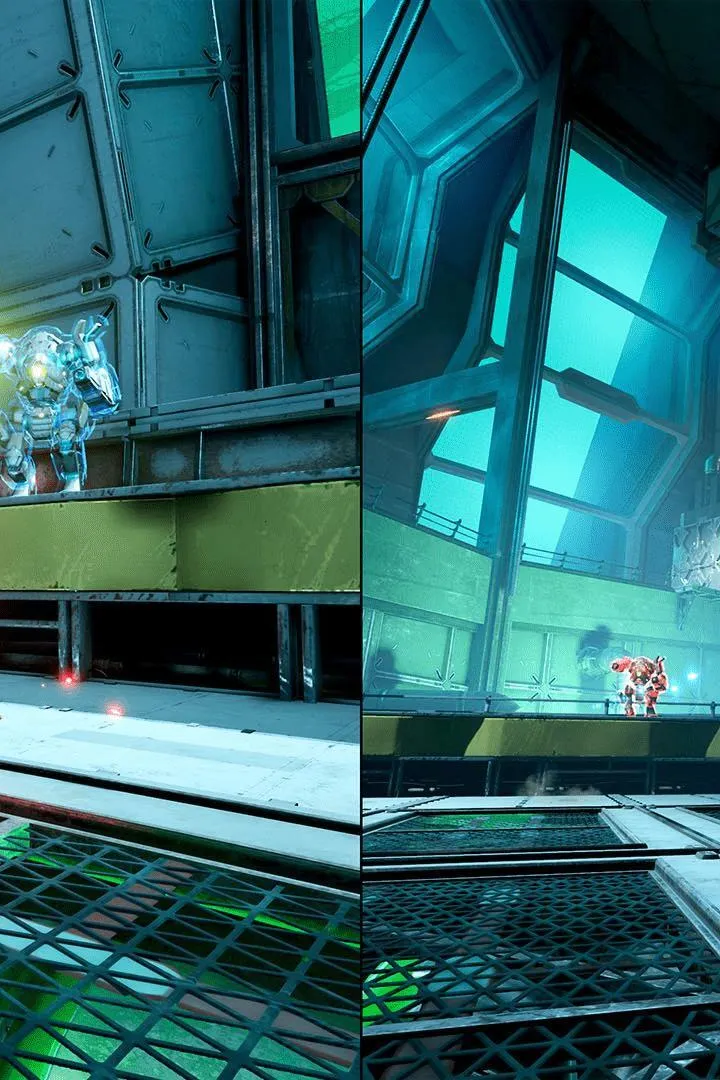
Navigate the Neon Revenge chapter of Split Fiction with our comprehensive walkthrough. Master platforming, puzzles, and boss fights with character-specific tips for Zoe and Mio.
Getting Started
Navigate the Neon Revenge chapter of Split Fiction with our comprehensive walkthrough. Master platforming, puzzles, and boss fights with character-specific tips for Zoe and Mio.

Controls & UI — Split Fiction Guide
Master Split Fiction controls & UI. Learn health, stamina, minimap, hotbar, and status effects for combat and exploration success.
Mastering the controls and understanding the User Interface (UI) are paramount to success in Split Fiction. A fluid command of your character and a clear grasp of the information presented on screen will significantly enhance your combat effectiveness, exploration efficiency, and overall enjoyment of the game. This section breaks down the essential controls and UI elements you'll encounter.
The game typically employs a standard third-person perspective, with movement controlled by the left analog stick (or WASD keys on PC) and camera by the right analog stick (or mouse). Combat actions are usually mapped to the face buttons or triggers, allowing for quick execution of attacks, dodges, and special abilities. For instance, a primary attack might be on the right trigger, a secondary attack or skill on the left trigger, and a dodge or block on a face button. Managing your inventory and skills is facilitated through dedicated menu buttons, often bringing up a radial menu or a more detailed screen.
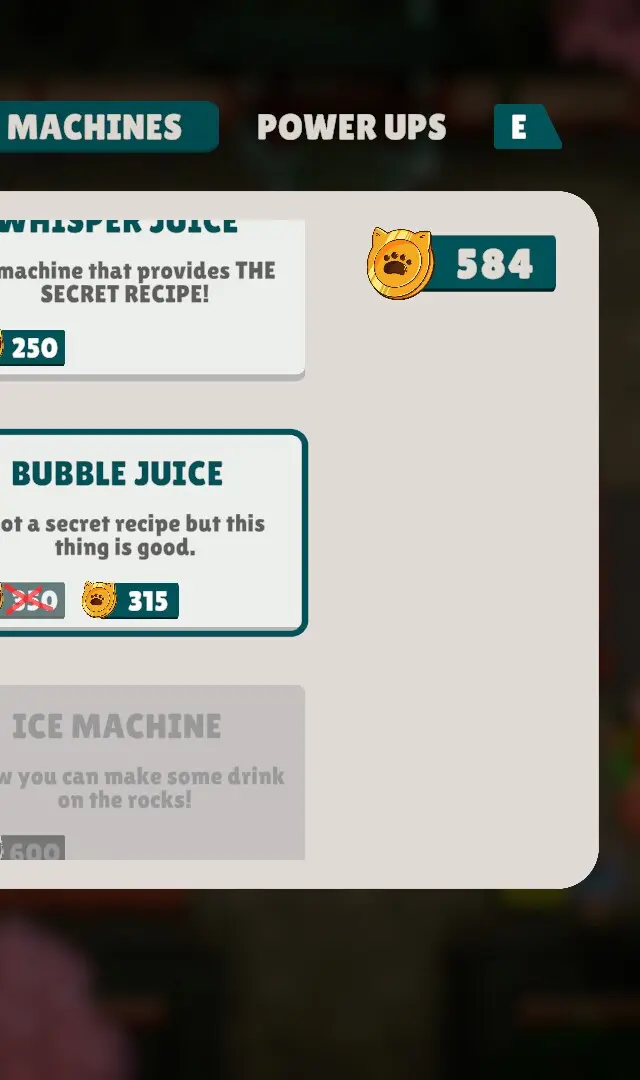
Key UI elements to familiarize yourself with include:
- Health Bar: Displays your character's current health. Depletion leads to incapacitation or death.
- Stamina Bar: Governs actions like sprinting, dodging, and heavy attacks. It regenerates over time.
- Minimap: Provides a localized overview of your surroundings, showing points of interest, quest markers, and nearby enemies.
- Quest Log: Tracks your active quests, objectives, and relevant lore.
- Hotbar/Skill Bar: Allows quick access to equipped abilities, potions, and items.
- Status Effects: Icons indicating buffs (positive effects) and debuffs (negative effects) currently affecting your character.
Understanding how to quickly access your inventory to use healing items during combat, or how to cycle through your equipped abilities on the hotbar, is vital. Pay attention to visual cues on the UI, such as flashing icons indicating low health or a full special ability meter. Efficient navigation of the UI menus, especially during intense moments, can be the difference between victory and defeat.
Installation & First Launch
Get Split Fiction up and running! This guide walks you through installation and your very first launch, offering tips to make your journey through the game's challenging world smoother.
Hey there! So you've just picked up Split Fiction and you're ready to dive in. Getting started is pretty straightforward, but there are a few things to keep in mind to make your first launch as smooth as possible. Think of this as your personal hand-holding session to get you from the game case to the main menu without any hiccups.
This game, like many others, can be a bit unforgiving if you're not prepared. You'll be playing as Amicia, a young noblewoman in 14th-century France, trying to protect her younger brother, Hugo. The world is brutal, with the Black Death and the Hundred Years' War raging, plus a whole lot of… well, rats. The Inquisition is also after Hugo for reasons you'll uncover. It's a dark game, both in theme and literally, so don't be surprised if your screenshots look a bit gloomy!
This guide is here to help you navigate not just the installation but also the early parts of the game. We'll cover some general tips to keep you alive, a look at the crafting system, and where to find those sneaky collectibles. We'll be focusing on the PlayStation 5 version here, so any button prompts you see will be for that console.
General Tips to Keep You Alive
First off, don't expect to be a tank. Amicia and Hugo are just kids, and they can't take many hits from guards or other threats. If you get spotted and can't deal with the situation quickly, you'll likely die and have to restart from the last checkpoint. Thankfully, the game is pretty good about saving your progress, so you usually won't lose much ground.
Here's a crucial point: pick-ups are easily missed. You'll encounter doors that Amicia has to bash open – these are often transitions to new areas, and once you go through, there's no turning back. The same goes for cutscenes; after they play, the story moves on, and you can't backtrack. If the guide mentions a collectible or even some rare crafting materials like leather or fabric, grab them right then and there. Missing something important, like a curiosity near the end of Chapter 6 or Chapter 16, could mean replaying an entire chapter, which is super frustrating!
The good news is that if you find a collectible, it's permanently unlocked for that save file. This is handy for a specific trophy in Chapter 14. However, this doesn't apply to crafting materials – you'll have to find those pieces of leather and cord again if you restart a checkpoint.
When you're aiming, whether it's at an enemy or a target like a brazier, make sure that aiming reticule turns yellow. As you unlock new ammo types, it's easy to forget to switch to the right one. Tossing the wrong ammo at a metal chest and getting no effect is a real pain.
Be super careful with the ◯ button. It often does things you don't want! If you're hiding from guards, pressing ◯ might make Amicia jump backward, alerting them. If you're holding a torch, pressing ◯ will drop it, and the rats will swarm you. Even when pausing the game, you press ◯ to close the menu, so just be mindful not to double-tap it.
A pro tip: at the start of chapters or after cutscenes, always take a moment to look behind you. The developers love hiding crafting materials in plain sight, just out of immediate view.
Crafting Tips for Early Game
When you first start crafting, focus on upgrading your 'pocket' so you can carry more materials. You'll need to do this at least twice to even access the highest tier upgrades, which require more than 12 of a resource. Your next priority should be your ammunition bag and your sling. There are later parts of the game where you can get stuck if you don't have enough Ignifer or Extinguis.
Early on, you'll learn recipes for Somnum ammo (needs fabric) and Luminosa ammo (needs leather). Fabric is pretty scarce early on, so try not to waste it on ammo. Leather is a bit more common, and you'll probably have to use Luminosa a few times. Still, it's generally better to avoid rats or distract them with Odoris rather than blasting them with Luminosa.
The third equipment tree, 'Attiral', isn't super useful. Dodging quietly doesn't matter much when the main goal is to avoid being seen at all! There's a trophy for upgrading all equipment, but honestly, you might want to save those resources for crafting Somnum and Luminosa instead. You can always reload a checkpoint after getting the trophy.
You'll unlock Alchemical upgrades around the halfway point. The first 'Containers' upgrade, which makes Odoris last longer, is really important for some sections. Other upgrades might not be as helpful. For instance, the tier III 'Instruments' upgrade lets you remove guards' helmets without special ammo, which sounds great, but by the time you can get it, you might find you don't really need it anymore.
Trophy Hunting Basics
You can unlock the Platinum trophy in a single playthrough. About half of the trophies (17 out of 36) come simply from finishing the game. Nine chapters have extra trophies, and most are pretty easy to get, though some are missable because you have to go off the main path.
One late-game trophy, 'Captain Sidekick', has a very small window to be unlocked. If you're aiming for that and the 'Botanist' trophy in the same run, you might need to reload a checkpoint. Most collectibles are easy to miss because they're often hidden well off the beaten path. If you do miss something, you can always replay a chapter to grab it.
Copyright and Acknowledgements
Copyright 2025 Christopher Williams
This guide may not be reproduced without my express permission for anything other than personal use.
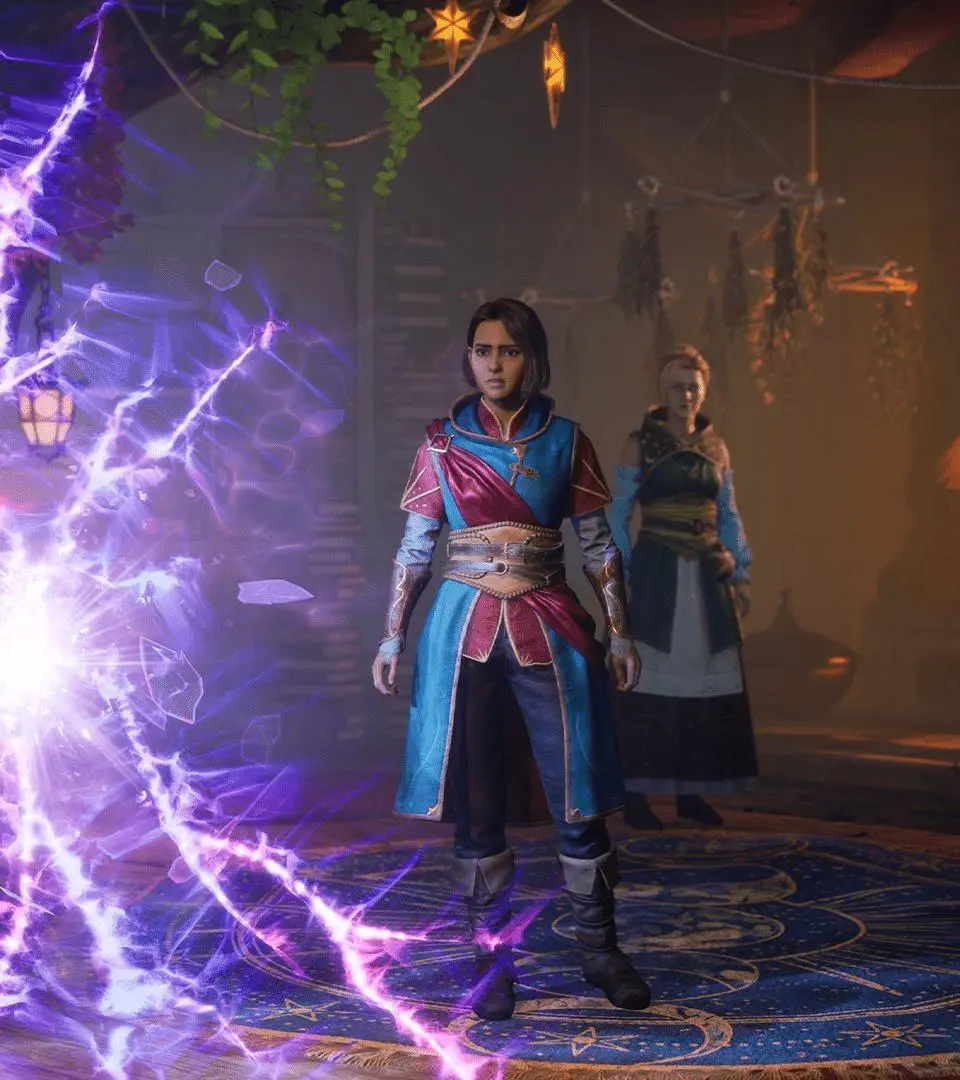
Character Creation
Learn how to create your perfect character in Split Fiction with our expert guide. We cover all the options, from appearance to starting stats, to get you ready for adventure.
Character Creation
Learn how to create your perfect character in Split Fiction with our expert guide. We cover all the options, from appearance to starting stats, to get you ready for adventure.

Similar guides you might like


100% Human-Written. AI Fact-Checked. Community Verified. Learn how AntMag verifies content