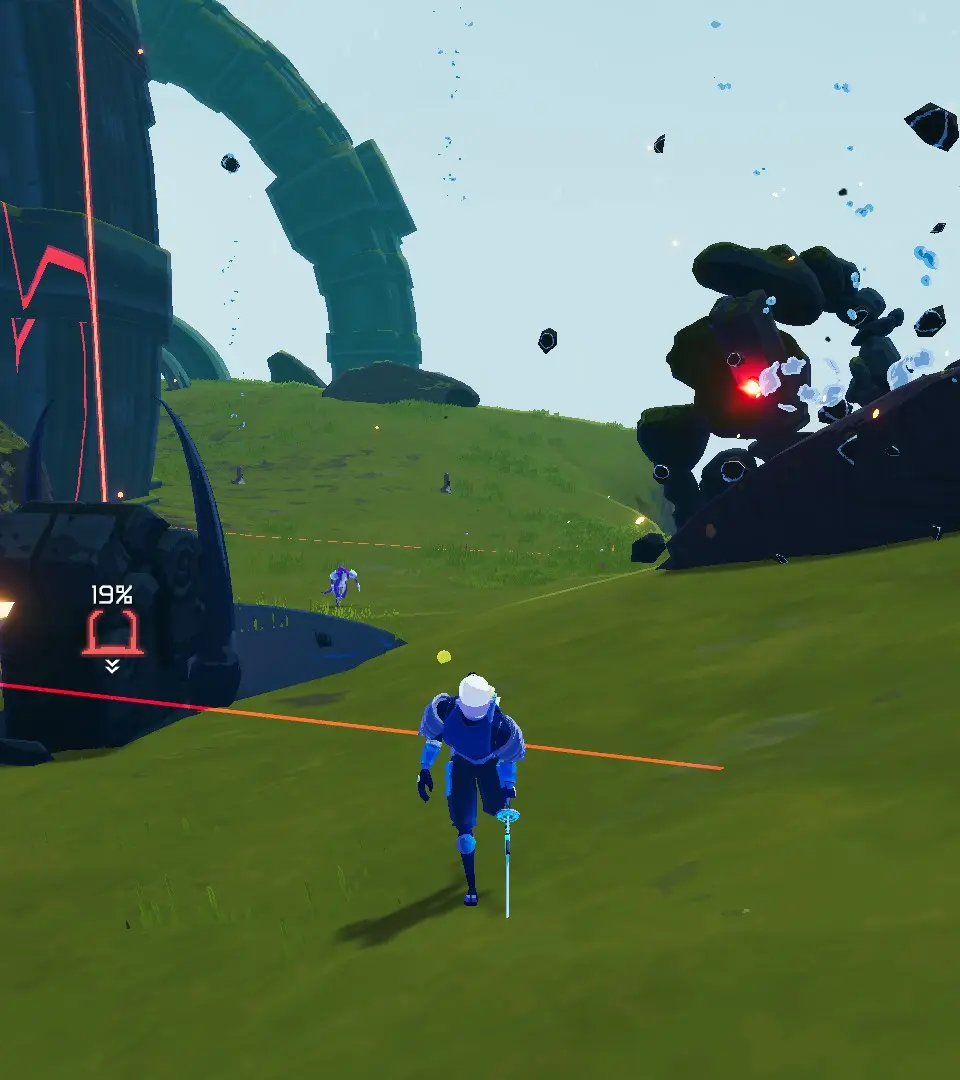
Risk of Rain 2 throws you onto an alien planet with nothing but your wits and a growing horde of monsters. As a survivor, you'll need to dash, shoot, and loot your way through increasingly dangerous environments, collecting a vast array of items that dramatically alter your abilities and playstyle with each loop. It's a cooperative roguelike where the challenge escalates relentlessly, pushing you to master your build and understand every enemy to stand a chance.
This guide is your lifeline for conquering Planet Petrichor. We'll break down the essential controls, uncover hidden unlocks, and lay out early-game strategies to get you started. Dive deep into item revelations, from common drops to powerful lunar equipment, and learn advanced tactics for surviving every loop. Whether you're aiming to make the ultimate choice for victory or simply want to understand how to survive the eternal challenges, we've got you covered.
Overview
Explore all Passive and Active items in Risk of Rain 2. Learn about Common, Uncommon, Legendary, Lunar, Void, and Equipment types to enhance your survivor's abilities.
Overview
Explore all Passive and Active items in Risk of Rain 2. Learn about Common, Uncommon, Legendary, Lunar, Void, and Equipment types to enhance your survivor's abilities.

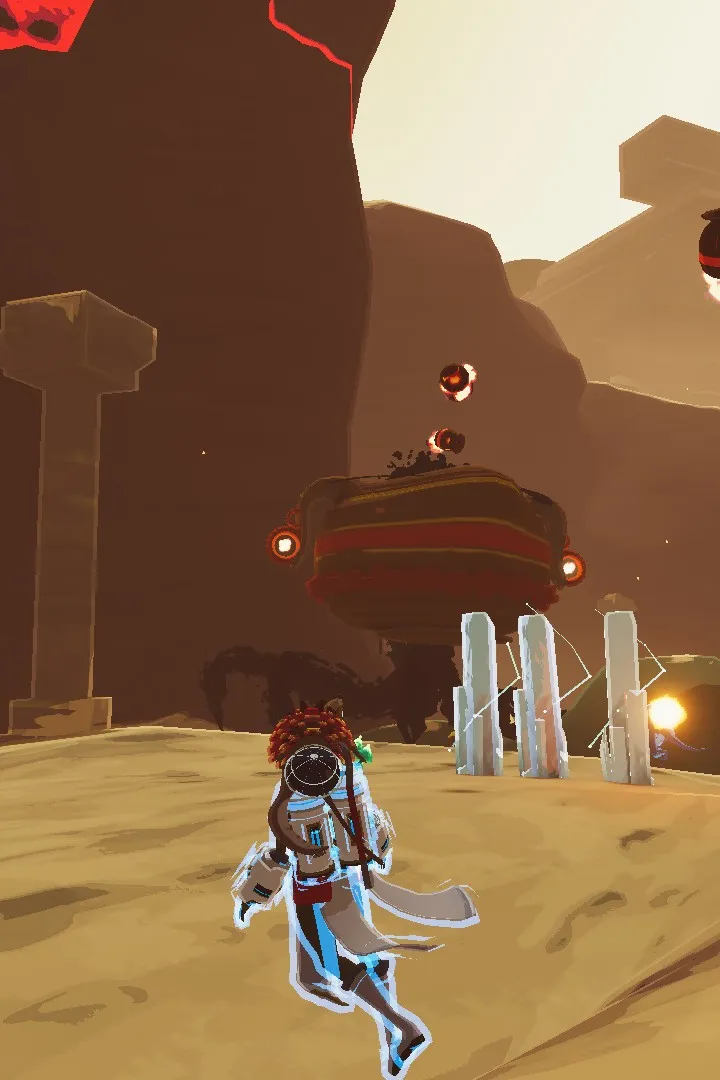
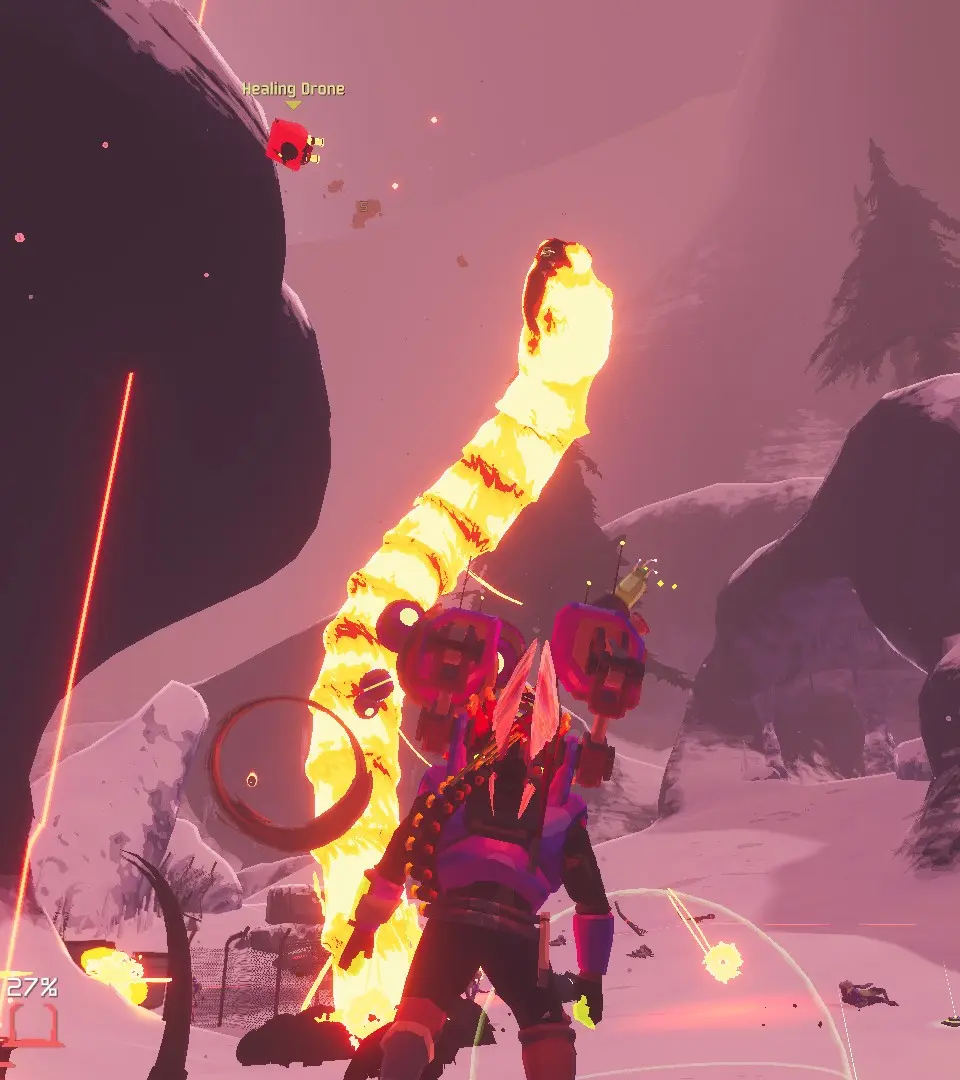
Enemy Focus: Greater Wisp
Learn how to effectively combat the Greater Wisp in Risk of Rain 2. This guide covers its attack patterns, weaknesses, and strategies for survival.
The Greater Wisp is an aerial enemy in Risk of Rain 2 that attacks with a rapid-fire projectile barrage. It is a common threat encountered in the early to mid-game stages.
- Attack: Fires a stream of homing projectiles.
- Behavior: Hovers and strafes, making it a mobile target.
- Weakness: Vulnerable to sustained damage, especially from characters with high rate-of-fire or area-of-effect attacks.
Strategy: Prioritize eliminating Greater Wisps quickly to prevent being overwhelmed by their projectiles. Characters with long-range capabilities can often take them down before they become a significant threat. For close-range characters, dodging their projectiles while closing the distance is key. Utilizing cover can also help mitigate damage from their barrage.
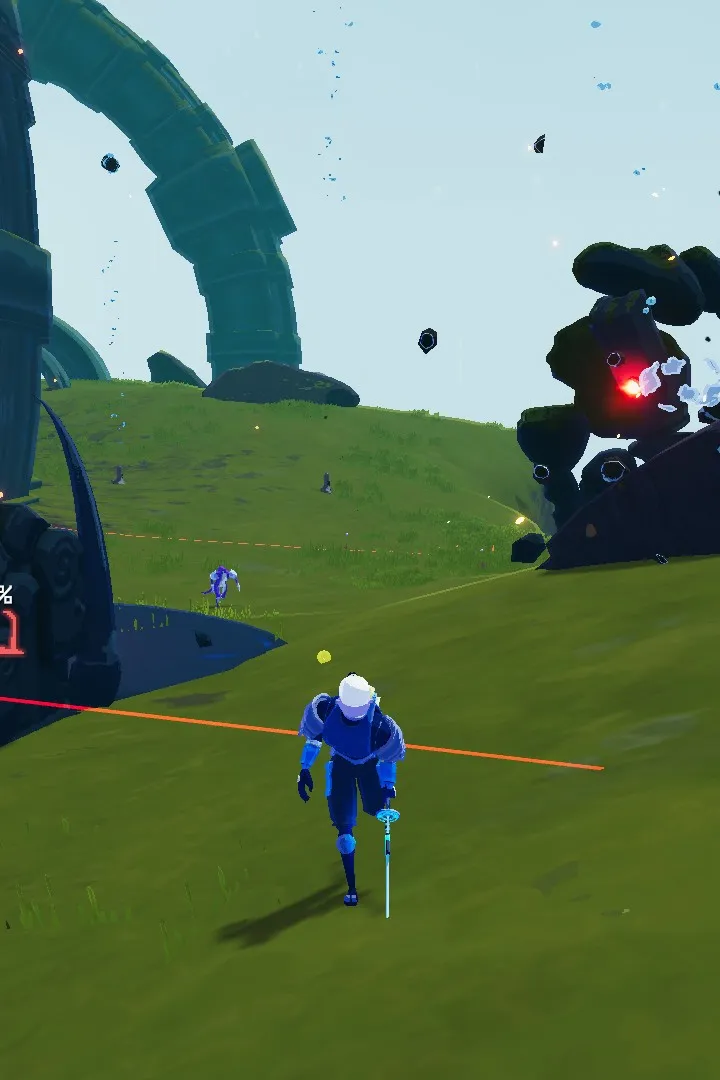
Getting Started
New to Risk of Rain 2? This guide covers the basics: surviving Petrichor V, understanding difficulty, and what to expect from survivors, items, and environments. Get started!
Getting Started
New to Risk of Rain 2? This guide covers the basics: surviving Petrichor V, understanding difficulty, and what to expect from survivors, items, and environments. Get started!
Controls and User Interface — Risk of Rain 2 Guide
Master Risk of Rain 2's controls and user interface with our comprehensive guide. Learn every button prompt, action, and UI element to dominate your runs.
This is a list of every item. Click on the respective icon in order to visit the item page.
| Action | Button |
|---|---|
| Repulsion Armor Plate | |
| Mocha | |
| Bolstering Lantern | |
| Eclipse Lite | |
| Topaz Brooch | |
| Tougher Times | |
| Tri-Tip Dagger | |
| Armor-Piercing Rounds | |
| Hiker's Boots | |
| Lens-Maker's Glasses | |
| Crowbar | |
| Warped Echo | |
| Bundle of Fireworks | |
| Bison Steak | |
| Delicate Watch | |
| Roll of Pennies | |
| Cautious Slug | |
| Power Elixir | |
| Paul's Goat Hoof | |
| Gasoline | |
| Chronic Expansion | |
| Medkit | |
| Bustling Fungus | |
| Focus Crystal | |
| Oddly-shaped Opal | |
| Personal Shield Generator | |
| Item Scrap, White | |
| Backup Magazine | |
| Elusive Antlers | |
| Energy Drink | |
| Sticky Bomb | |
| Stun Grenade | |
| Soldier's Syringe | |
| Monster Tooth | |
| Rusted Key |
Similar guides you might like


100% Human-Written. AI Fact-Checked. Community Verified. Learn how AntMag verifies content