Outlast 2 Part 5 walkthrough covering vaulting, opening doors, finding batteries, and collecting documents like Midwife's Lament.
Walkthrough
- 1Approach the fence-line and learn to vault by pressing "X" while moving towards waist-high objects.
- 2Vault over the fence and optionally check the nearby door, which cannot be opened.
- 3Continue forward to a shack on the right with a door that closes as you approach.
- 4Press the button prompt to open the door and hold "SQUARE" to open it slowly.
- 5Enter the shack and try the nearby jammed door.
- 6In the room on the right, find the note [_MY DEAR SWEET ELLIE_] on the table.
- 7You can look around with R3 and zoom with the UP and DOWN Directional Buttons to examine the note.
- 8Turn around and explore the room behind you. On the shelf in the back left, find a [_BATTERY_] for your night vision.
- 9Press the TOUCH PAD to see how many batteries you have.
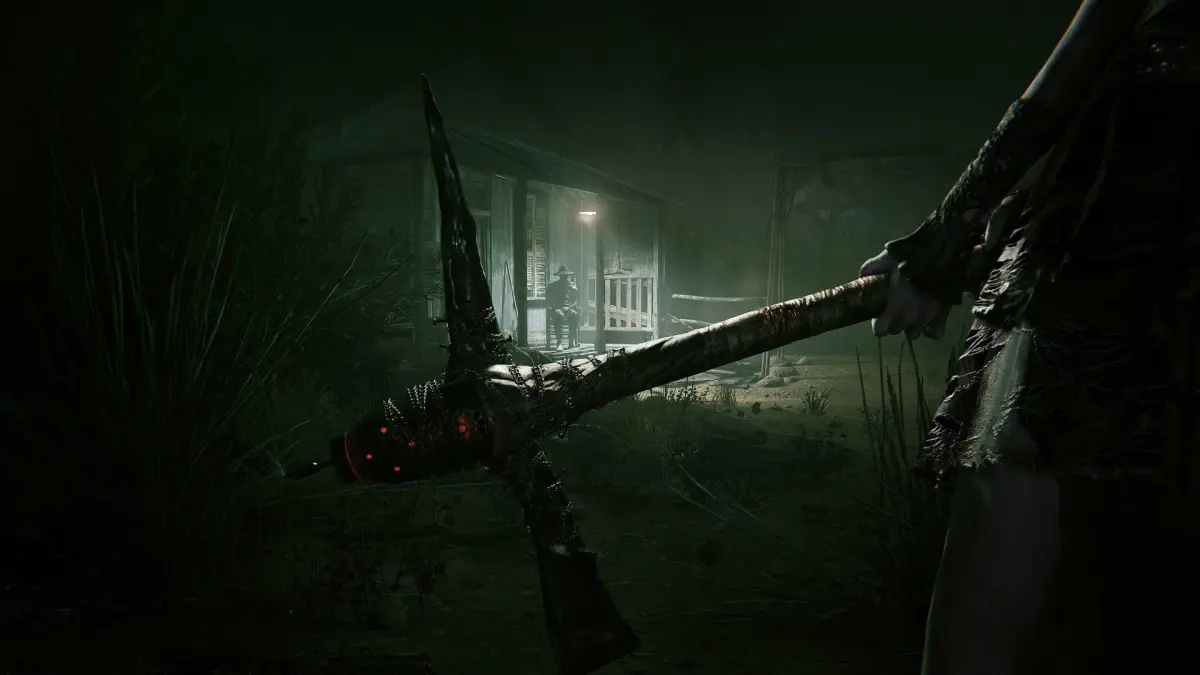
- 10Exit the house and continue past it, looking to the right for an unsettling, rambling person who is not a threat.
- 11Continue onward to see more structures and learn to peek by pressing L2 or R2.
- 12Enter the shed ahead and try to see what's under the tarp.
- 13Continue to the left, heading towards a baby. You can hide in the water barrel to the left before the baby.
- 14Enter the door on the LEFT nearby (the one that slammed shut).
- 15On the shelves to the left, find a [_BANDAGE_].
- 16On the table, find the [_DEAR FATHER_] document.
- 17Leave the house and take an immediate left.
- 18Head forward a little and find a campfire to the right. Search around it for a [_BATTERY_].
- 19Head back and right, around to the back of the house. Focus your camera on the back fence to find the [_REMEMBERING THE LOST_] recording.
- 20Look for a locked door and head to the window to the right of it.
- 21Press SQUARE to open the window and press X while moving towards it to enter.
- 22Upon entering the house, note the messages about doors and beds; some doors have deadbolts, and you can hide by crawling under beds.
- 23Check the door to the right of the bed, unlock it, and head outside into a fenced-in area.
- 24Look to the left for a hole to crawl through.
- 25Crouch by pressing "O" and follow the trail downward, noting the crosses.
- 26Head down the stairs to a building and find the [_MIDWIFE'S LAMENT_] document on the table.
- 27Exit through the other door and continue up the path.
- 28Crawl under a fence ahead.
- 29Continue forward and enter the barn on the left to find a [_BATTERY_].
- 30Continue to the left of the barn and approach the house ahead. A figure will appear; run away to make it disappear.
- 31Enter the house on the left by opening the window to the right of the locked door.
- 32Inside, look to the left for a [_BANDAGE_] and check the right kitchen area for a [_BATTERY_].
- 33Exit the house and continue down the path.
- 34When the music picks up, go north and crawl under the wooden fence/wall to reach a safe area.
- 35Head straight in the segmented barn and jump over barriers to reach a broken ladder.
Tips
- Holding SQUARE opens doors slowly, which may have future implications.
- Zooming with the Directional Buttons is handy for examining notes and items.
- Peeking with L2 or R2 can be useful for observing your surroundings.
- Hiding in water barrels is a viable option before encountering certain events.
- Remember that some doors have deadbolts that can be used to lock or unlock them.
- Crawling under beds is a way to hide.
100% Human-Written. AI Fact-Checked. Community Verified. Learn how AntMag verifies content