
Survive Max Payne 3 Chapter XI: One More Drink, For the Road. Utilize Bullet Time effectively in close-quarters bar brawls and alley pursuits.
This chapter throws Max into a desperate fight through a dilapidated bar and its surrounding alleyways. Expect close-quarters combat and plenty of opportunities to utilize Bullet Time effectively. Keep an eye out for painkiller stashes as you'll likely take some hits.
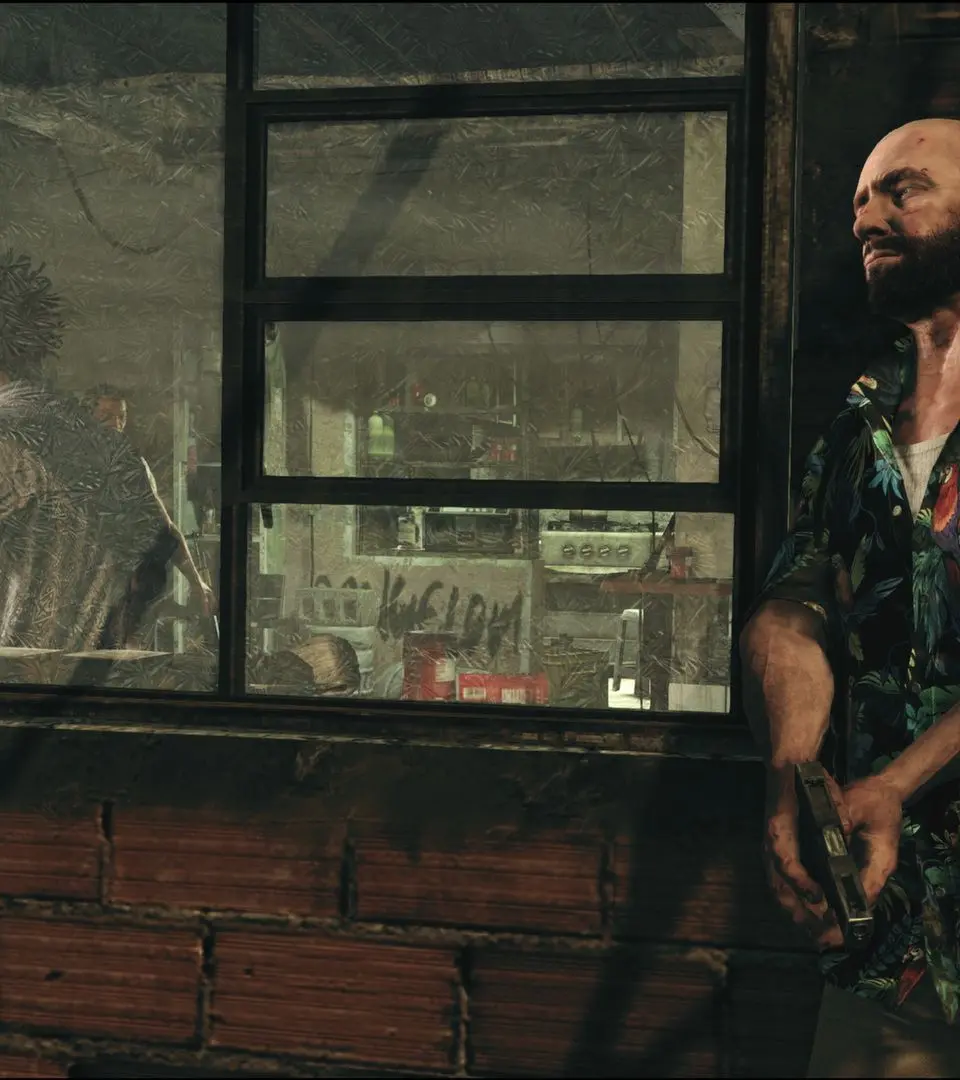
The Bar Brawl
You'll start in the main bar area, immediately under fire. Two armed thugs are positioned directly ahead, one behind the bar and another near the pool table. A third will emerge from a side room to your left. Prioritize the immediate threats.
- Initial Engagement: Immediately activate Bullet Time and perform a Shootdodge towards the pool table for cover. Take down the two visible enemies.
- Flanking Enemy: As the third enemy appears from the side room, use the pool table or overturned chairs for cover. A well-placed headshot with your Desert Eagle can quickly neutralize him.
- Item Collection: After clearing the initial room, check behind the bar for a Painkiller bottle and some 9mm ammo. There's also a Pump-Action Shotgun leaning against the wall near the back exit, which will be invaluable for the next section.
Back Alley Ambush
Exiting the bar through the back door leads you into a narrow, trash-strewn alley. This area is a classic ambush point, so proceed with caution.
- First Wave: As you step into the alley, two enemies will appear from around the corner to your right. They're often armed with Ingram submachine guns, so their fire can be intense.
- Strategy: Immediately duck behind the large dumpster on your left. Peek out and use short bursts of Bullet Time to take them down. The Pump-Action Shotgun is highly effective here due to the close range.
- Second Wave: Once the first two are down, another two enemies will emerge from a doorway further down the alley on the right. One might attempt to flank you from the left.
- Strategy: Maintain cover behind the dumpster. If an enemy attempts to flank, be ready to turn and Shootdodge to create distance or get a clear shot. Use your remaining Painkillers if your health is low.
- Item Collection: Search the bodies of the fallen enemies for Ingram ammo and potentially another Painkiller. There's also a small crate near the end of the alley containing shotgun shells.
The Rooftop Escape
After clearing the alley, you'll find a ladder leading up to a series of rooftops. This section requires careful movement and precise shooting.
- Climb and Cover: Ascend the ladder. As soon as you reach the top, immediately take cover behind the low wall to your left. Two snipers are positioned on a distant rooftop directly across from you.
- Sniper Engagement:
- Strategy: Equip your most accurate weapon, ideally the Desert Eagle or a collected Colt Commando if you have one. Use Bullet Time to line up headshots on the snipers. They have good cover, so patience is key.
- Alternative: If you're struggling with the snipers, a risky but effective strategy is to use a series of Shootdodges across the rooftop, taking cover behind various obstacles, to close the distance and use a more powerful weapon. However, this exposes you to their fire.
- Path Forward: Once the snipers are eliminated, proceed across the rooftop. You'll need to jump a small gap to reach the next building. Be careful not to fall.
- Final Encounter: On the final rooftop, before dropping down to the next area, a lone enemy will be waiting near the edge, often armed with a Sawed-Off Shotgun. Take him out quickly before he can get a close-range blast off.
- Chapter End: Drop down from the final rooftop to trigger the end of the chapter.
100% Human-Written. AI Fact-Checked. Community Verified. Learn how AntMag verifies content