
Conquer Max Payne 3's Chapter X: Fast Track to Nowhere. Manage intense firefights in tight corridors using Bullet Time and cover wisely.
Welcome to Chapter X, "Fast Track to Nowhere," a relentless gauntlet that will test your reflexes and strategic thinking. This chapter is characterized by tight corridors, unexpected enemy placements, and a constant need for bullet time management. Be prepared for intense firefights and remember that cover is your best friend.
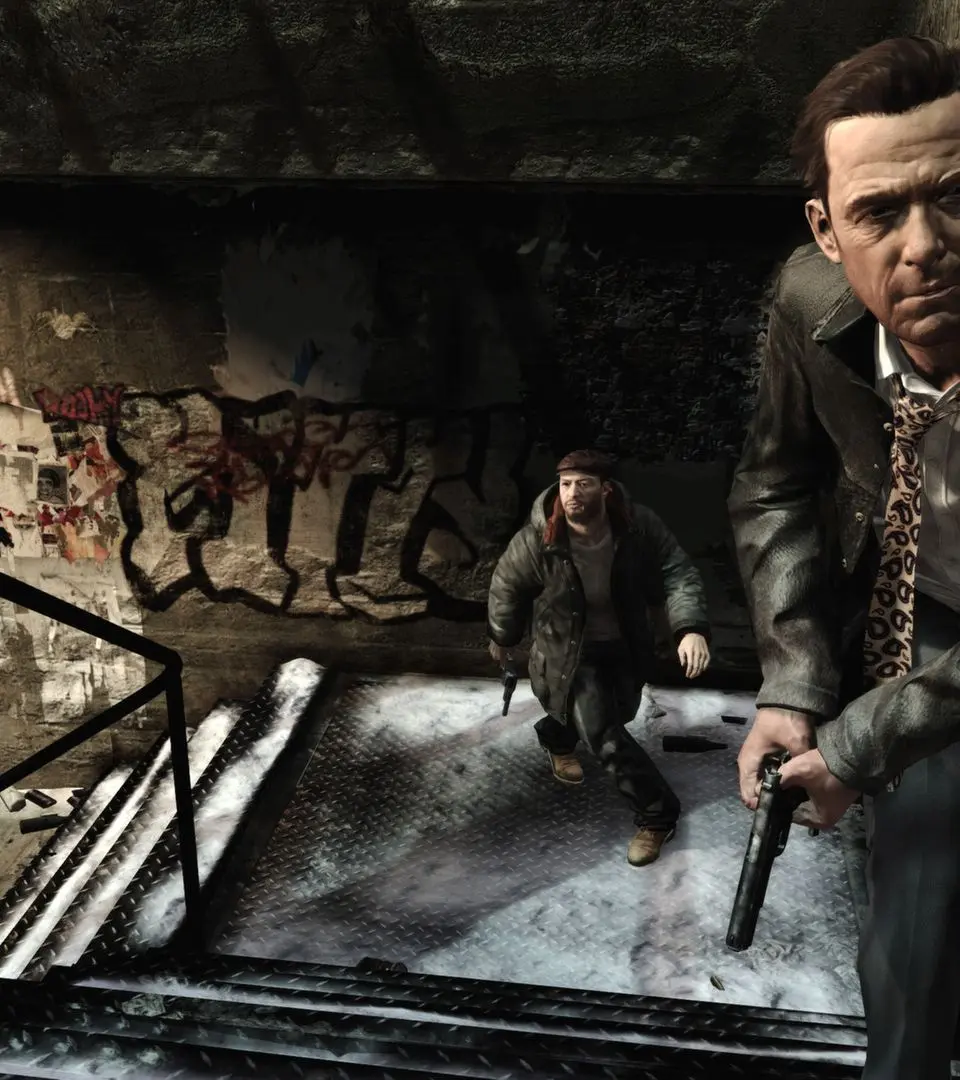
The Train Yard Gauntlet
You begin this chapter amidst a chaotic train yard, immediately under fire. Your primary objective is to clear the initial wave of hostiles and secure a path forward.
- Initial Engagement: As soon as the chapter loads, take cover behind the overturned crates directly in front of you. Two armed thugs will emerge from the left, one wielding a Pump-Action Shotgun and the other a 9mm Pistol. Use bullet time to dispatch them quickly.
- Scavenging Supplies: After neutralizing the first two, move cautiously forward. To your immediate right, behind a stack of railway ties, you'll find a Painkiller and a box of 9mm Ammo.
- Mid-Yard Ambush: Proceed further into the yard. As you approach the derelict train car on your left, three more enemies will appear: one from inside the train car with an MP5, and two from behind a stack of pipes to your right, both carrying Dual 9mm Pistols. Prioritize the MP5 wielder, as their sustained fire can be devastating. Utilize the train car for cover.
- Hidden Stash: Before advancing, check the small shack at the far end of the train yard, near where the two pistol-wielding enemies emerged. Inside, you'll discover a valuable Painkiller and a full clip of Shotgun Shells.
Through the Maintenance Tunnels
Once the train yard is clear, your path leads into a series of dimly lit maintenance tunnels. These tunnels are narrow and offer limited cover, making careful progression crucial.
- Tunnel Entrance: The entrance to the tunnels is located to the left of the shack you just looted. As you enter, immediately take cover behind the large electrical box. Two enemies will be waiting: one directly ahead with a Colt Commando, and another around the corner to your left with a Sawed-Off Shotgun.
- Bullet Time Strategy: Engage the Colt Commando first with a quick burst of bullet time. As soon as he's down, pivot and use a shootdodge to clear the corner and take out the shotgunner before he can get a close-range blast off.
- Ventilation Shaft Diversion: About halfway through the first tunnel section, you'll notice a partially open ventilation shaft on the ceiling. While not mandatory for progression, entering it will lead you to a small, hidden room containing two Painkillers and a Desert Eagle with a full magazine. Be aware that exiting the shaft will trigger two new enemies in the main tunnel, both armed with 9mm Pistols.
- Final Tunnel Encounter: As you approach the exit of the tunnels, a final group of three enemies will attempt to block your path. One will be positioned on an elevated platform with a Sniper Rifle (a rare find, but dangerous), while the other two will advance from the ground level with Ingrams. Focus on the sniper first; a well-placed headshot with your Desert Eagle in bullet time will take him down. Then, deal with the Ingram-wielding thugs.
The Control Room Confrontation
Exiting the tunnels brings you to a large control room, a multi-tiered area with several vantage points for enemies. This is one of the most challenging sections of the chapter.
- Entry Point: You'll emerge on a lower level of the control room. Immediately seek cover behind the large computer console.
- First Wave: Two enemies will be on the main floor, one behind a desk with a M4 Carbine and another patrolling with a Grenade Launcher. A third enemy will be on the upper walkway to your right, armed with an MP5. Prioritize the grenade launcher, as its splash damage can quickly end your run.
- Upper Level Assault: After clearing the initial wave, use the stairs on the left side of the room to ascend to the upper walkway. Be cautious, as two more enemies will be waiting at the top, both with Dual Ingrams. Use the pillars and machinery for cover as you advance.
- Control Panel Access: Once the upper level is secure, locate the main control panel. Interacting with it will trigger a short cutscene and open the next area. Before leaving, check the small office adjacent to the control panel for a Painkiller and a box of M4 Ammo.
With the control room secured, you're one step closer to uncovering the truth. Stay vigilant, Max, the path ahead is rarely clear.
100% Human-Written. AI Fact-Checked. Community Verified. Learn how AntMag verifies content