Guide to finding the Trenchcoat upgrade and Power Node Fragments in Axiom Verge. Includes walkthrough for the Ukkin-Na area, boss fight strategy, and collectible locations.
Head left until you reach the first vertical room. Jump up and glitch the mechanical Annihiwaiter enemy to make him stand up. You can ride him as he walks left and right, so use him to jump up to where the Pillbug enemy is, then go up and right to find 1: Health Node Fragment 7 of 20. Return to ground level and continue going right until you reach a save point. Exit through the top left door here, and then get ready to follow a long and trippy linear path. There's nothing to collect and nothing really worth mentioning on this entire path other than the white hallucinations near the end that are invincible but quite damaging. Take out the things you can, avoid the things you can't, and eventually you'll make it to the top. You can save before the boss, but it's very easy.
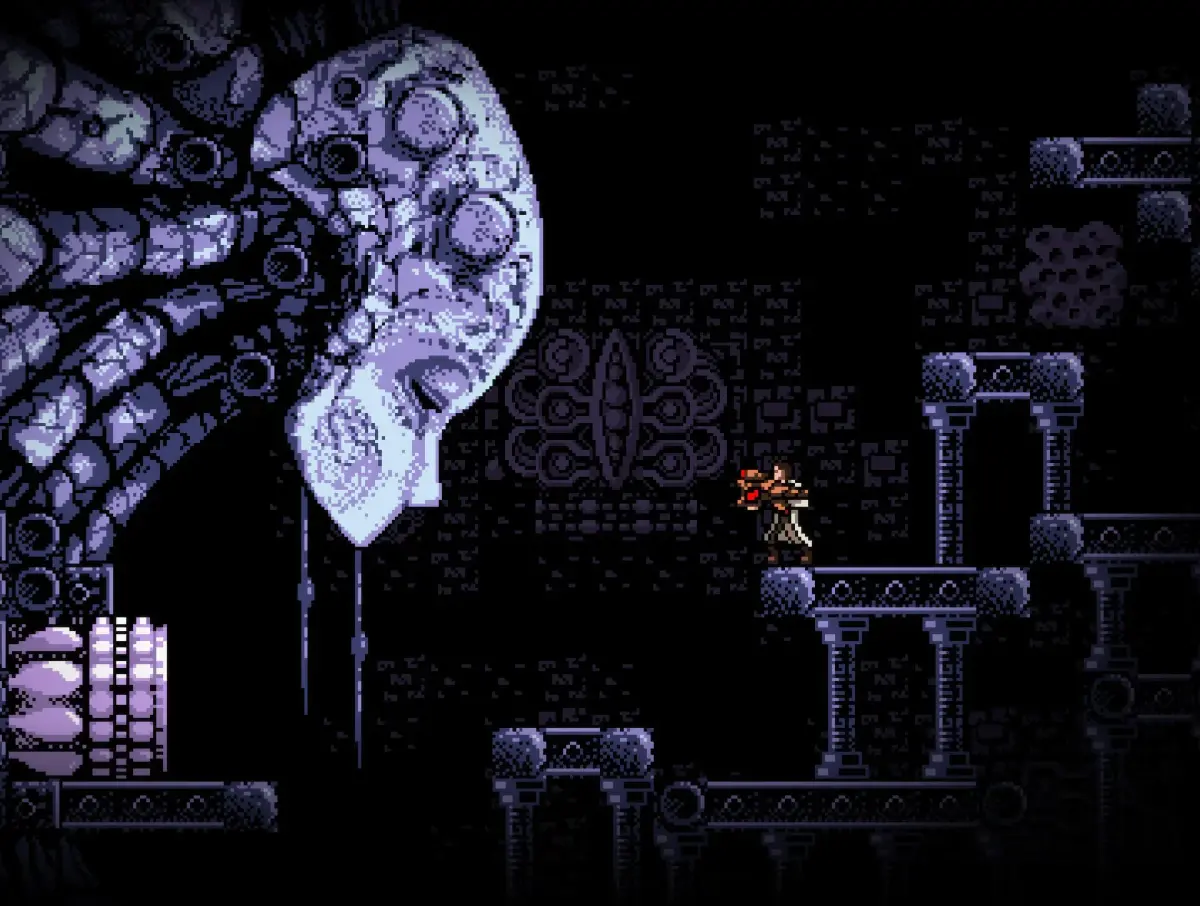
Boss Fight 5: Vision
This is not a traditional boss fight. Your hallucination is so severe that you believe you are the boss and a clone of you is trying to kill you. You can shoot at the clone, but it is invincible. The only way to proceed is to die. You can speed this up by standing next to the clone, but the fight will end on its own eventually.
Once the boss is defeated, you'll wake up next to Ophelia. Exit right to a long vertical room. You can save in the room to the right. Make your way up and you'll find 2: Health Node 5 of 9. Keep going up and right towards the boss room, then start backtracking down the area you traversed while hallucinating. It will look different. In the room where Giant Boulderback enemies burst from pillars, glitch the farthest left one to make it destroy its hiding place as it lands. Kill it after it goes as far down as it can, then fire your Drone down inside to find a hidden pathway at the bottom. Follow it and 3: Power Node Fragment 2 of 18 is yours. Return to Trace and continue down a couple more rooms until you reach the large 2 x 4 room.
Go down, left, and circle around to enter another door in the ceiling that leads to a parallel vertical room. At the top you'll find an upgrade to the Modified Lab Coat called the 4: Trenchcoat. This upgrade allows you to warp freely by double tapping a direction. It also lets you go through walls that are two blocks wide and ceilings/floors that are a single block tall. Use it to get the 5: Power Node Fragment 3 of 18 you saw upon entering this room. Afterwards, head to the vertical room below the 2 x 4 room. Use your new ability to phase through the wall and enter the top left door here to find a note titled 6: The Breach. Head back to the vertical room and keep going down until you reach the Save Point on ground level. Save if you wish and head right to reach the next area.
100% Human-Written. AI Fact-Checked. Community Verified. Learn how AntMag verifies content