Utilize the Plasma Gun's Overcharge ability effectively in Warhammer 40,000: Boltgun 2. Learn when to unleash its most potent blast.
The overcharge function of the Plasma Gun in Warhammer 40,000: Boltgun 2 is its defining feature, transforming it from a potent weapon into an instrument of apocalyptic destruction. By holding down the fire button, the Plasma Gun builds up a charge, culminating in a significantly more powerful blast that can obliterate even the most heavily armored or resilient enemies. This capability is crucial for tackling the game's most dangerous threats, such as Chaos Space Marine Terminators, Greater Daemons, and powerful Daemon Engines. However, this immense power comes with a significant risk: plasma overload. If the charge is held for too long, or if the weapon malfunctions at a critical moment, it can explode, dealing substantial damage to the player. Mastering the Plasma Gun overcharge requires precise timing, a keen understanding of enemy attack patterns, and the ability to manage the weapon's inherent volatility. Successfully unleashing a fully charged blast at the opportune moment can instantly neutralize a major threat, saving you from certain death.
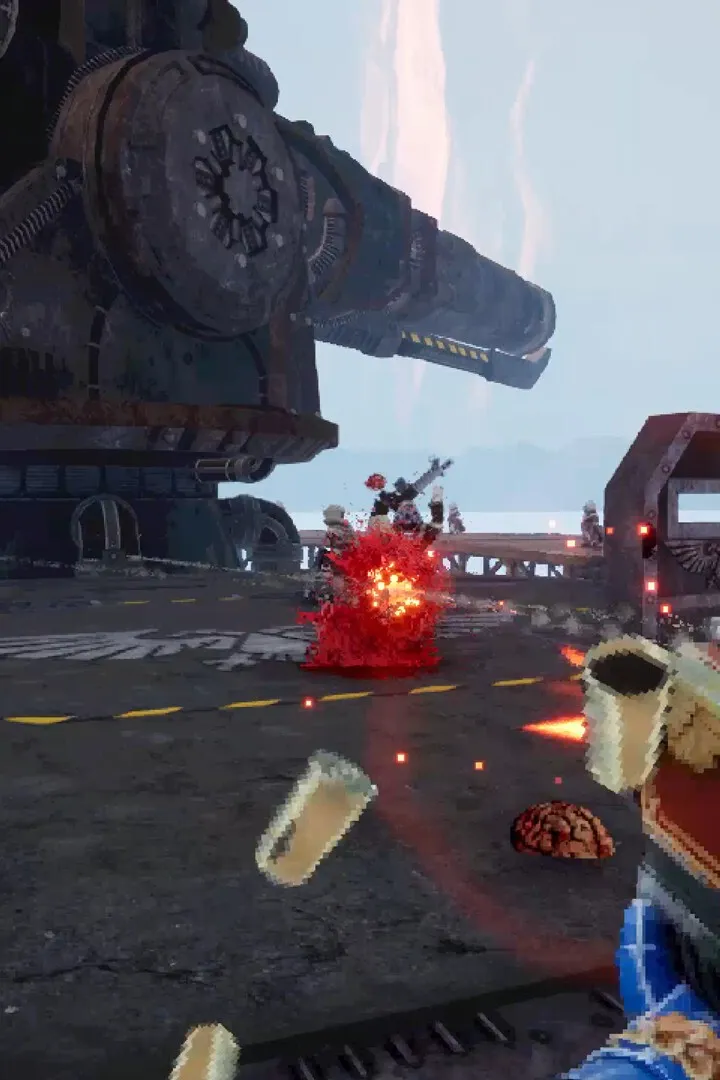
The Plasma Gun overcharge in Warhammer 40,000: Boltgun 2 is a high-risk, high-reward mechanic. To activate it, hold down the fire button. You will see a visual charge build-up on the weapon and hear an escalating sound cue. Releasing the fire button at the right moment unleashes a devastatingly powerful plasma bolt. This overcharged shot deals significantly more damage than a standard shot and can often vaporize lesser enemies or critically wound tougher ones. It is the ideal tool for quickly eliminating priority targets like Chaos Space Marine Elites, Greater Daemons, or any enemy that poses an immediate and severe threat. However, the danger lies in the "plasma overload." There are visual and audio cues that indicate the weapon is nearing a critical charge. If you continue to hold the fire button past this point, the Plasma Gun will explode, dealing damage to you. The exact timing for a safe overcharge can vary slightly, so practice is key. Generally, you want to release the fire button just as the visual charge reaches its peak or the sound cue becomes most intense, but before the weapon visibly starts to destabilize. Some players may find it easier to use the overcharge function when they have a buffer of health or armor, allowing them to absorb a potential overload. Alternatively, using the overcharge when an enemy is locked into an attack animation, giving you a window of safety, is a wise strategy. Mastering this mechanic is essential for tackling the game's toughest encounters and truly unleashing the destructive power of the Adeptus Astartes.
100% Human-Written. AI Fact-Checked. Community Verified. Learn how AntMag verifies content