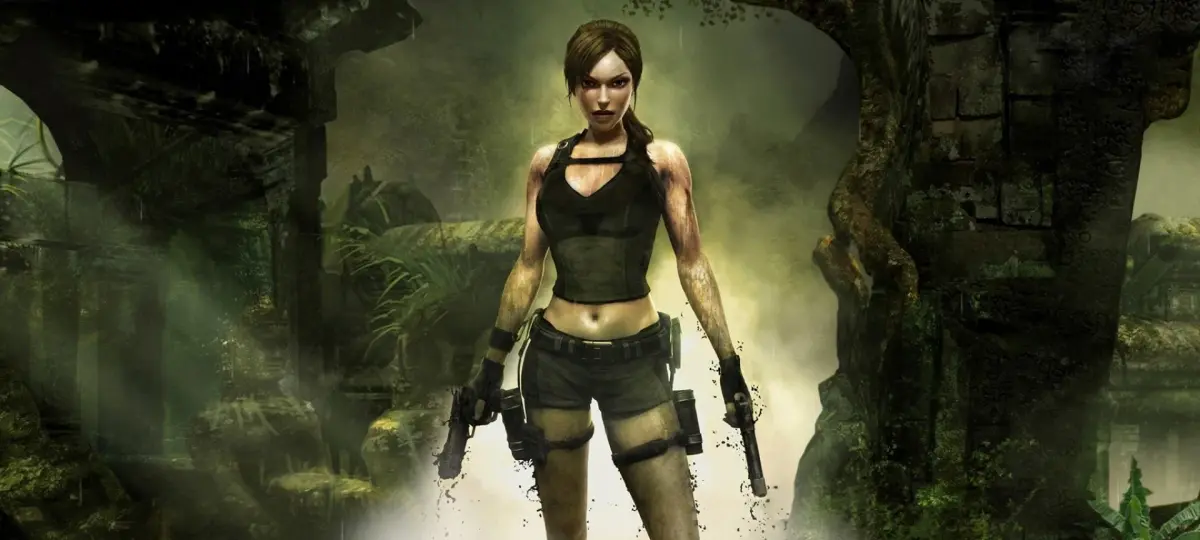
Follow this Tomb Raider: Underworld walkthrough to find Treasures 5 and 6, navigate complex statue puzzles, and overcome environmental challenges in the toxic sludge room.
Walkthrough:
- Head to the broken ramp on the right side of the room.
- Jump across the ramp sections, then to a pillar, and then to another ramp section.
- Jump to a ledge, hop up to the next, shimmy left, and hop backwards to a third ramp section.
- Jump to a fourth ramp section, walk the beam, and jump to a fifth section to grab Treasure 2/6.
- To return, make your way back to the beam, drop off the left side, and shimmy to the next ramp section. Drop off to land on an outcropping, move forward to fall off, likely landing on stairs.
- Pick up the SCEPTER piece on the floor and place it in the hand hole of the nearest statue.
- Head to the other side of the room, pull the second SCEPTER from the ground, and place it in the nearby statue.
- Turn and move this statue until it faces the toxic pool, then slide it along the track until it stops. [CHECKPOINT]
- Turn around, approach the other statue on this side, and repeat the process. [CHECKPOINT] A cutscene shows a door opening.
- Enter the newly opened door to find a STATUE KEY. Pick it up and head back out. [CHECKPOINT]
- Drop off the ledge and run to the statue you ignored earlier. Use the STATUE KEY at the back of its head.
- Move this statue towards the toxic pool. A lock on another statue near the door lowers. [CHECKPOINT]
- Move to the other side of the room and move the two unlocked statues towards the pool. A door opens.
- Ascend the broken ledges to the doorway and head down the hallway. Doors will close behind you. [CHECKPOINT]
- Head right and up the stairs to the roof. Move left carefully, then leap off the edge and slide down the ramp.
- Head forward and pick up Treasure 3/6 on the left.
- Approach the notch in the wall in the area with two gates and activate the pressure plate to open them.
- Enter one of the gates, defeat the thrall, and head upstairs to grab the second STATUE KEY and a checkpoint.
- Head back outside and place the STATUE KEY in the notch in the wall to open another doorway. [CHECKPOINT]
- Head through the door and down the hallway until you reach a room with a climbable wall.
- Climb the wall to a ledge on the right, walk to the end, and hang off to a handhold.
- Work your way right, jump to the next ledge, then up again, and backwards to a wall with crevisses. Climb up and pull yourself to the top. [CHECKPOINT]
- Turn around, jump to the handhold notch, then to a beam. Balance to the end, jump to the next beam, and balance across.
- Turn left and somersault jump to the ledge.
- Head into the alcove, shimmy upwards, and make your way down the hallway.
- At the end, make your way across two beams. Turn and look for a lever near a door.
- Jump from the angled section of ledge to the angled section of wall, shimmy around, and climb up to a horizontal pole.
- Turn and shimmy left to a pole near the door. Jump to it to open the exit door.
- Head through the door, watch it close, and proceed. [CHECKPOINT]
- Climb ledges and slide down a long ramp into a room with pillars.
- Head right to a door with a weight lever on the left. Use a Chimney jump to reach it and open the door.
- Head through the door, slide down another ramp, and continue until you reach the
100% Human-Written. AI Fact-Checked. Community Verified. Learn how AntMag verifies content