Learn the map layouts and key locations in SUPERVIVE, including the Crimson Wastes Eastern Sector. Understand choke points and resource caches for survival.
Understanding the intricate layouts of SUPERVIVE's battlegrounds is paramount to survival and victory. This section delves into the strategic importance of various zones, highlighting critical choke points, resource caches, and tactical advantages.

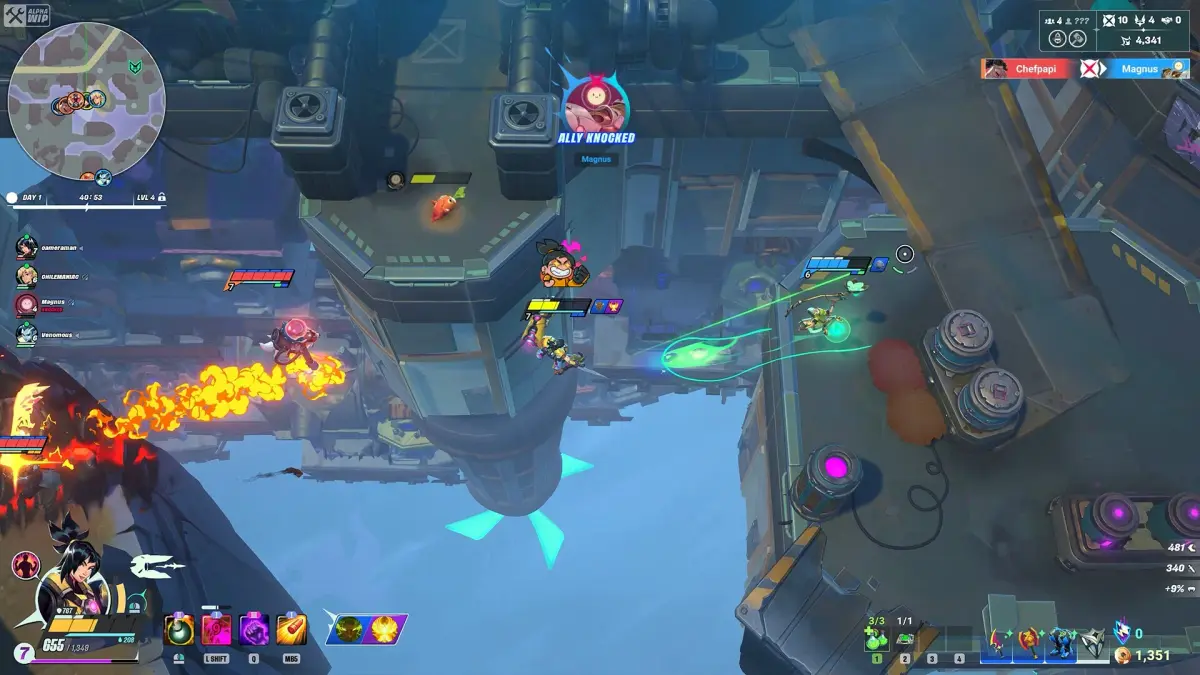
The Crimson Wastes: Eastern Sector
The Eastern Sector of the Crimson Wastes is characterized by its open, yet deceptively complex, terrain. Success here hinges on controlling the central elevated platform and utilizing the surrounding cover effectively.
- Central Elevated Platform (The Eyrie): This commanding position offers unparalleled sightlines across the entire sector.
- Strategy: Prioritize securing The Eyrie early. Deploy a long-range specialist (e.g., "Marksman" class with a Precision Rifle) here to suppress enemies and call out movements.
- Item Location: A guaranteed Medkit (Large) spawns on the northern edge of the platform, often contested.
- Scavenger's Alley: A narrow, debris-filled path running along the southern perimeter.
- Strategy: Ideal for flanking maneuvers or quick retreats. Be wary of ambushes from the numerous blind corners.
- Item Location: Small chance to find Scrap Metal or Basic Ammunition Crate tucked behind overturned vehicles.
- Collapsed Overpass: The ruins of a highway bridge on the western side, offering limited high ground.
- Strategy: Provides decent cover for mid-range engagements but is vulnerable to grenades from below. Use it to push towards The Eyrie or defend against pushes from the Western Sector.
- Item Location: A single Frag Grenade often spawns near the central support pillar.
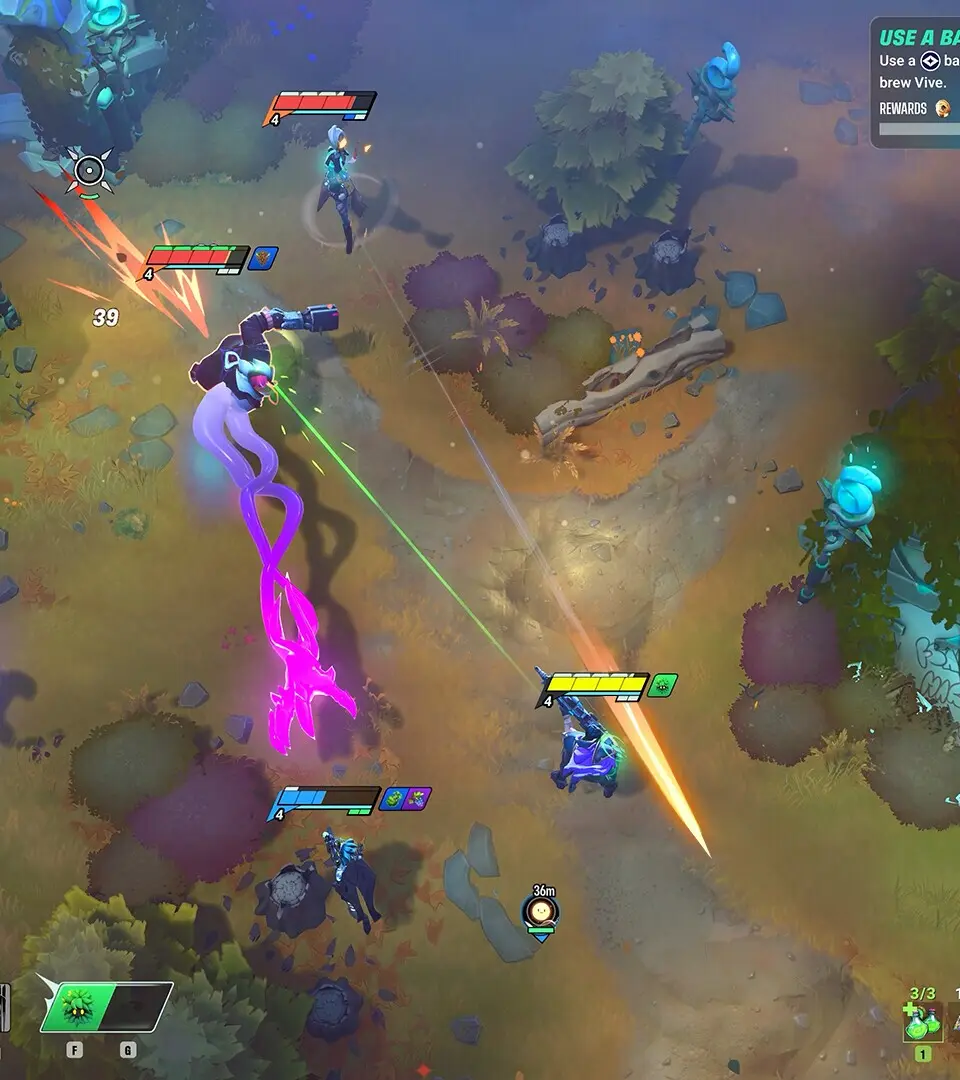
The Verdant Sanctuary: Sunken Gardens
The Sunken Gardens present a stark contrast to the Wastes, featuring dense foliage, winding paths, and multiple levels of elevation. Close-quarters combat and environmental awareness are key.
- Central Water Feature (The Oasis): A large, shallow pool surrounded by dense plant life.
- Strategy: While visually appealing, The Oasis offers minimal cover. Crossing it exposes you to fire from all sides. Use the surrounding flora for concealment.
- Item Location: Rare chance for a Healing Orb to appear at the center of the pool, but retrieving it is highly risky.
- Whispering Pathways: A network of narrow, overgrown trails that crisscross the gardens.
- Strategy: Perfect for stealthy approaches and ambushes. Equip a silenced weapon (e.g., Shadow Pistol) and utilize the "Stalker" class's abilities for maximum effect.
- Item Location: Small caches containing Stealth Injections or Smoke Grenades can be found hidden within dense bushes.
- Ancient Terrace: An elevated stone platform overlooking the entire Sunken Gardens.
- Strategy: Similar to The Eyrie, this position grants excellent overview. However, it's more exposed. A "Guardian" class with a Deployable Shield can fortify this position effectively.
- Item Location: A powerful Energy Cell (Advanced) often spawns here, crucial for powering high-tier abilities.
The Industrial Complex: Assembly Line
The Assembly Line is a chaotic maze of machinery, conveyor belts, and tight corridors. Expect intense, fast-paced engagements and utilize the environment for cover and verticality.
- Main Conveyor Belt System: A constantly moving series of platforms that bisect the map.
- Strategy: Use the conveyor belts to quickly traverse sections or to gain a height advantage over enemies below. Be mindful of the direction of movement; it can push you into danger.
- Item Location: Tool Kits and Repair Drones are frequently found on stationary platforms adjacent to the belts.
- Overhead Gantry: A series of walkways suspended above the main assembly floor.
- Strategy: Provides excellent vantage points for suppressing enemies on the ground. However, it's a high-risk, high-reward position due to limited cover. A "Demolitions Expert" with a Rocket Launcher can clear out entrenched enemies from here.
- Item Location: A rare Plasma Core, essential for crafting advanced weaponry, can sometimes be found at the very end of the gantry.
- Maintenance Tunnels: A series of cramped, dark tunnels running beneath the assembly floor.
- Strategy: Ideal for flanking or escaping intense firefights. Be prepared for close-quarters encounters and potential ambushes. The "Breacher" class excels in these confined spaces with a Combat Shotgun.
- Item Location: Night Vision Goggles or Flashbangs are common finds, aiding navigation and combat in the low-light conditions.
100% Human-Written. AI Fact-Checked. Community Verified. Learn how AntMag verifies content