Learn SUPERVIVE controls. This guide breaks down every input, offering strategies to optimize movement and interaction for survival in its treacherous world.
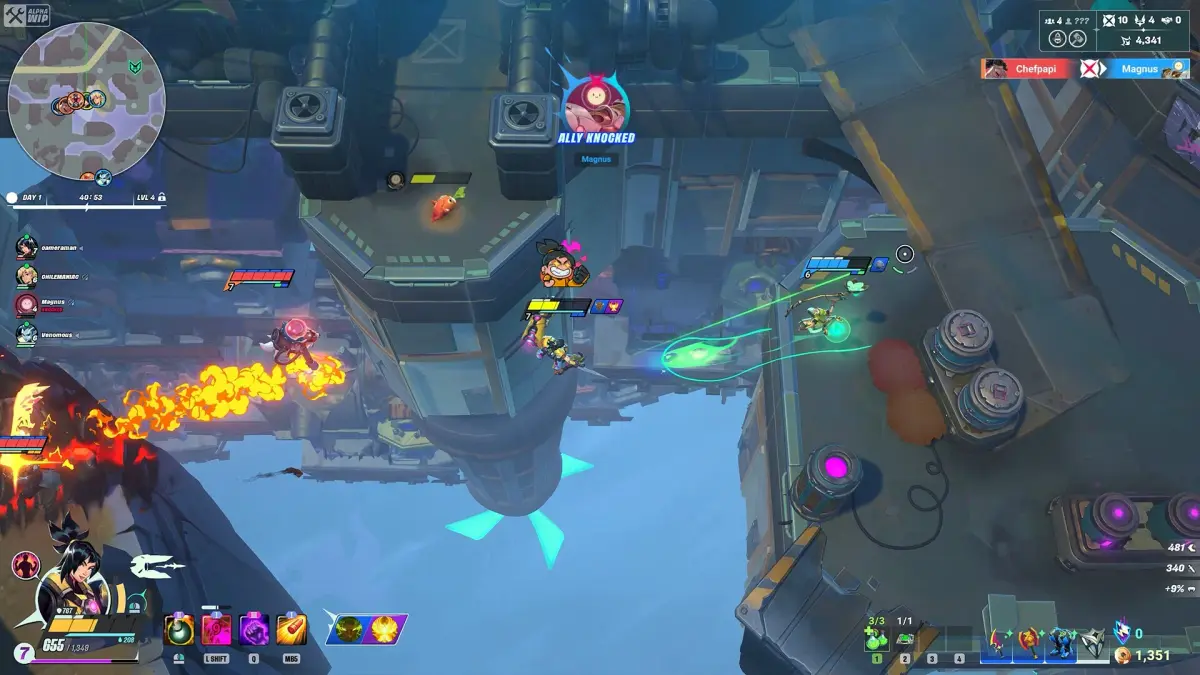
Mastering the controls in SUPERVIVE is paramount to your survival and success in the treacherous world. This section provides a detailed breakdown of every input, offering actionable strategies and tips to optimize your gameplay. Familiarize yourself with these commands before venturing into the unforgiving environments.
Basic Movement & Interaction
- Left Analog Stick (L-Stick): Controls character movement. Push gently for stealthy walks, or fully for a sprint.
- Right Analog Stick (R-Stick): Adjusts camera perspective. Crucial for situational awareness, especially in tight corridors or during combat.
- A Button (Xbox) / X Button (PlayStation): Confirm/Interact. Use this to open doors, pick up items like the Health Pack found in the Medical Bay, or initiate dialogue with NPCs.
- B Button (Xbox) / Circle Button (PlayStation): Cancel/Dodge. A quick tap performs a short dodge, useful for evading enemy attacks. Holding it down will initiate a tactical roll, covering more distance.
- X Button (Xbox) / Square Button (PlayStation): Quick Attack. A fast, low-damage attack. Ideal for breaking environmental objects or finishing off weakened foes.
- Y Button (Xbox) / Triangle Button (PlayStation): Strong Attack. A slower, high-damage attack. Best used when enemies are stunned or you have a clear opening.
Combat & Abilities
Effective combat relies on a fluid understanding of your offensive and defensive capabilities. Practice these combinations to become a formidable force.
- LB/L1 + X/Square: Melee Combo 1. Initiates a rapid three-hit melee combo. Excellent for crowd control against smaller enemies.
- LB/L1 + Y/Triangle: Melee Combo 2. A slower, more powerful two-hit combo that often stuns opponents.
- RT/R2 (Hold): Aim. Enters aiming mode for ranged weapons. Your reticle will appear, indicating your target.
- RT/R2 (Tap while aiming): Fire Weapon. Discharges your equipped ranged weapon. Be mindful of ammunition, especially for the Plasma Rifle, which uses scarce Plasma Cells often found in armories.
- LT/L1: Block/Guard. Reduces incoming damage from most attacks. Timing is key; a perfectly timed block can parry certain enemy attacks, leaving them vulnerable.
- RB/R1: Special Ability. Activates your character's unique special ability. For example, the "Sentinel" class can deploy a temporary Energy Shield, while the "Scout" can activate a short-duration Cloaking Field. These abilities have cooldowns, so use them strategically.
Inventory & Utility
Managing your inventory and utilizing utility items can turn the tide of any encounter. Always be aware of your resources.
- D-Pad Up: Use Consumable 1. By default, this is mapped to your primary healing item, such as a Med-Kit. Ensure you have these stocked from Supply Crates or defeated enemies.
- D-Pad Down: Use Consumable 2. Typically assigned to a secondary utility item like a Stimulant Injector, which temporarily boosts your attack speed.
- D-Pad Left/Right: Cycle Weapons. Quickly switch between your equipped primary and secondary weapons. This is vital for adapting to different combat scenarios.
- Start/Options Button: Pause Menu/Inventory. Accesses the main menu, allowing you to manage your inventory, equip new gear like the Reinforced Vest (found in the Secure Storage Unit), review your mission objectives, and adjust game settings.
- Back/View Button: Map/Journal. Opens your tactical map, displaying your current location, objectives, and discovered points of interest. It also contains your journal with lore entries and mission details.
Advanced Techniques
Beyond the basics, these techniques will elevate your gameplay and provide an edge in challenging situations.
- Sprint Jump (L-Stick Forward + A/X then B/Circle): Perform a running jump, allowing you to clear wider gaps or reach elevated platforms. Essential for navigating the collapsed sections of the Abandoned Research Facility.
- Charged Strong Attack (Hold Y/Triangle): Holding down the strong attack button will charge a more devastating blow. Release for maximum impact. This can break enemy shields or stagger larger opponents.
- Environmental Interaction (A/X near glowing objects): Look for objects in the environment that glow faintly. These can often be interacted with to create diversions, open new paths, or trigger traps against your enemies. For instance, shooting the explosive barrels in the Industrial Sector can clear groups of hostiles.
100% Human-Written. AI Fact-Checked. Community Verified. Learn how AntMag verifies content