Create visually stunning and functionally superior habitats in Planet Zoo. This guide covers optimizing terrain and water features for animal welfare and guest.
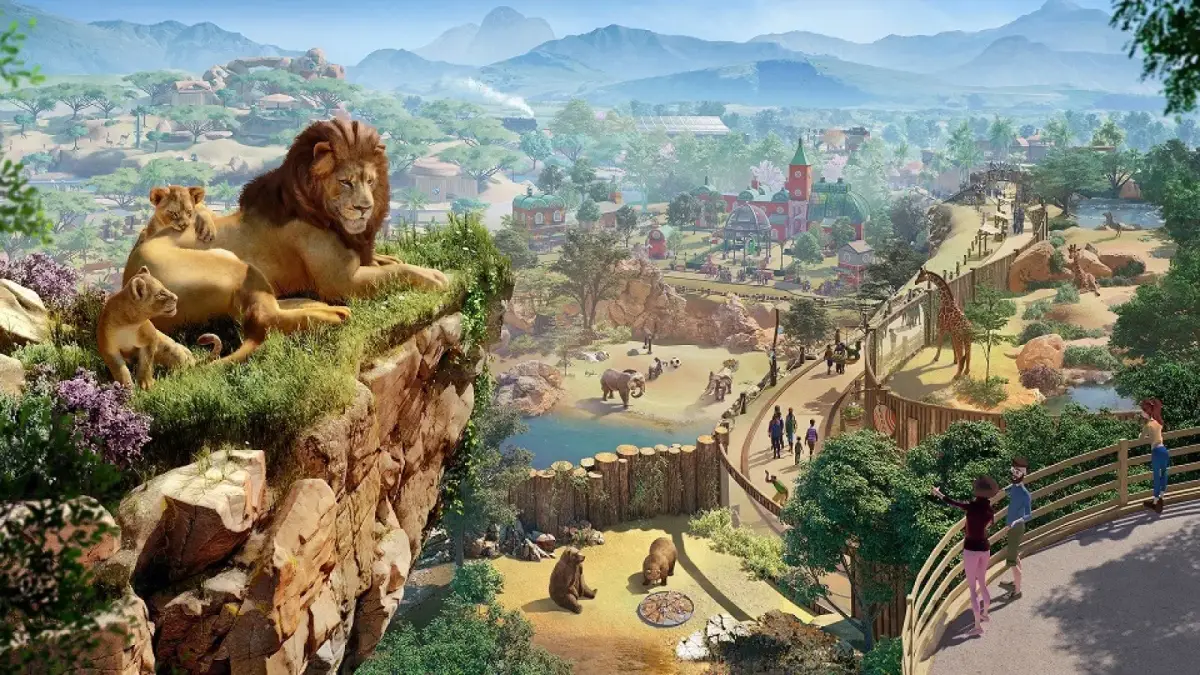
Moving beyond basic enclosures, advanced habitat design in Planet Zoo is where your creativity truly shines and your animals thrive. This section will guide you through creating visually stunning and functionally superior habitats that boost animal welfare, guest satisfaction, and your zoo's overall rating.
Optimizing Terrain and Water Features
The landscape of your habitat is more than just aesthetics; it directly impacts animal happiness and enrichment. Thoughtful terrain manipulation can provide natural barriers, varied sightlines, and crucial privacy.
- Elevation Changes: Use the terrain tools to create hills, valleys, and slopes. For species like the
Snow Leopard orGrizzly Bear , elevated rock formations (found under the "Rocks" tab in the "Nature" menu) provide excellent climbing opportunities and vantage points. Ensure slopes are not too steep to prevent pathing issues for animals. - Natural Water Bodies: Instead of simple water troughs, sculpt natural-looking ponds and rivers using the "Water" tool. For aquatic or semi-aquatic animals such as the
Hippopotamus orGiant Otter , deep water is essential. Vary the depth of your water bodies to allow for different behaviors like diving and wading. - Underwater Viewing: Integrate glass barriers (available in the "Barriers" menu) into the sides of your water features to create stunning underwater viewing areas for guests. This is particularly effective for exhibits featuring
Saltwater Crocodiles orPolar Bears . Remember to place guest paths and viewing platforms strategically around these sections.
Strategic Foliage and Enrichment Placement
The right plants and enrichment items are vital for meeting animal needs and creating an immersive environment. Don't just scatter them; place them with purpose.
- Biome-Specific Planting: Always prioritize plants native to your animal's biome. Access the "Nature" menu, then the "Foliage" tab, and use the biome filter to select appropriate trees, shrubs, and ground cover. For example,
African Grasslands plants forGiraffes andTropical Rainforest plants forOrangutans . This contributes significantly to the "Habitat Suitability" score. - Privacy Zones: Animals need areas where they can retreat from guest view. Use dense clusters of tall foliage, large rocks, or even custom-built shelters (from the "Construction" menu) to create these private spaces. Place food and water sources within these zones to encourage animals to use them.
- Enrichment Pathways: Don't just drop enrichment items randomly. Think about how an animal would naturally interact with its environment.
- For climbing animals like
Chimpanzees , create intricate climbing structures using "Climbing Frames" and "Suspended Platforms" (from the "Enrichment" tab) that span across their habitat. - For ground-dwelling animals, strategically place "Scratching Posts," "Scent Markers," and "Foraging Boxes" in areas they frequently traverse.
- Consider the "Food Enrichment" items like "Browse Feeders" or "Puzzle Feeders" near guest viewing areas to encourage active feeding behaviors visible to visitors.
- For climbing animals like
Advanced Barrier Techniques and Guest Flow
Beyond simply containing animals, barriers can enhance visibility and integrate seamlessly into your habitat design.
- Invisible Barriers: For certain animals with low escape risk and secure habitat perimeters (e.g., moats or deep trenches), consider using "Invisible Barriers" (found under the "Barriers" menu). This creates a more natural, unobstructed view for guests, enhancing the feeling of immersion. Always double-check escape routes with the "Heatmap" tool.
- Multi-Level Viewing: Design habitats with varying guest path elevations. Use "Raised Paths" or "Viewing Platforms" (from the "Paths" and "Facilities" menus respectively) to offer guests different perspectives into the habitat. This is especially effective for large habitats or those with significant terrain changes.
- One-Way Glass: For sensitive species or to create intimate viewing experiences without disturbing animals, utilize "One-Way Glass Barriers." These allow guests to see in while animals perceive a solid wall, reducing stress. Place these strategically in areas where animals might rest or feed.
Lighting and Theming
The final touches of lighting and thematic elements can elevate a good habitat to a great one, especially for evening operations or specific biomes.
- Dynamic Lighting: Experiment with different light sources from the "Construction" menu, specifically under "Lights." Use "Spotlights" to highlight key features or enrichment items, and "Ambient Lights" to provide general illumination. Consider the time of day and how lighting changes the mood of the habitat.
- Thematic Props: Integrate props and scenery items that match the animal's natural environment or a specific zoo theme. For a
Panda habitat, use "Bamboo Scenery" and traditional Asian-inspired architecture (from the "Scenery" menu). For anAfrican Savannah exhibit, add "Acacia Trees" and "Savannah Rocks." These details significantly boost guest appeal and immersion. - Soundscapes: While not a visual element, remember that ambient sound can greatly enhance the guest experience. Place "Speakers" (under "Facilities") and assign appropriate sound effects, such as jungle sounds for a rainforest habitat or bird calls for an aviary, to further immerse guests.
100% Human-Written. AI Fact-Checked. Community Verified. Learn how AntMag verifies content