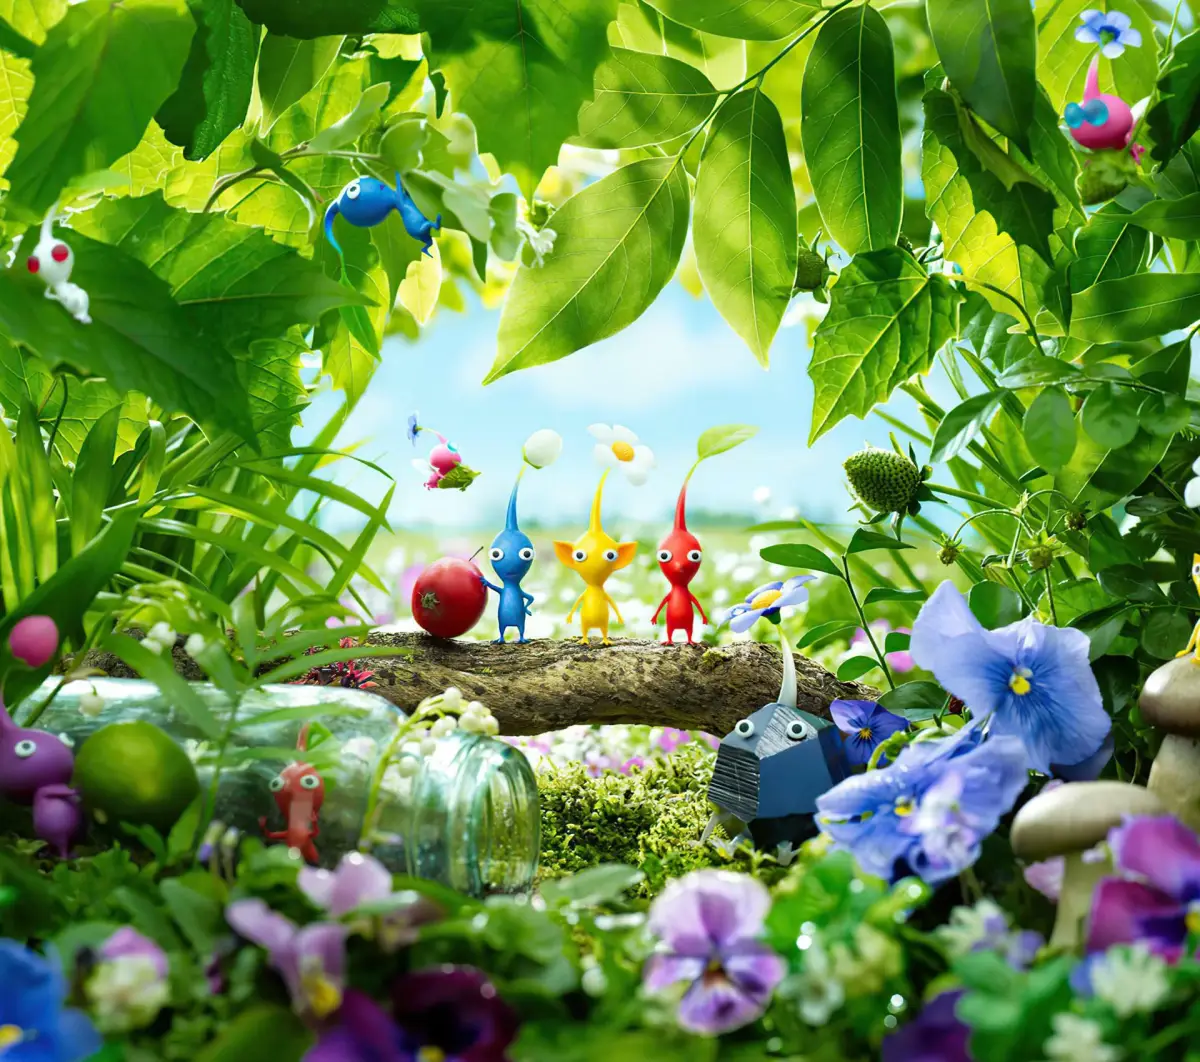
Welcome to Pikmin 3 Deluxe! As Captains Alph, Brittany, and Charlie, you’ll crash-land on a strange planet and must command swarms of Pikmin to collect the scattered pieces of your ship and gather the vital fruit needed to save your starving home planet of Koppai. You’ll explore lush, dangerous landscapes, utilizing the unique abilities of different Pikmin types—like the tough Red Pikmin or the flying Yellow Pikmin—to overcome obstacles, defeat alien creatures, and manage your limited time each day.
This guide is here to help you master every aspect of your mission. We'll cover critical objectives like rescuing Charlie, help you find all the hidden fruit scattered across the planet, and provide strategies for earning Gold Medals in challenging boss encounters and missions. Whether you're aiming for a perfect playthrough or just need help navigating the tougher parts of the story, we've got you covered.
About the Guide
Details on the Pikmin 3 Deluxe guide, covering Story Mode and specific subjects, with a Formatted FAQ structure for clarity. Feedback welcome.
This guide is designed to guide you through Pikmin 3 Deluxe's Story Mode. Multiplayer modes are not covered as the author had no one to test them with. The guide aims to be clear and easy-to-follow, acknowledging the nonlinear nature of the game. Each area is covered to its fullest, with topics not covered in the Main Walkthrough found in the Appendix. In addition to a Main Walkthrough, this guide features mini-guides for specific subjects like Areas and major and minor bosses. Some Data Files, primarily Secret Memos, are skipped if they are too far out of the way or not vital for 100% completion.
This guide is a Formatted FAQ, meaning it utilizes basic HTML markup, including hyperlinks and images, to make information easily digestible and the reading experience efficient and painless.
The guide was created by sorting Fruit information by Area, resulting in an efficient homemade guide that the author expanded into this comprehensive Pikmin 3 Deluxe guide.
Feedback: On 1/25/17, an edit was made requesting feedback on the guide's efficiency to improve future guides. The author seeks to understand their strengths and weaknesses in guide-writing.
About the Author
Learn about the author of the Pikmin 3 Deluxe guide, their experience with the game, and the tools used in its creation.
The author, known as SSBBSB or PonySB on GameFAQs, is undertaking their first guide-writing attempt. Should this guide prove successful for both readers and the author, they may consider writing for other games. The author admits to only having 100% completed Pikmin 3 Deluxe, with no clear memory of their progress in the first game and uncertainty about Pikmin 2. They utilized their college education, specifically writing classes, to inform the guide's creation. Adobe Photoshop was used for creating and adding non-red Map Markers, while Elgato was employed for recording gameplay videos and capturing screenshots.
Version History:
- Version 1.0 (Submitted 10/14/2015 4:43:21 PM): Main Walkthrough complete, most formatting finished, and two sub-guides completed.
- Version 1.1 (Submitted 01/25/2017 9:09:22 AM): Guide structure updated.
Controls
Navigate Pikmin 3 Deluxe like a pro! Learn all control schemes, button mappings, and essential GamePad functions to command your Pikmin efficiently.
Alright, let's get you sorted with how to actually *play* Pikmin 3 Deluxe. It’s got a few ways you can hold the controller, but honestly, the GamePad is your best friend here, no matter which setup you choose. It’s basically your map, so try to keep it where you can glance at it easily. I personally use the Pro Controller with the GamePad, and it works great!
Here’s a breakdown of the different ways you can control Olimar and his pals:
Wiimote + Nunchuk + GamePad Controls
| Button/Input | Effect |
| Analog Stick (Nunchuk) | Move |
| Z (Nunchuk) | Change View |
| Hold Z (Nunchuk) | Lock-on |
| C (Nunchuk) | Toggle Pikmin Type |
| Shake (Nunchuk) | Dismiss/Charge Pikmin Throw |
| Point (Wiimote) | Cursor Movements |
| D-Pad (Up) (Wiimote) | Ultra-Spicy Spray |
| D-Pad (Left/Right) (Wiimote) | Dodge (After Dodge Whistle) |
| D-Pad (Down) (Wiimote) | Use Item (Bingo Battle Only) |
| A (Wiimote) | Throw/Pluck Sprouts/Punch |
| B (Wiimote) | Whistle Pikmin |
| + (Wiimote) | Pause Menu |
| - (Wiimote) | Switch Leaders |
| - (GamePad) | Toggle Off-TV Play |
| Touch & Slide (GamePad) | Investigate/
Game IntroGuide to the Pikmin 3 Deluxe game intro, covering the initial tutorial segments with Charlie and Alph, introducing Yellow and Red Pikmin, and basic controls. In 20xx, the inhabitants of Koppai, a planet “at the far reaches of space,” struggles to feed the growing population due to inadequate crisis planning and growing appetites. The food supply is rapidly dwindling. As such, the Koppaites send out unmanned spacecraft called SPERO to search for food. The mission initially sees no results. Fortunately, the final SPERO discovers a planet, PNF-404, that has edible matter for the Koppaites to harvest for their survival. To this end, Koppai sends three astronauts to PNF-404 to harvest and bring back home edible matter; the crew unfortunately crash-lands on PNF-404 after something unclear happens during the landing sequence. Day 1 Distant Tundra 1 (First Visit) This is a tutorial segment involving Charlie and Yellow Pikmin. The game begins with Captain Charlie waking up in a snowy area and being gawked at by bizarre yellow creatures with large ears and leaves for hair. The yellow creatures quickly bolt as Charlie stirs. He then gets up, regains his wits about him, and realizes that he and his crew were scattered across PNF-404's surface. He then pulls out his KopPad and tries to call the ship and contact his crew. After receiving no response, Charlie sets out to find Alph and Brittany, his crew members. You can now control Charlie with either the left joystick or the joystick on the Nunchuk. Walk a few steps and Charlie will notice the yellow creatures perched on a leaf. The path forward is blocked by a cluster of Spotcaps, or the Pikmin 3 equivalent of mushrooms. Go left and you'll see even more yellow creatures sitting on a rusty can. The yellow creatures will then notice Charlie and approach him. Charlie will then hypothesize that whistling will scare them away. Move the cursor onto the yellow creatures using either the left joystick or the joystick on the Nunchuk and press the on-screen button prompt to whistle. The captain's hypothesis proves to be false as the yellow creatures surround him. Desperate to lose the mob, Charlie decides to try to throw the yellow creatures away. Aim at a Spotcap and press the on-screen button prompt to toss a yellow creature. The flung yellow creature will land near the Spotcap and start attacking it. Throw a few more and Charlie will prompt you to dismiss the mob using an on-screen button prompt. Press the button shown onscreen and the yellow creatures will disperse and start attacking nearby Spotcaps. After recapping the controls, Charlie will decide to try to find a use for the yellow creatures. Whistle them back under your control by sweeping the cursor over them while holding down the whistle button. Once they're back under your control, backtrack to the barrier of Spotcaps. Walk up to the Spotcaps and then press the disperse button. The yellow creatures will automatically start tearing down the Spotcaps. Once the Spotcaps have been destroyed, whistle the yellow creatures back to your side and head forward. An unbreakable-for-now Crystal Nodule blocks the left path, so continue forward until you reach another mushroom barrier. Throw your followers onto the Kingcap (the huge Spotcap) and they'll start tearing it and the other mushrooms down to clear a path. Go into the cave and you'll come out in a sidescrolling section. Simply go left and into another cave. It's dark in here and enemies are present, so walk near the glowing blue fungi to light things up somewhat. The light will scare away the enemies. Either throw the yellow creatures at the enemies or disperse your squad near the enemies to have them fight the enemies. You might have to chase one or two of the enemies down to finish them all off. Once the last enemy dies, a cutscene will play in which something semitransparent will scare off your squad and attack Charlie. The screen then fades to black. Tropical Wilds 1 (First Visit) This is another tutorial segment involving Alph and Red Pikmin. After Charlie gets attacked, the game then switches over to Alph, the engineer of the PNF-404 mission crew. Alph, whose name I keep mistyping as “Aplh,” lands in a small pond at an oddly low speed. He and the other two crew members fell from, at the very least, low orbit. Wouldn't the gravitational pull turn them into screaming hot, screaming fast objects? How did they survive such a fall? Regardless, Alph wakes up just in time to see their ship, the S.S. Drake sputter by and crash offscreen. Alph gets up, recalls the crash, and then declares that he needs to find Brittany and Charlie. The game then turns back to normal gameplay with you now in control of Alph. Head out of the pond and towards the clearing between the foliage. Waiting for you, and possibly spying on you, is another plantlike creature similar to the yellow creatures that Charlie encountered. This creature, however, is red with a pointed nose and no ears. Alph and the red creature will startle each other, causing the latter to scurry away. Follow after it down a ledge once you're back in control. Walk a bit and you'll see it again. It skitters towards two more of its kind attempting to reach a red orb with a propeller on top and holes around the bottom. The red creatures can't get it off of the branch that it's stuck on, however. The game will prompt you to whistle at the red creatures in the same fashion as that of Charlie. Move the cursor over to the red creatures and press the whistle button. Once the red creatures are at your side, move the cursor over to the red orb and throw your three groupies at the red orb just as you threw the yellow creatures at the Spotcaps earlier in Charlie's segment. Once all three of the red creatures have landed on the red orb, they'll pull it off of the branch and to the ground. The red orb will then spring to life and sprout yellow legs. This red orb will be important in a bit, but, for now, leave it alone and turn the camera to the right using either the right joystick or turning Alph and pressing C on the Nun Similar guides you might like100% Human-Written. AI Fact-Checked. Community Verified. Learn how AntMag verifies content |