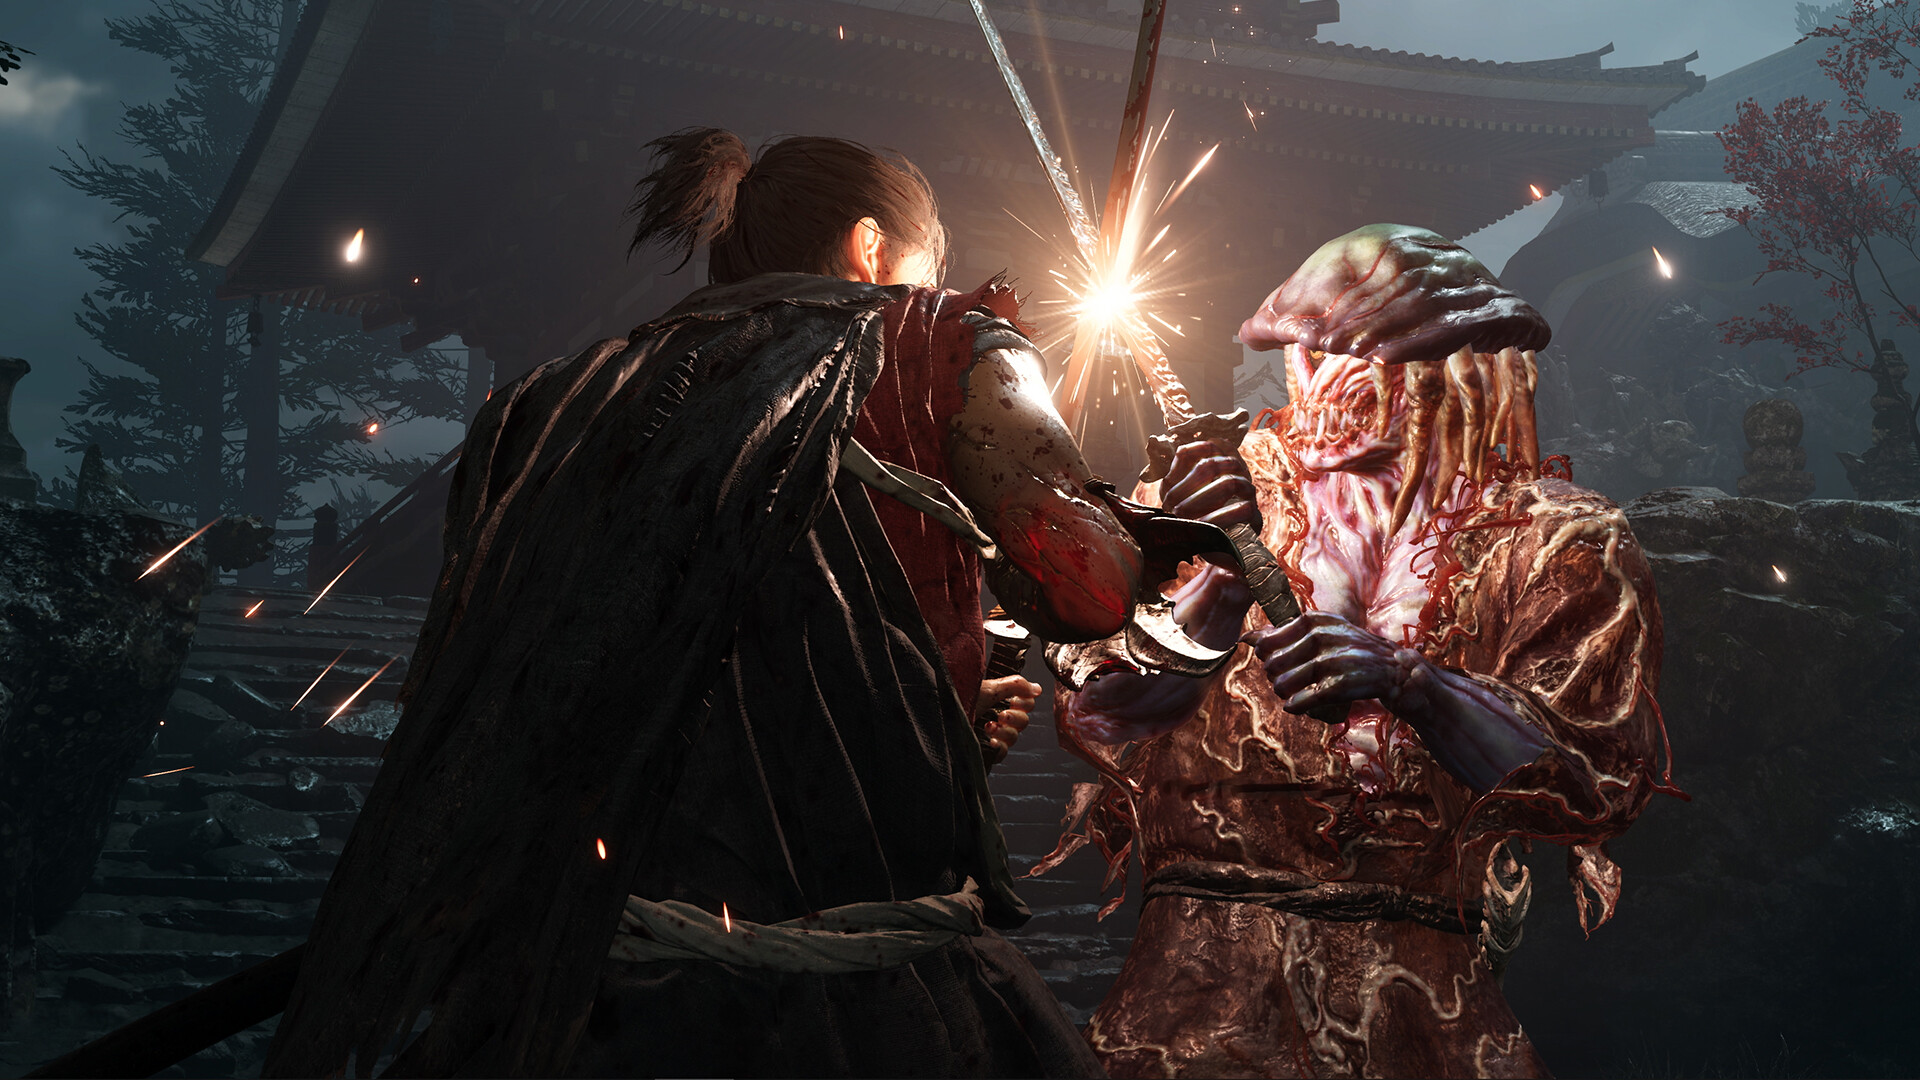
Welcome to Onimusha: Way of the Sword, a thrilling action-adventure where you'll step into the shoes of a samurai wielding the mystical Oni Gauntlet. Prepare to fight through bloodstained battlefields in Edo-era Kyoto, a city twisted by the malevolent clouds of Malice. Each stage is cloaked in mystery and danger as you battle monstrous Genma from the underworld in this dark fantasy tale.
This guide is your key to mastering the challenges that await. We'll help you navigate the treacherous paths, overcome formidable Genma, and uncover all the secrets hidden within this intense swordplay experience. Get ready to face the darkness and emerge victorious.
Nanamagari
Your step-by-step guide to navigating the Nanamagari area in Onimusha: Way of the Sword. Learn how to defeat demons, gain the Ogre's Gauntlet, and progress through the early stages of the game.
Alright, so you've just started up Onimusha: Way of the Sword, and you're about to head into the first area, Nanamagari. Don't worry, I'll walk you through it. You'll start off playing as Kaede, but you and she will split up pretty quickly. Just head north, the way Kaede didn't go. You'll enter a new screen, and a cutscene will pop up. Some demons have grabbed Princess Yuki! You'll need to fight them off until they decide to bail. But just as you think you're safe, a bigger demon shows up and knocks you out cold while you're trying to save the Princess. After that, the Princess gets nabbed by this big demon.
Now, another cutscene plays. Some spirits are going to tell you that you're not strong enough to take on these evil forces just yet. They'll grant you the power of the Ogre's Gauntlet on your right hand. This lets you absorb the souls of defeated enemies to get stronger and help you fight back against the demons. Once you wake up, you'll get the Instructions too, which basically explain how to collect enemy souls and what the different colored souls (red, blue, and yellow) mean. You'll also notice you now have the Ogre's Gauntlet power. Before you go any further, find the Magic Mirror near the big wooden doors and save your game. Seriously, do it! Then, head through those doors and into the next area, which is filled with corpses and crows. Keep going until you stumble upon some villagers getting attacked by demons. There's a short cutscene where the villagers are on a protective wall, spearing the demons below. Unfortunately, one villager gets pulled off the wall and brutally stabbed by four demons. Once that's over, take care of the remaining demons. Then, head through the next door and into a shed.
Inside the shed, a villager will tell you to hurry up through the next door, but then four demons pop out from behind you! The villagers freak out and you're left in the small shed with these four demons. You'll need to fight them off. After you defeat them, collect the souls they drop. Then, approach the door the villagers locked. Press the X button, and Samanosuke will let them know the demons are dealt with and they should open up. The villagers, a bit shaken that you handled those demons, will slowly open the door, and another cutscene will play. They'll apologize and tell you to head to the Keep, as it's also been attacked. After the cutscene, feel free to chat with the three villagers still standing there if you want any extra info. Then, run around the back of the shed and head into the woods. As you make your way through, two demons will ambush you, so take them down and grab their souls. Keep going until you reach a cave at the end of the forest. An explosion will happen inside, creating a hole in the ground that blocks your path. You'll have to enter that hole and make your way into the underground cave system.
Fight your way through these caves – they're pretty linear, so you won't get lost. You'll face a total of three demons one by one. Make sure you collect their souls after each fight. When you find the temple entrance, open the chest to the left of the stairs to grab the Underground Temple Map. Then, climb the stairs and you'll find a mummified monk. Examine him to get the Sougen's Note. Read it, and the monk will automatically move aside, revealing a door into the Temple. Go on in!
Underground Temple
Your step-by-step guide to navigating the Underground Temple in Onimusha: Way of the Sword. Find the Thunder Orb, Journal #1, and the Rope Ladder!
Alright, you've made it to the Underground Temple! It's not too tricky, but there are a few things to watch out for. Let's get through this.
- 1As soon as you enter, head north (that's Samanosuke's right). You'll round a corner to a dead end. Be ready for some Demons to attack – take them out and grab the souls they drop. There are quite a few here, so keep an eye on your surroundings so they don't get the drop on you.
- 2Once all the Demons are dealt with, check the wall. You'll find the Seiryu.
- 3Now, look at the corner of the hall opposite where you found the Seiryu, near the door you entered from. Examine the ground – you'll find your first piece of Fluorite.
- 4Head down the other path until you reach a door. Go through it into the next room.
- 5Smash the pots lining the sides of this room. The one on the left side, farthest from the door you just entered, has a secret treasure chest. Inside, you'll find Journal #1. Read it!
- 6After reading the journal, approach the glowing blue object on the altar in the center of the room. This is the Thunder Orb. Grab it!
- 7Head to the left of the altar and run down the hallway you find.
- 8Along this hallway, you'll spot a treasure chest tucked into a small crevice. To open it, you'll need to solve a simple lock puzzle: move the left-sided numbers, then the right-sided numbers, and then the left-sided numbers again. Inside this chest is the Rope Ladder.
- 9With the Rope Ladder in hand, head up the stairs further up the path. This will lead you out of the Temple.
- Don't get overwhelmed by the number of Demons in the first area. Focus on one at a time and keep your back to a wall if you can to avoid getting surrounded.
- The journal entry might give you a hint about what's to come, so it's always worth reading!
- The chest puzzle is straightforward, just follow the sequence.
- Thunder Orb
- Journal #1
- Fluorite
- Rope Ladder
South Area
Complete walkthrough for the South Area in Onimusha: Way of the Sword. Find the Magic Jewel, Power Jewel, and learn how to defeat the first boss.
- 1Exit the Temple and turn right to find a semi-hidden chest containing the Magic Jewel. Use it from your inventory to increase Magic Power.
- 2Go the opposite way of the chest to find a large door with a blue orb. To the left is a Magic Mirror. Use it to save your game and enhance your sword/magic.
- 3Check the chest near the Magic Mirror for a puzzle. The question is: "Chant the name of a clan that has been subverted by the demons." The answer is The Clan of Ogres. To unlock it, select the first Kanji set, then the third, then the 6th, and finally "OK". This yields the Power Jewel. Use it to increase vitality.
- 4Approach the large doors. The blue orb on the door interacts with the Ogre's Gauntlet on Samanosuke's arm to open it. Save at the Magic Mirror again and enter.
- 5Fight the enemies on the bridge. They have rolling attacks and appear from smoke. Collect their souls.
- 6After defeating all enemies, go to the top right of the screen and hack at the wood covering a hidden treasure chest to find the South Area map.
- 7Continue through the next set of doors. If you wish to level up your sword and magic, the bridge is a good spot. You can return to the Magic Mirror behind the doors you just came through. Enemies will respawn on the bridge if you leave and re-enter the area. The maximum level for sword and magic is Level 3.
- 8On the other side, head northwest and through the next door. Ignore the locked door leading to the West Area.
- 9Head south to a smashed wall. Kill the Demons that appear before using your Rope Ladder to descend.
- 10After descending, follow the path to a cave area. Examine the treasure chest by the Magic Mirror to access a codebox.
- 11The question is: "Which is the equipment that was created by the clan of Ogres in order to destroy the demons?" The answer is The Gauntlet of Ogres. Select the Kanji in this order: 6th, 1st, 4th. This grants another Power Jewel. Use it before the upcoming boss fight.
- 12Enter the large door to face the first boss.
- 13Boss Fight: The boss is strong but slow. Use your Special Attack to daze him, then normal attacks. Run away to suck in the souls he drops. Circle the central fire to dodge and attack from behind. Heal when necessary. Using magic attacks may yield more souls.
- 14After defeating the boss, head through the door behind him and take Journal #2.
- 15Continue through the next door. Smash the pots near the door in the hallway to find a Fluorite.
- 16Head right through the skeleton hallway and the next door. A cutscene will play.
- 17After the cutscene, a Skeleton Priest will summon a monster. If your magic and sword are at least Level 2, use a Magic Attack to defeat it easily.
- 18Collect the monster's souls and go to the northwest of the room to find the Fire Orb atop a small stand. It automatically equips. Equip the Lightning Sword for now.
- The bridge area is a good place to level up your sword and magic to their maximum level of 3. Enemies respawn here if you leave and re-enter the area.
- Save frequently at Magic Mirrors, especially before boss fights or when leveling up.
- The first boss can be outmaneuvered by circling the central fire and attacking from behind.
- Ensure you have sufficient health and healing items before engaging the boss.
- The Gauntlet of Ogres is crucial for opening certain doors later in the game.
- Magic Jewel
- Power Jewel (x2)
- South Area map
- Journal #2
- Fluorite
- Fire Orb
The Keep
Complete walkthrough for The Keep in Onimusha: Way of the Sword. Includes how to get the Bow and defeat enemies.
- 1Enter the Keep and defeat the attacking enemies, including a large, powerful demon.
- 2Enter the northwestern door to find a small room.
- 3Take the Keep Map from the chest.
- 4Refill your Magic Meter at the Magic Meter Fountain.
- 5Enhance weapons/orbs and save your game at the Magic Mirror.
- 6Observe the man in the cocoon in a short cutscene (a non-interactive cinematic the game plays automatically).
- 7Exit the room and defeat the enemies that have reappeared in the main room, prioritizing the weaker ones before the large demon.
- 8Enter the southern door on the western side.
- 9Follow the hallway to the blue orb door, defeating weak demons along the way.
- 10Use your Thunder Orb to open the blue orb door.
- 11On the other side, walk to the other side of the room and defeat the three fast, damaging demons that ambush you.
- 12Enter the next door to go outside.
- 13Take the Blue Book from the table near the door.
- 14Optionally, unlock two of the three orb keys by equipping the Fire Orb/Sword and analyzing the Fire Orb, then repeating with Lightning gear.
- 15Return to the main room in the Keep.
- 16Take the northern door to watch a cut-scene involving a kidnapper and a boy.
- 17After the cutscene, open the chest to your right to get the Normal Arrows.
- 18Enter the next door and run down the corridor into a small room, then through another door.
- 19Open the chest to the far left to get Journal #3.
- 20Return to the room where the cutscene occurred.
- 21Destroy the three or four Demons that appear and collect their souls.
- 22Optionally, save your game at the Magic Mirror downstairs.
- 23Equip your Fire Sword and Orb.
- 24Open the door at the top of the room guarded with the spirit of fire.
- 25Enter the room and battle the fast-moving demons, switching to your Lightning Sword if desired for quicker combat.
- 26After defeating them, go out the door to your right and into the hallway.
- 27You will find a large door with a crest that cannot be opened yet.
- 28Go down the hallway to trigger a cutscene where Kaede has the boy, who then escapes.
- 29Follow the boy down the hallway and through the door with the barred window into a small hallway.
- 30Head down the hallway, killing weaker demons.
- 31In the small room with stairs, kill the stronger demon and take its soul.
- 32Open the chest to get some Herbs.
- 33Search to the left of the treasure chest to get your third piece of Flourite.
- 34Go to the door behind the stairwell (instead of going up the stairs) and enter it.
- 35Unlock the large treasure chest with the combination: Leftside, Rightside, Leftside, Rightside, Rightside.
- 36Take the Bow from the unlocked chest.
- 37Check the shelf in the back of the room to find the Suzaku book.
- 38Return to the previous room.
- 39Go up the stairs and immediately enter the door to your left.
- 40Search the bucket in this room for a Power Jewel. Be careful not to cut the rope holding the bucket.
- 41Return to the main room on the second floor and kill the enemy Demons.
- 42If the door locked with the Fire Orb requires a level 2 or higher spell and you do not have it, kill more demons for souls, then return downstairs to the Magic Mirror to upgrade your fire spell.
- 43Enter the door across from the double-orbed door.
- 44Ignore the demons fighting people below and enter the single orb door on the balcony.
- 45Fight off the enemies in the next room.
- 46Enter the next door to find a large breakable crate. Smash it to find a box containing Normal Arrows.
- 47Search the ground around the crate for another Fluorite.
- 48Backtrack to the double-orb door and go through it.
- 49In this room, find a chest with the R. Crest Piece and the Red Book on the table.
- Prioritize weaker demons first when facing multiple enemies to concentrate on stronger foes.
- Be careful of the large demon's grab attack, which can drain a lot of energy.
- Remember the location of the man in the cocoon for later secret business.
- Upgrade your fire spell at the Magic Mirror if you cannot open the level 2 Fire Orb door.
- Be careful not to cut the rope holding the bucket when collecting the Power Jewel.
100% Human-Written. AI Fact-Checked. Community Verified. Learn how AntMag verifies content