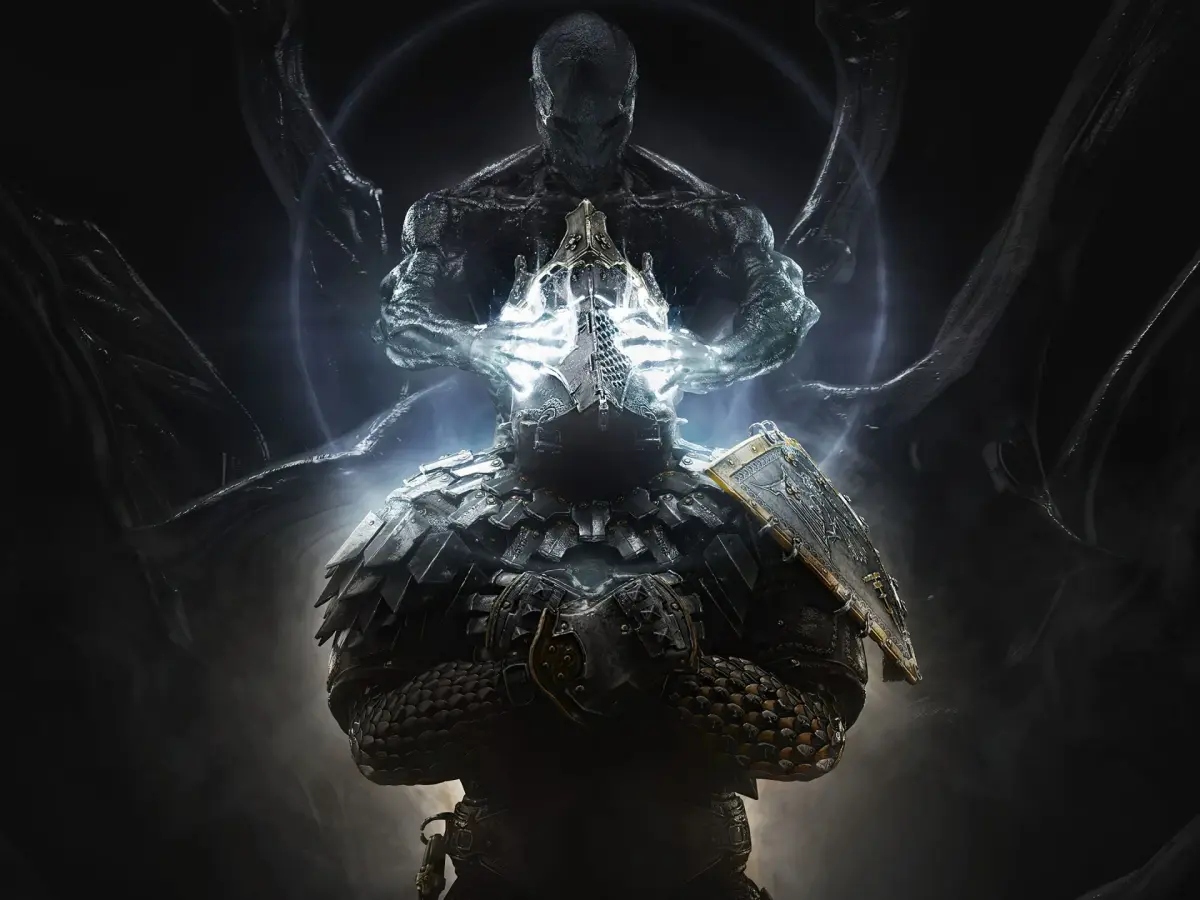
Mortal Shell: Overcome Tarsus, the First Martyr, in the Crypt of Martyrs. Learn his fast combos and how to counter his freezing ice sword attacks.
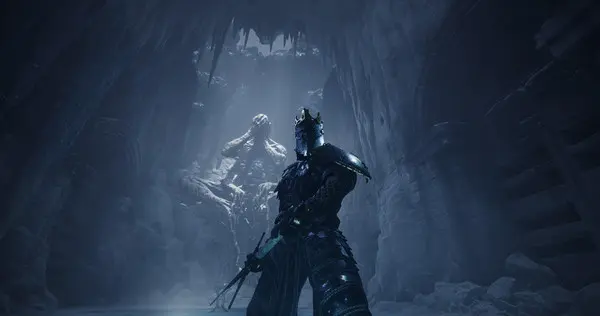
Tarsus, the First Martyr, is the boss of the Crypt of Martyrs. He is a swift, agile knight wielding a massive ice sword. His attacks are fast and can inflict 'freeze' status.
Phase 1 Strategy
- Attack Pattern: Tarsus uses quick, multi-hit sword combos, often ending with a powerful overhead slam or a sweeping attack. He can also dash quickly across the arena.
- Harden & Counter: His attacks are fast, but Harden is still your best friend. Harden through his combos and then counter-attack during his recovery frames.
- Dodge & Weave: Dodge through his dashes and attacks to get behind him. He is vulnerable to backstabs if you can position yourself correctly.
- Ice Projectiles: Tarsus will occasionally fire ice projectiles. Dodge these or Harden through them.
- Parry Opportunity: Tarsus has several parryable attacks, particularly his slower, more telegraphed swings. A successful parry and Riposte will deal significant damage and restore health.
Phase 2 Strategy (Enraged)
- Enrage: Once his health drops to about 50%, Tarsus will become enraged, indicated by a more aggressive stance and increased ice effects.
- New Attacks: He gains a powerful ice AoE attack that freezes the ground, and he can summon ice shards from the ground. His dashes become more frequent and cover more distance.
- Stay Mobile: The frozen ground can slow you down, so keep moving to avoid the AoE.
- Exploit Openings: After his more powerful attacks, Tarsus often has longer recovery periods. Use these windows to deal damage.
- Patience & Observation: His increased speed and new attacks require careful observation. Don't rush your attacks.
Rewards
- Sacred Gland (Gland of Bravery): The primary reward, needed for the main quest.
- Tarsus's Sword: A unique item that can be used for lore or a specific side quest.
- Tar & Glimpses: A substantial amount of currency for upgrades.
After defeating Tarsus, interact with the Sacred Gland to absorb it. You will then be transported back to Fallgrim Tower.
100% Human-Written. AI Fact-Checked. Community Verified. Learn how AntMag verifies content