Follow our comprehensive walkthrough for the Project AEON quest in I Hate This Place, covering enemy encounters, item locations, and puzzle solutions to guide you through the game's conclusion.
This is not the Point of No Return but the game is reaching its conclusion. You can always leave the “final bunker” whenever you want. However, if you want to complete any remaining achievements, now is the time.
Before going anywhere, make sure to bring along the following:
- Fuel x2
- Electric Grenade x1
You might be able to pick up these items and/or their components during exploration but it’s not guaranteed. Manufacturing what you need at the Ranch may be better.
You can get the Arsenal achievement by crafting every weapon at the Workbench.
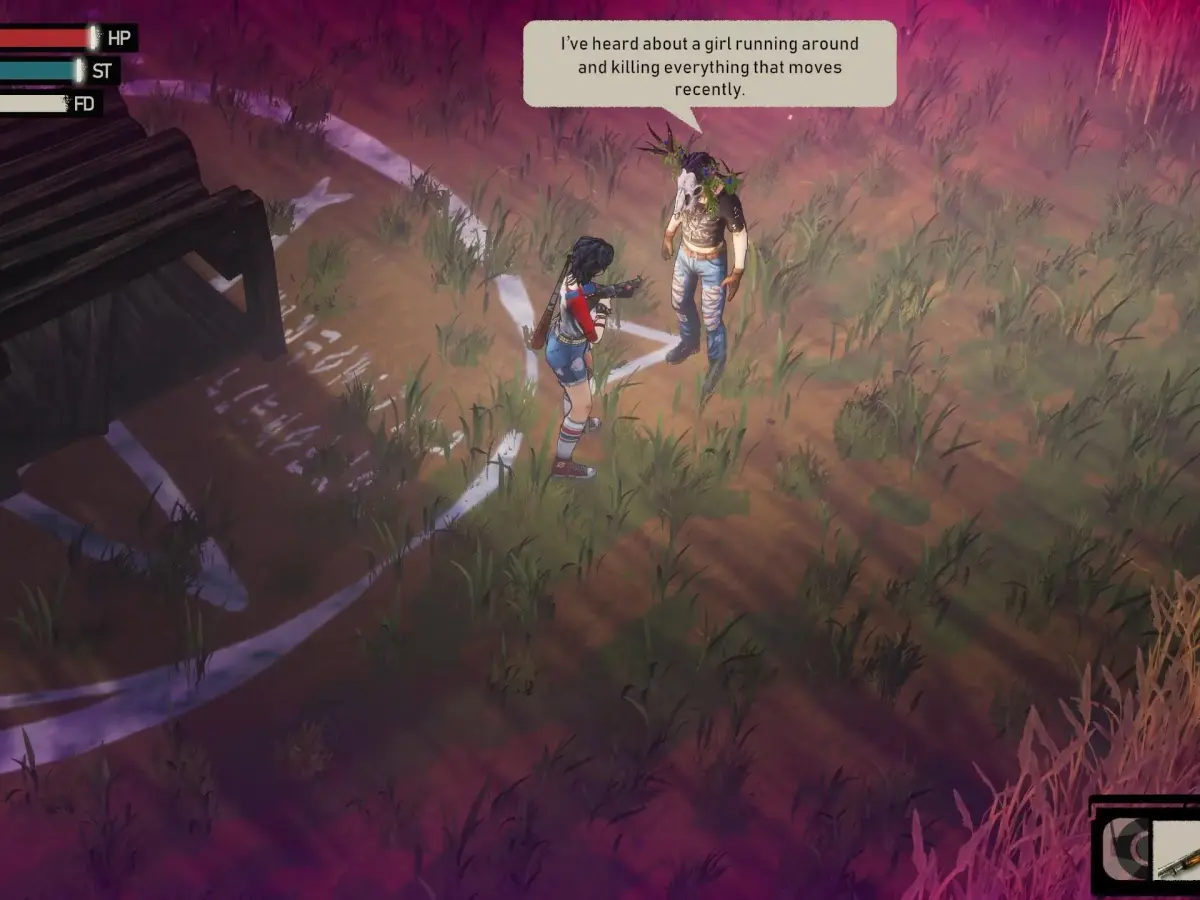
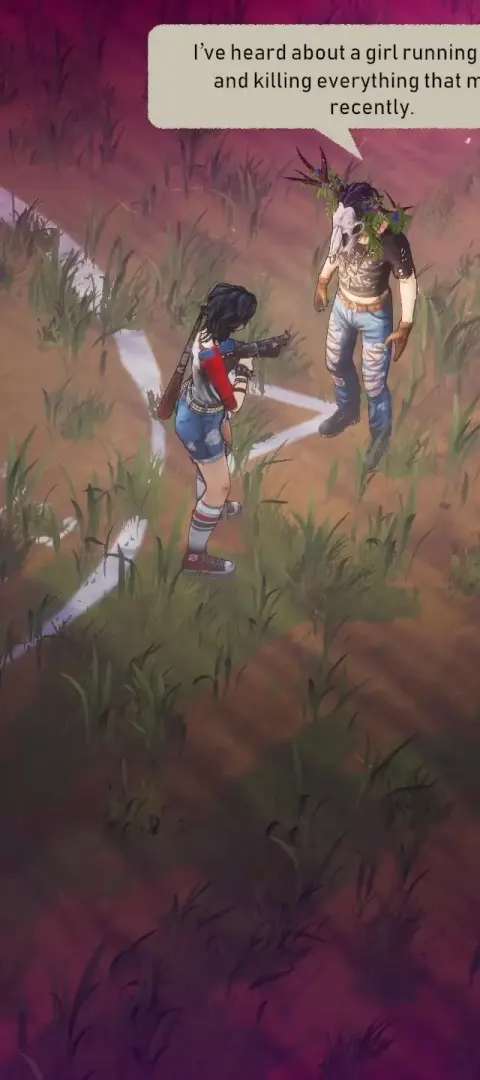
Pursuing Adam
Go to the Forest and head northwest, then north until you reach a gate near a large spider egg. It won’t burst, letting you safely use the key and enter.
The large spider (or Broodmother) attacks you shortly after you move to the center of the battlefield. Several smaller spiders emerge from eggs around the battlefield and pursue you. The Broodmother can hit you like other spiders but it can also spit long tentacles at you, dragging you in.
Weapons like the Submachine Gun and the Riot Shotgun allow you to quickly dispatch the spiders. Keep your distance from the Broodmother and fire away. If the Broodmother captures you and pulls you closer, focus your gunfire on the Broodmother and nothing else.
Throwable explosives like the Molotov Cocktail or the Mining Explosive aren’t as useful since the Broodmother frequently moves around. If you must use them, throw the explosive and stay around to ensure the Broodmother doesn’t leave the explosion radius.
You get the That’s a hell of a spider achievement when you win.
You can now complete the Full picture achievement. The spider battlefield is one location that you won't have until the battle ends. Here is the complete map below to help you find each of the 41 locations.
Exploring the tunnels
After the battle, head north of the battle arena to find a bunker entrance.
Unlike other bunker entrances, you enter a series of tunnels. Move forward until you see a map. Head east of the map to find a TV save point, a campfire for basic crafting, and a note in the middle.
Here’s the map for future reference:
Crouch and move west, following the path and fighting off various small and large spiders. When you see a path split to the northwest and southwest, head northwest. Fight three tentacle men and one hazmat enemy. Defeat them and look at the locked door to the northeast. Head west of the door to find another map and two containers you can loot.
Head southwest and burn down the obstacle in your path. A Molotov Cocktail is better for this situation but a Grenade and/or a Mining Explosive work as well. Follow the path and when it splits to the east and west, head east.
Crouch under the fallen supports and break another obstacle with a Molotov Cocktail/Grenade/Mining Explosive. Follow the path to reach a box. You can open a door northeast of the box as a shortcut to leave the tunnels if necessary.
Head southeast of the box, then east through the electrified area. Defeat a large enemy there and search a first-aid kit on top of a barrel. Northeast of the first-aid kit is a broken mine cart with a Minecart Brake Lever. There’s also a switch southeast of the cart you can turn off to make the electrified zone safe again.
Head southwest of the cart but watch out for a hazmat enemy and a tentacle man. They are protecting two boxes you can loot for items.
Return to the previous path split and head west this time. Follow the path and defeat a large enemy to reach a broken mine cart at the end. Use the Minecart Brake Lever to replace the missing lever, then use some Fuel to make it active. There should be some Fuel in the containers you’ve seen thus far.
Using Fuel should activate a door near the cart. Go through to find a Workbench, a TV save point, and a note on the ground. There are also two containers to the left of the Workbench.
Use the cart to move to a previous area. You should see a door with a green light to the north. The first time you saw it, it was previously locked.
Follow the path through the door to find a first-aid kit on a barrel and a TV save point.
Continue along the path but watch out for large spiders that ambush you. The path eventually splits to the northwest and northeast. Going northwest leads to a dead end with a large spider but there are two containers you can loot.
Head northeast and fight off a large enemy, searching a first-aid kit on top of a nearby barrel.
As you proceed, you can see a box on your right. Be careful as the path splits, with two tentacle men in the southeast and a large spider in the southwest. Deal with them before looting the box.
Continue along either southern direction as they quickly merge into the same path. Defeat the large spiders along the way and you encounter a trapdoor. There’s a box you can loot north of the trapdoor. Head northwest of the trapdoor to open a shortcut that leads back to a previous area.
Go through the trapdoor and follow the path southeast. You soon come across a large spider with a first-aid kit nearby.
The path splits to the east and west, head east for now. You should find a TV save point, a Crank on a machine, and a box you can loot.
Return to the path split and head west, crouching under the supports. You should find two boxes near a ladder. The ladder is a shortcut to the entrance of the tunnels but you don’t need it now.
Return to the ladder you originally came down from and go back up. Head northeast and stick to the left wall until you see a ladder.
Go up the ladder and you see a tentacle man nearby. Look southwest of the trapdoor you came from to find a box you can loot.
Head south of the trapdoor and follow the curve to defeat a large spider and find a box.
Head east of the trapdoor and defeat the tentacle man. Follow the path and it should split to the east and north. Take the north path but watch out for a large enemy. Defeat them and you can grab a box to the left, two crates to the north, and a box to the right. Use the Crank you found earlier with the machine on the right to open the doors below.
Return to the trapdoor and go down. From the ladder, head northeast and northwest, then northeast through the door you opened. Climb up the ladder at the end to leave.
Going above ground
Head northwest until you reach a house or the Druid’s Hut. To the left of the steps is a box you can loot. Use the Workbench to the right of the Druid’s Hut for some crafting.
Go inside the Hut to find a box and a Stove to the southwest. There’s a box to the northeast near an open door. The north table has a note for you to read.
In the next room is a TV save point and a bed. There’s a trapdoor with a button nearby but you can’t access it at the moment.
100% Human-Written. AI Fact-Checked. Community Verified. Learn how AntMag verifies content