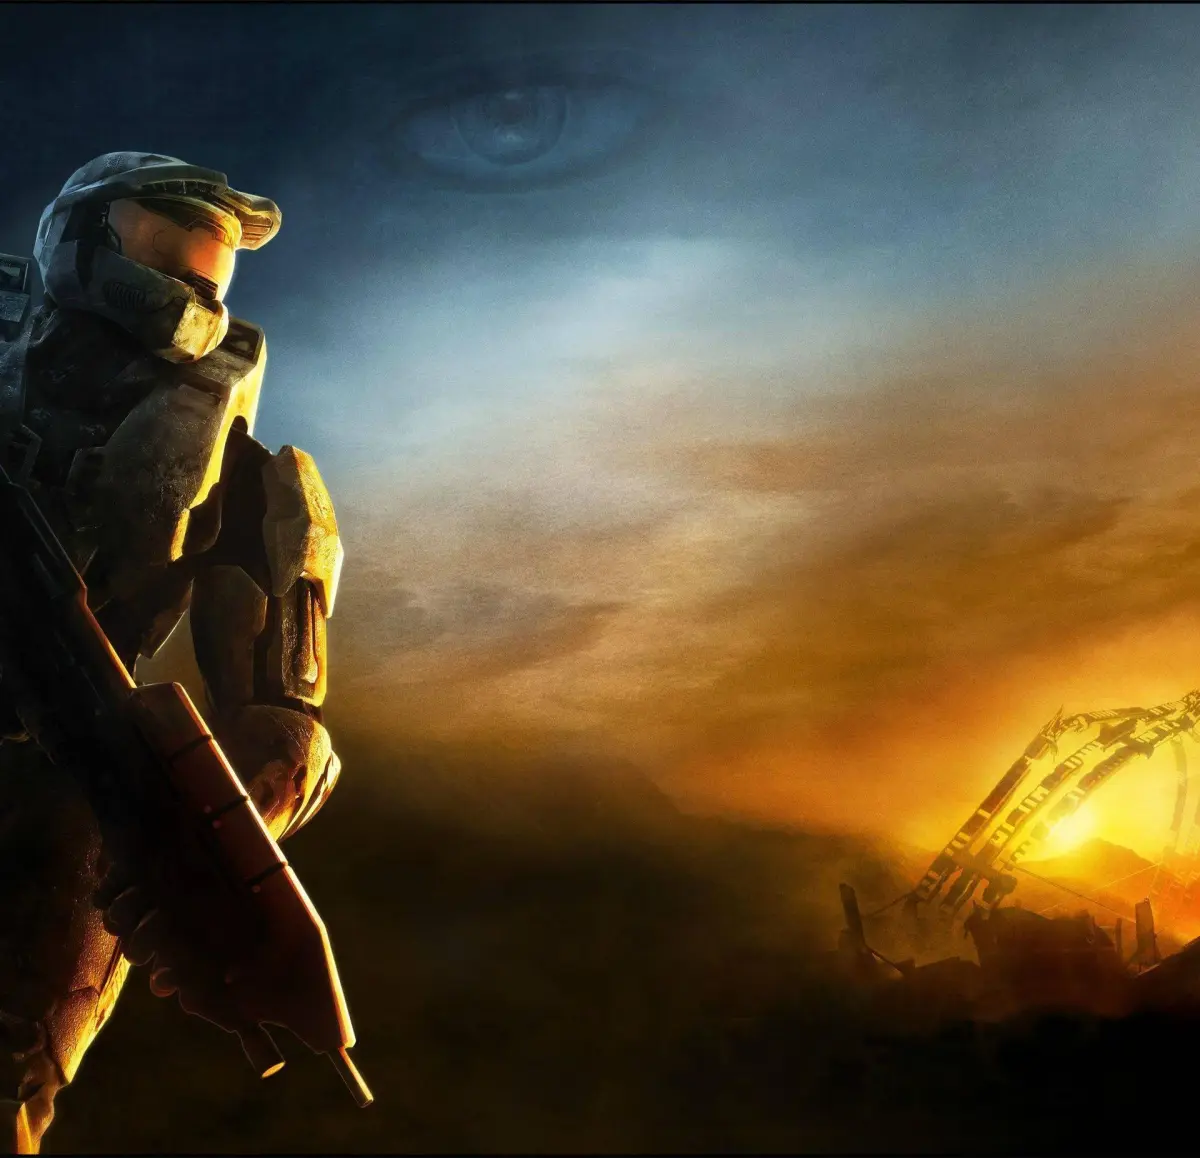
Locate Sergeant Johnson during Halo 3's opening mission, Sierra 117. Navigate dense jungle, battle Brutes, and assist his pinned-down squad.
Rendezvous with Johnson (Mission: Sierra 117)
This section details the critical objective of linking up with Sergeant Johnson during the mission "Sierra 117," the very first playable mission in Halo 3. Following your dramatic crash landing on Earth, your primary goal is to navigate the treacherous jungle terrain and locate the UNSC forces, specifically Sergeant Major Avery Johnson, who is leading a squad of Marines.
This rendezvous point marks a significant turning point in the mission, transitioning from solo survival to coordinated combat. Expect heavy resistance from Covenant forces determined to prevent your reunion.
Walkthrough: Navigating the Jungle and Reaching Johnson
After the opening cinematic and your rough landing, you'll find yourself armed with an Assault Rifle and a Battle Rifle. Your initial objective is to push through the dense jungle towards the signal of friendly forces. The path is largely linear, but vigilance is key.
- Initial Descent & First Encounters:
- Location: The immediate area after your crash site.
- Enemies: Expect small patrols of Grunts and Jackals.
- Tactics: Use your Battle Rifle for precision headshots on Grunts and Jackals to conserve Assault Rifle ammo. Grunts will often panic and flee after a few shots, making them easy targets. Jackals are dangerous with their shields; aim for the exposed hand or foot, or use a grenade to stagger them before a headshot.
- Loot/Resources: Keep an eye out for scattered UNSC supply crates containing Assault Rifle ammo and grenades.
- The Ravine & Brute Patrols:
- Location: As you descend further into the jungle, you'll encounter a narrow ravine section.
- Enemies: This area introduces Brutes, often accompanied by Grunts. Brute Minors (red armor) are common, but watch for Brute Captains (gold armor) who are tougher and carry Brute Shots.
- Tactics:
- Brutes: The Battle Rifle is excellent for stripping Brute armor. Focus fire on their head or chest until their armor shatters, then go for a headshot. If they charge, a well-placed grenade can stun them or force them out of cover. Consider using the Plasma Pistol's overcharge shot to instantly strip their shields/armor, then switch to the Battle Rifle for the headshot.
- Grunt Squads: Prioritize eliminating Grunts first to reduce incoming fire and prevent them from throwing plasma grenades.
- Common Pitfall: Don't get surrounded by Brutes. Use the terrain for cover and create choke points.
- Approaching the River & Johnson's Position:
- Location: You'll eventually reach a wider, more open area with a river running through it. You'll start to hear distant gunfire and radio chatter indicating friendly forces.
- Enemies: This area is heavily contested. Expect a mix of Brutes, Jackals, and Grunts guarding the approaches to Johnson's position. Brute Choppers might also be patrolling the area on higher difficulties.
- Tactics:
- Long-Range Engagement: Use the Battle Rifle to pick off enemies from a distance before they can close in.
- Grenade Usage: Conserve grenades for groups of enemies, to flush out Brutes from cover, or to disable Brute Choppers (a well-aimed plasma grenade can stick to a Chopper and destroy it).
- Environmental Hazards: Be aware of explosive barrels or plasma batteries that can be detonated to clear groups of enemies.
- Recommended Loadout: Battle Rifle for precision, Assault Rifle for close-quarters crowd control, and plenty of grenades.
- The Clearing: Rendezvous Point:
- Location: You'll arrive at a clearing where Sergeant Johnson and his squad of Marines are pinned down by a significant Covenant force. This is your primary rendezvous point.
- Enemies: A concentrated force of Brutes (including Captains), Jackals, and Grunts. A Brute Chopper might also be present, depending on difficulty.
- Objective: Assist Johnson's squad in clearing the immediate area.
- Tactics:
- Flanking Maneuvers: The Covenant will be focused on Johnson's position. Use this to your advantage by flanking them.
- Target Prioritization: Eliminate the Brute Captains first, as they pose the biggest threat. Then focus on the Brutes, followed by Jackals and Grunts.
- Utilize Marine Support: Your Marines, while not invincible, can draw enemy fire and provide suppressive fire. Work with them. If a Marine is downed, revive them if it's safe to do so.
- Vehicle Acquisition (Optional): If a Brute Chopper is present, consider hijacking it once its driver is eliminated. This can provide significant firepower for clearing the remaining enemies.
Post-Rendezvous & Next Steps
Once the clearing is secure and all Covenant threats are neutralized, Sergeant Johnson will acknowledge your arrival. He will then brief you on the situation and the next objective: securing a Pelican dropship for extraction. At this point, you will officially join Johnson's squad, gaining valuable Marine support for the remainder of the mission.
Key Takeaways for this Section:
- Weapon Proficiency: Master the Battle Rifle for efficient enemy elimination.
- Grenade Economy: Use grenades strategically against armored Brutes or clustered enemies.
- Situational Awareness: Always be aware of your surroundings and potential flanking routes for the Covenant.
- Teamwork: Once you link up with Johnson, leverage your Marine allies to draw fire and provide additional firepower.
100% Human-Written. AI Fact-Checked. Community Verified. Learn how AntMag verifies content