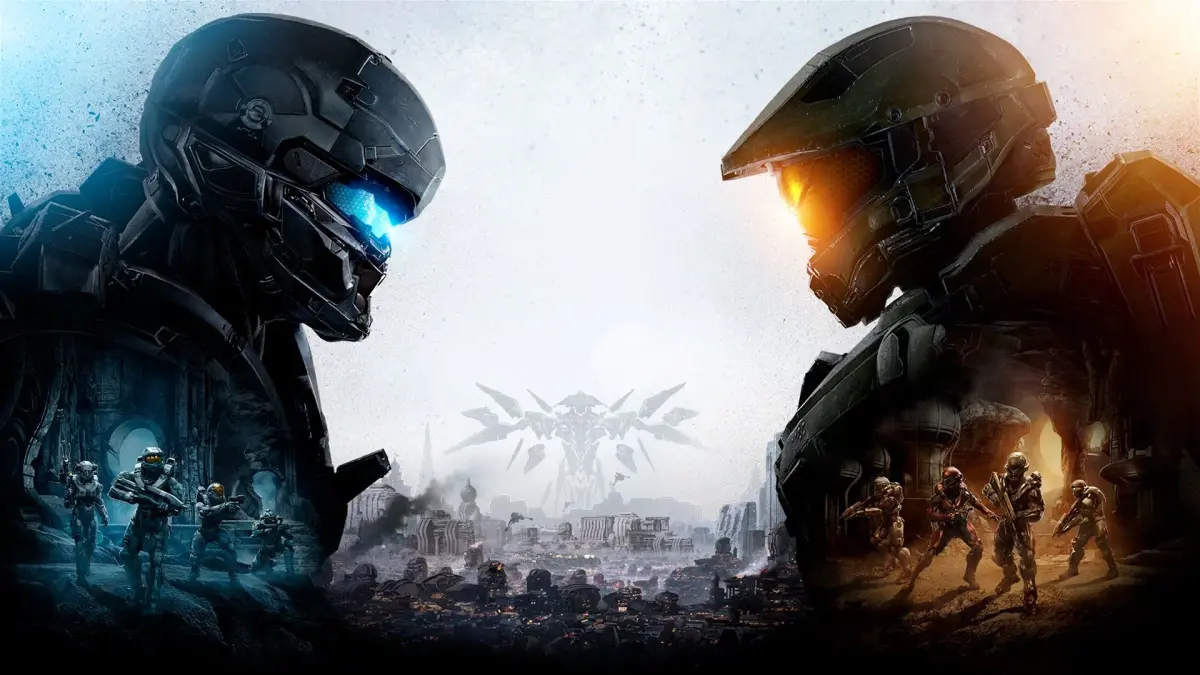
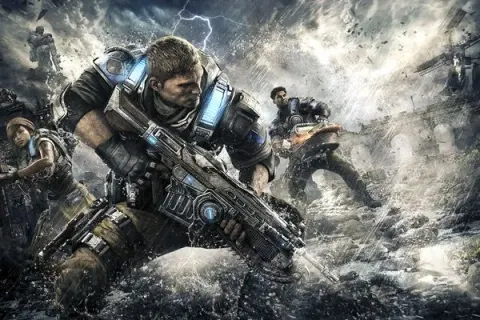
Welcome to Halo 5: Guardians, the Xbox One exclusive that throws you into the boots of both Master Chief and Spartan Locke as their respective fireteams clash across the galaxy. You’ll navigate 15 challenging missions, from the opening moments of Mission 1: Osiris to the climactic finale in Mission 15: Guardians, all while uncovering vital intel and mastering the controls to overcome every obstacle.
This guide is your key to conquering every aspect of Guardians. We’ll help you track down all 117 Intel locations scattered throughout the campaign, pinpoint the 13 hidden Skulls, and provide a Legendary Walkthrough to tackle the toughest challenges. Plus, we’ve got the full Achievement Guide, detailing how to earn all 65 achievements, which will take around 35-45 hours and requires at least two playthroughs.
Spartan Abilities
Learn how to use all the new Spartan Abilities in Halo 5: Guardians, including Thruster, Clamber, Ground Pound, and more to dominate the battlefield!
Alright, let's talk about the Spartan Abilities in Halo 5: Guardians. These are a big deal and totally replace the old armor abilities from games like Halo 4. Think of them as built right into your suit, thanks to this new thruster pack. They give you a bunch of cool movement options and special moves that'll make you way more agile on the battlefield.
Here’s a breakdown of what you can do:
- Thruster – This is your bread and butter for quick dodges or closing the distance. You can boost a short way in any direction. It’s perfect for getting up close for a melee attack, dodging out of the way of incoming grenades or enemy fire, or even extending your jumps to reach those tricky spots with collectibles or special weapons.
- Stabilizer – This one’s neat. While you’re in the air after a jump, if you aim down your sights, you’ll hover for a second instead of falling. It gives you just enough time to line up some precise headshots on enemies below.
- Ground Pound – Ready to make an entrance? Jump, then hold down the LB button. Gravity will do the rest, launching you towards the ground. When you hit, you’ll unleash a shockwave that damages and knocks back enemies in a small area. You’ll see a white circle showing the area of effect. It takes about 1-2 seconds to activate, so time it right! This can also smash through weak floor sections.
- Clamber – This is a lifesaver, especially if you like exploring. When you’re near a wall, Clamber basically gives you a super-powered jump, letting you scramble up ledges. It’s super useful for getting to those high sniping spots or finding those hidden collectibles scattered around.
- Sprint – Yep, Sprint is back from Reach and Halo 4! Just hold down the left stick, and you’ll run faster than usual. Just a heads-up, though: while you’re sprinting, your shields won’t recharge. So, use it wisely!
- Spartan Charge – This is where Sprint and Thruster combine. Once you get up to speed with a sprint (you’ll see a diamond reticule pop up on your screen), you can use your Thruster to basically shoulder-charge enemies or blast through weak walls. It’s pretty brutal!
- Slide – Combine Sprint and a crouch, and you’ve got Slide. Get a good sprint going, then hold the crouch button. You’ll slide forward, which is awesome for quickly diving into cover.
Weapons and Weapon Tactics
Learn about UNSC, Covenant, and Promethean weapons in Halo 5: Guardians, including tactics for the Magnum, Shotgun, SMG, and more.
- 1UNSC (Human) Weapons: The human faction has the most weapons. The Sticky Detonator is absent, but most Halo 4 weapons return. New additions include the SMG and the Hydra Launcher.
- 2Magnum: A good sidearm effective at close to medium range, capable of head shot kills with a decent rate of fire.
- 3Shotgun: Devastating up close, but weak at mid-long range. Ideal for tight interior spaces or caves.
- 4SMG: Features an extremely fast rate of fire with significant recoil, making it best for close range on larger targets in short bursts. Good for finishing off enemies with depleted shields due to its large ammo capacity.
- 5Assault Rifle: The standard weapon, accurate with an impressive rate of fire. It consumes a lot of ammo and is best at short-medium range, often followed by a melee attack.
- 6SAW: A powerful, fully automatic machine gun with a fast rate of fire and high recoil. Best used at close range in short bursts for maximum efficiency. Its large clip is useful for clearing areas or defending positions.
- 7Battle Rifle: Fires a highly accurate three-round burst with a short-range scope, excellent for unshielded enemies at middle to long range.
- 8DMR: Fires a single shot with a slower rate of fire than the Battle Rifle but is highly effective at long range due to its longer scope. Excellent for headshots in skilled hands at mid-long range.
- 9Sniper Rifle: A staple weapon with a scope offering two zoom levels. Capable of quick follow-up shots before reloading. A headshot (a shot that lands on the enemy's head, usually an instant kill) is usually lethal, with heavily armored enemies requiring more.
- 10Frag Grenade: The standard UNSC grenade with a 3-second fuse after contact. Essential in both campaign and multiplayer.
- 11Rail Gun: Must be charged before firing an explosive projectile, similar to a gauss warthog round. Most effective at short-medium range.
- 12Hydra Launcher: A new weapon that lobs multiple grenades, effective at close to medium range.
- 13Covenant Weapons: (Details to follow in subsequent sections).
- 14Promethean Weapons: (Details to follow in subsequent sections).
- 15Legendary/Unique Variants: Special versions of weapons found during the campaign that grant players special abilities.
- The Magnum is a reliable backup weapon for quick headshots.
- Utilize the Shotgun's power in close-quarters combat, especially in confined areas.
- For the SMG, tap the trigger in short bursts to manage recoil and conserve ammo.
- The Assault Rifle is a good general-purpose weapon for short to medium engagements.
- The SAW is excellent for suppressing fire or holding down an area.
- The Battle Rifle and DMR excel at medium to long range, with the DMR being superior for long-distance headshots.
- The Sniper Rifle is crucial for eliminating high-priority targets from a distance.
- Frag Grenades are versatile for flushing out enemies or area denial.
- The Rail Gun is effective against shielded enemies and at medium ranges.
- The Hydra Launcher provides area damage at close to medium range.
Enemies & Enemy Tactics Guide
Learn tactics for Covenant and Promethean enemies in Halo 5: Guardians, including Grunts, Elites, Hunters, and more.
Covenant Forces
The Covenant forces in Halo 5: Guardians include Elites, Grunts, and Jackals. Buggers, Brutes, and Engineers are not present.
- Grunt - These are weak, unprotected enemies often found in groups of four or more. They can be killed with a single headshot (a shot that lands on the enemy's head, usually an instant kill). They typically wield Plasma Pistols and throw Plasma Grenades, but may occasionally have Needlers or Covenant Fuel Rod Cannons. They may flee if their numbers are thinned or an Elite nearby is killed.
- Suicide Grunt - Similar to Grunts, these can be killed with a single headshot. They will charge at you with activated Plasma Grenades and explode on proximity. Shoot them before they reach you. Use your radar (a display showing nearby enemies) to detect them, as they can be stealthy.
- Shield Jackal - These enemies are weak and vulnerable to headshots but possess a small energy shield. They advance with their shield forward, providing cover (press the cover button to crouch behind walls or objects) for other enemies. To defeat them, shoot their gun hand to stun them and drop the shield temporarily, or use a Plasma Pistol overcharge to destroy the shield. Grenades will also cause them to drop their shields. A Plasma Pistol overcharge can strip your shields instantly if it hits you.
- Jackal Marksman - These Jackals lack shields but are accurate at range, using weapons like Beam Rifles and Covenant Carbines from elevated positions. A headshot will kill them, but spotting them before they inflict significant damage is key. In Halo 5: Guardians, some can use jet packs to move quickly between ledges and rooms.
- Elite - Elites are the Covenant's equivalent of Spartans, protected by rechargeable energy shields. You must deplete their shields before damaging their bodies, ideally with a headshot. A Plasma Pistol overcharge is effective for stripping shields. They commonly use Storm Rifles but can also wield Covenant Carbines, Needlers, and Fuel Rod Cannons, and frequently throw Plasma Grenades.
- Hunter - These are the largest Covenant enemies, always encountered in pairs. They have heavy armor, a shield in one hand, and a Fuel Rod Cannon in the other. They will lunge and shield bash if you get too close or fire their Fuel Rod Cannon from a distance. Their weak spots are orange and located on their backs. Use teammates as decoys, explosives, or lure them into lunging, dodge, and attack their exposed backs, preferably with a Shotgun.
Promethean Forces
All Promethean enemy types from Halo 4, including Crawlers, Knights, and Watchers, return in Halo 5: Guardians. Knights have been redesigned, and there are new enemy types and alterations to existing ones.
Campaign Walkthrough
Complete Halo 5: Guardians campaign walkthrough covering all 117 Mission Intel, 13 Hidden Skulls, unique weapons, and achievements.
- 1Navigate through each level of the Halo 5: Guardians campaign.
- 2Utilize tips and tricks to overcome challenging combat encounters.
- 3Explore alternate routes and flanking locations.
- 4Locate useful weapons to aid your progress.
- 5Find all 13 hidden Skulls.
- 6Gather all 117 Mission Intel collectibles.
- 7Unlock level-specific achievements as you progress.
- Pay attention to the minimap (the small radar (your minimap with nearby blips and threats marked) display on your HUD (heads-up display — the on-screen icons showing health, ammo and the minimap)) for enemy positions and objectives.
- Use cover (press the cover button to crouch behind walls or objects) effectively to avoid taking damage.
- Aim for headshots on enemies for critical damage.
- Be aware that some actions may trigger a cutscene (a non-interactive cinematic the game plays automatically).
- If you fail an encounter, you will respawn (be brought back to life at a checkpoint after death) at the last checkpoint (an auto-save point you restart from on death).
- Look for highlighted waypoints to guide you to your next objective.
- Some missions may offer opportunities for free roam (the open-world mode where you move and play without an active mission) exploration to find collectibles.
- DLC (Downloadable Content) may offer additional challenges or rewards.
- Interact with NPCs (Non-Player Characters) for potential assistance or information.
- A wanted level (the star icons in the top-right showing how aggressively police pursue you) system is not present in the campaign.
Similar guides you might like


100% Human-Written. AI Fact-Checked. Community Verified. Learn how AntMag verifies content