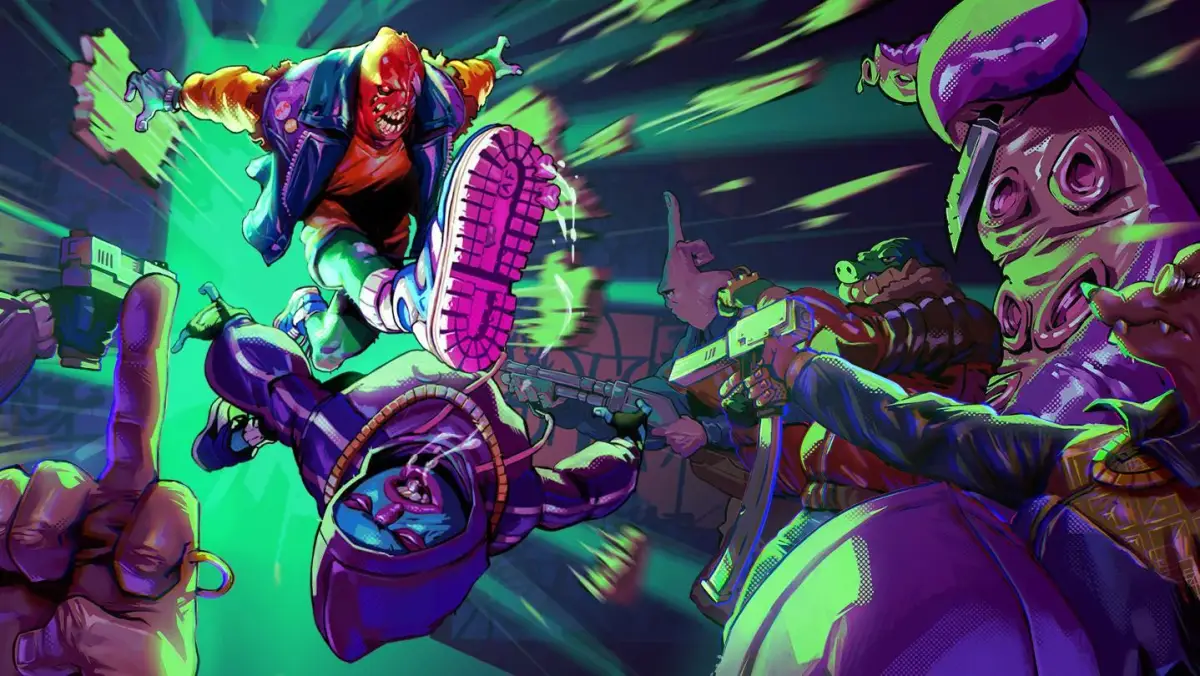
Become an unstoppable force in Anger Foot. Master movement and weapon synergies with these tips and strategies to dominate neon-soaked, enemy-infested levels.
Welcome, aspiring Anger Foot legend! This section will equip you with the knowledge and tactics to not just survive, but dominate the neon-soaked, enemy-infested levels of Anger Foot. From mastering movement to optimizing your arsenal, these strategies will turn you into an unstoppable force of footwear-fueled fury.
Movement and Positioning
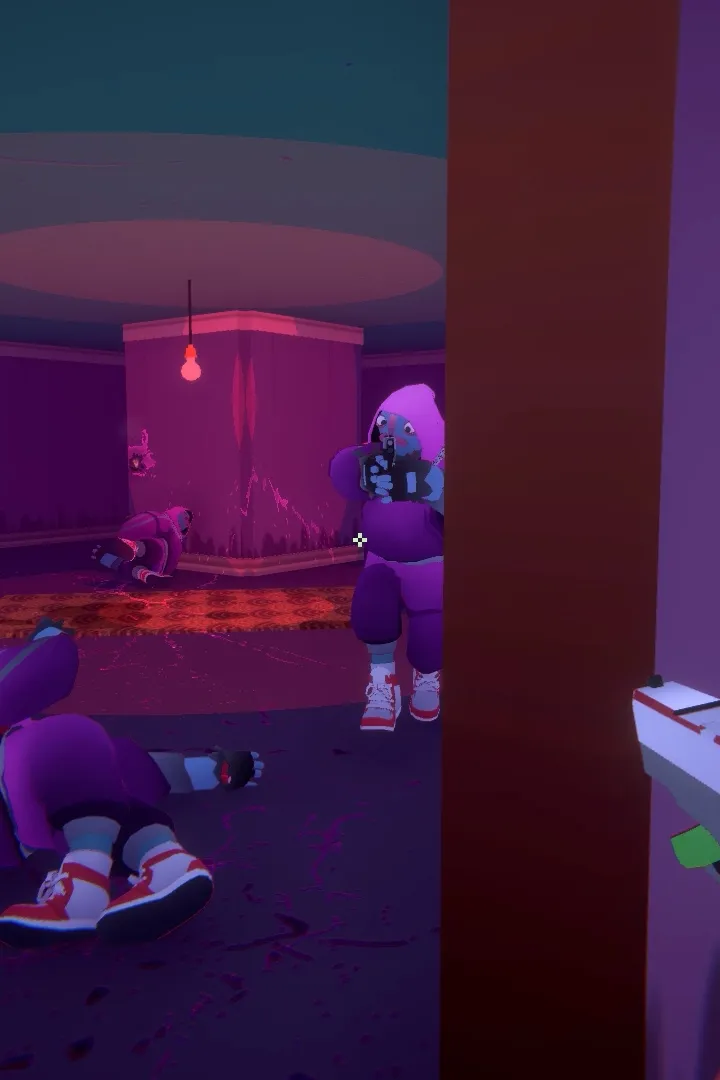
In Anger Foot, staying still is signing your own death warrant. Constant motion is key to survival and effective offense. Mastering movement allows you to dictate the flow of combat, evade incoming fire, and set up devastating attacks.
- Slide Kicking: This isn't just for style! A well-timed slide kick can knock down multiple enemies, open up paths, and even destroy certain environmental hazards. It's also your primary tool for closing distances rapidly or escaping a tight spot. Remember, a downed enemy is a vulnerable enemy, perfect for follow-up kicks or weapon attacks. To initiate a slide kick, press the crouch button while moving forward.
- Wall Running: Utilize the environment to your advantage. Wall running allows you to bypass ground-based threats, reach elevated positions, and surprise enemies from unexpected angles. It's also fantastic for maintaining momentum and chaining together attacks. To perform a wall run, jump towards a wall while moving. Your character will automatically run along it. You can then jump off the wall to gain extra distance or change direction. Maintain momentum by jumping between walls or performing other parkour moves.
- Environmental Awareness: Always be aware of your surroundings. Look for explosive barrels, flimsy walls you can kick through, and elevated platforms. These can be used to your advantage, creating chaos among enemy ranks or providing a tactical retreat. Explosive barrels, often red and clearly marked, can be shot or kicked to detonate, dealing massive area damage. Flimsy walls, usually indicated by cracks or visible structural weaknesses, can be destroyed with a powerful kick or a melee weapon to create new sightlines or flanking routes.
- Corner Peeking: Before blindly rushing into a new room, take a quick peek around corners. This allows you to identify immediate threats and plan your initial assault without taking unnecessary damage.
Weapon Mastery
While your feet are your primary weapon, the diverse arsenal in Anger Foot offers powerful supplementary options. Knowing when and how to use each weapon is crucial. Ammo conservation is key, so always consider your most efficient option.
Melee Weapons
Melee weapons are your bread and butter for close-quarters combat and conserving ammo. They often have unique properties that make them invaluable for stunning, crowd control, and dealing with specific enemy types.
- Baseball Bat: A reliable, high-damage melee option. Great for clearing out groups of weaker enemies or stunning tougher foes. Look for it in early levels, often found near dumpsters or in storage closets. Its moderate swing speed and good impact make it a balanced choice.
- Machete: Faster than the bat, the machete excels at quick, successive strikes. Ideal for dealing with agile enemies or when you need to quickly dispatch a single target. Frequently spawns in kitchen areas or on workbenches. Its rapid attack speed allows for consistent damage output.
- Chainsaw: A devastating, high-risk, high-reward weapon. The chainsaw chews through enemies but leaves you vulnerable during its wind-up and sustained use. Best used when you have a clear path to a group of enemies or against a single, powerful foe. Keep an eye out for it in maintenance rooms or after defeating certain Mini-Bosses. Its continuous damage output can melt even the toughest opponents, but be mindful of its noise and the stamina it consumes.
- Crowbar: A sturdy tool that offers a good balance of speed and damage. It's effective for breaking through weaker defenses and can stagger most common enemies with a solid hit. Often found in construction sites or near scaffolding.
Ranged Weapons
Ranged weapons provide crucial support for dealing with distant threats and managing crowd control. Ammo is finite, so make every shot count. Understanding the strengths of each firearm will dictate your loadout choices.
- Pistol: Your starting firearm. While not the most powerful, its infinite ammo makes it a reliable choice for picking off stragglers, finishing off weakened enemies, or when you've exhausted all other ammunition. Always have it ready for when you run out of other ammo. Its accuracy is decent, making headshots a viable strategy.
- Shotgun: The ultimate close-range crowd control tool. Devastating at short distances, capable of clearing multiple enemies with a single blast. Essential for tight corridors and overwhelming enemy numbers. Often found in security offices or on weapon racks in larger rooms. Its spread is wide, making it forgiving for less precise aim at close range.
- SMG: High rate of fire, low damage per shot. The SMG is excellent for suppressing enemies, dealing continuous damage, and quickly breaking through enemy armor. Best used against multiple medium-health targets. Common in gang hideouts and armories. Its high fire rate can quickly deplete ammo, so use it judiciously.
- Assault Rifle: A versatile, all-around weapon. Good damage, decent fire rate, and effective at various ranges. A solid choice for most combat scenarios. Look for it in military crates or dropped by heavily armed enemies. It offers a good balance between stopping power and sustained fire.
- Nail Gun: A unique weapon that fires nails at an incredibly high rate. While individual nails do little damage, a sustained burst can quickly shred enemies, especially those with lighter armor. It's particularly effective at close to medium range and can be found in workshop areas or dropped by specialized enemies.
- Rocket Launcher: The ultimate room-clearing weapon. One shot can decimate entire groups of enemies or destroy fortified positions. Ammo is extremely scarce, so save it for critical situations or particularly tough Boss encounters. Typically found in hidden weapon stashes or as a reward for completing challenging side objectives. Its explosive splash damage is unparalleled.
- Flamethrower: A terrifying weapon that spews fire, dealing continuous damage and causing enemies to panic. Excellent for area denial and flushing enemies out of cover. Ammo is moderately scarce and it's best used in enclosed spaces or against tightly packed groups. Often found in industrial areas or chemical storage zones.
Enemy Encounters
Each enemy type presents a unique challenge. Understanding their patterns and weaknesses is vital for survival and efficient combat. Adapt your tactics based on the threats you face.
- Basic Thugs: Easily dispatched with a single kick or a few pistol shots. Prioritize them to reduce incoming damage. They often charge directly at you, making them predictable targets.
- Armored Enforcers: These foes wear body armor, making them resistant to head-on attacks. Aim for their unarmored legs or use powerful weapons like the Shotgun or Assault Rifle to break their defenses. A well-placed slide kick can also stun them, allowing for follow-up attacks. Their armor is most vulnerable from the sides and rear.
- Snipers: Dangerous from a distance. Identify their positions quickly (often on rooftops or elevated platforms) and use wall runs or cover to close the gap. A quick Pistol headshot or a well-aimed throw can take them out. Listen for the distinct sound of their rifle charge.
- Grenadiers: These enemies throw grenades that can flush you out of cover or deal significant area damage. Listen for the distinctive "clink" of a thrown grenade and move quickly. If possible, kick the grenade back at them for a satisfying explosion.
- Brutes: Large, heavily armed enemies with high health. They often carry heavy weapons and have slow but powerful attacks. Focus fire on their weak points (usually their head or exposed back) and use evasive maneuvers to avoid their devastating swings. Rocket Launchers are excellent for dealing with Brutes quickly.
- Fast Movers: These agile enemies can quickly close distances and attack with rapid melee strikes. They are difficult to hit with slow-firing weapons. Using shotguns or SMGs at close range, or stunning them with kicks, is effective.
- Shield Bearers: Enemies wielding shields that block frontal attacks. You'll need to flank them, use explosive weapons, or employ a well-timed kick to their shield to stagger them and expose them for attack.
Advanced Tactics
Elevate your gameplay by incorporating these advanced techniques. These strategies will help you master the flow of combat and overcome even the most challenging encounters.
- Kick-Chaining: Master the art of chaining kicks. A successful kick often stuns an enemy, allowing you to follow up with another kick, a weapon attack, or even a throw. This is crucial for maintaining momentum and controlling groups. Experiment with different kick timings and combinations to find your rhythm.
- Weapon Throws: Don't underestimate the power of a thrown weapon! If you're out of ammo or need a quick stun, throwing your current weapon (even an empty one) can knock down an enemy, buying you precious seconds. This is especially effective against Snipers or enemies about to fire. Pick up a new weapon quickly after a throw to maintain offensive pressure.
- Explosive Barrel Utilization: Exploding barrels are your best friends. Kick them into groups of enemies, shoot them from a distance, or use them to breach flimsy walls. They are often found in warehouses, loading docks, and construction sites. Learn to anticipate their placement and use them as part of your offensive strategy.
- Health Management: Health pickups are scarce. Prioritize avoiding damage over dealing it. If you find a Medkit (often in restrooms or first-aid stations), consider if you truly need it or if you can save it for a more critical moment. Sometimes, a quick retreat to find cover is more beneficial than grabbing a health pack under fire.
- Speed and Aggression: Anger Foot rewards aggressive play. The faster you move and the more enemies you dispatch, the less time they have to react. Don't be afraid to rush in, but always have an escape plan. Utilize slide kicks and wall runs to maintain high-speed engagements.
- Environmental Destruction: Beyond flimsy walls, many objects in the environment can be destroyed or interacted with. Kicking over tables can create temporary cover, while breaking windows can provide new lines of sight. Be observant and experiment with your surroundings.
- Ammo Conservation Strategies:
- Prioritize melee for weaker enemies.
- Use the Pistol for headshots on isolated targets.
- Exploit environmental hazards like explosive barrels.
- If a weapon's ammo is low and you have a preferred alternative, consider dropping it to conserve space for more useful pickups.
- Boss Encounter Strategies: Bosses often have distinct attack patterns and weak points.
- The Butcher: This hulking foe wields a massive cleaver. His attacks are telegraphed but devastating. Focus on dodging his swings and attacking his legs or back when he's recovering. Shotguns and Assault Rifles are effective.
- The DJ: A more agile boss who uses sonic attacks and summons waves of enemies. Prioritize taking out the summoned enemies quickly and use cover to avoid his sonic blasts. The Rocket Launcher is highly effective against him.
- The Architect: This boss utilizes environmental traps and constructs. Learn to anticipate his traps and use the environment to your advantage. Powerful, sustained fire from the Assault Rifle or SMG can overwhelm him.
100% Human-Written. AI Fact-Checked. Community Verified. Learn how AntMag verifies content