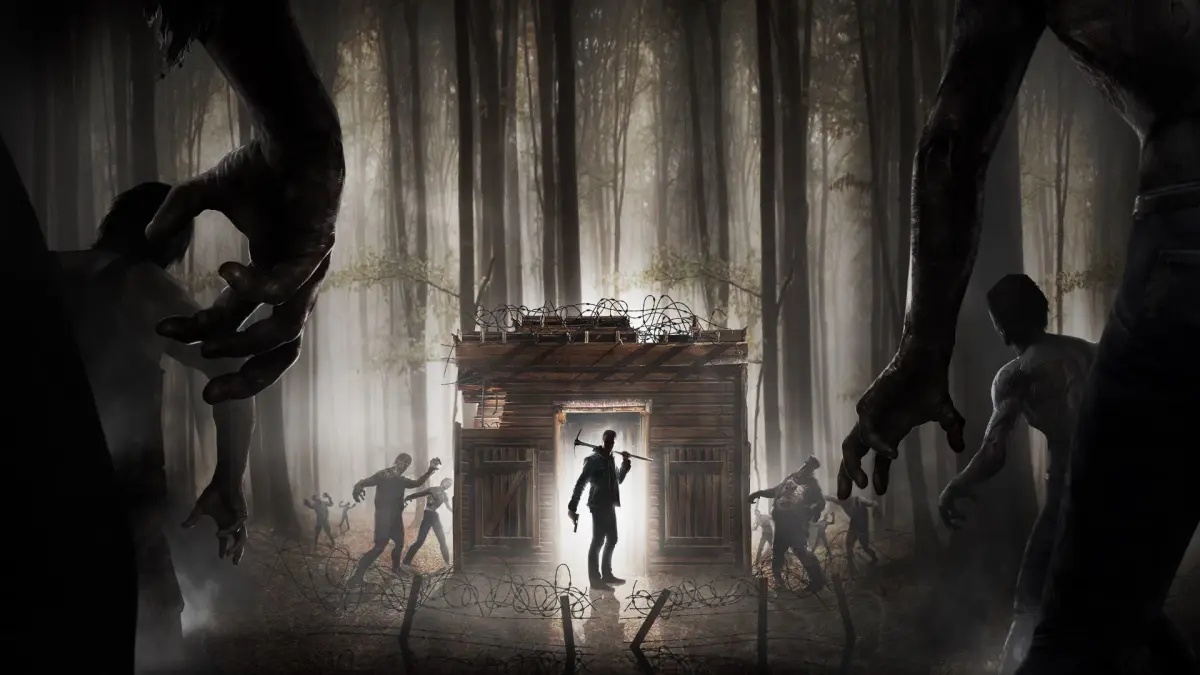
Build devastating kill zones with electrical components and complex mechanics. Master advanced defenses for later game Blood Moon Hordes in 7 Days to Die.
As your survival skills grow and the zombie hordes become more formidable, relying solely on basic spikes and wooden walls won't cut it. It's time to graduate to advanced defenses, which leverage electrical components, complex mechanics, and strategic placement to create truly devastating kill zones. Mastering these defenses is crucial for surviving later game Blood Moon Hordes and protecting your valuable base.
Crafting & Skill Requirements
Most advanced defenses require significant investment in both crafting stations and character skills. Plan your progression accordingly:
- Workbench: Essential for crafting most advanced traps, including Dart Traps, Blade Traps, and Shotgun Turrets.
- Forge: Needed for crafting many metal components and advanced building materials that form the backbone of durable defenses.
- Chemistry Station: Required for crafting certain ammunition types (e.g., Shotgun Shells for Shotgun Turrets) and explosive components.
- Perks:
- Advanced Engineering: Crucial for unlocking and improving electrical components, generators, and advanced traps. Invest heavily here.
- Intellect Attribute: Many crafting and electrical perks fall under the Intellect attribute. High Intellect is vital for a defense-focused build.
- Grease Monkey: Improves crafting speed and efficiency for mechanical traps.
- Physician/Healing Factor: While not directly defense-related, these can be invaluable for surviving unexpected breaches or trap malfunctions.
Key Advanced Defenses
Here's a breakdown of the most effective advanced defenses and their applications:
- Electric Fences:
- Function: Stuns and damages zombies that pass through it. Excellent for crowd control and slowing down hordes.
- Components: Electric Fence Posts (crafted at Workbench), Electric Wire Relays (crafted at Workbench), Power Source (Generator or Solar Bank).
- Integration: Place posts strategically across kill corridors or around vulnerable areas. Connect them with relays. Zombies will often prioritize attacking the posts, so reinforce them.
- Strategy: Use multiple fence lines to create a "shocking" gauntlet, giving your other traps and turrets more time to inflict damage.
- Dart Traps:
- Function: Fires darts at approaching enemies, inflicting damage and potentially applying debuffs (if poisoned darts are used).
- Components: Dart Trap (crafted at Workbench), Darts (crafted at Workbench), Power Source.
- Integration: Best placed on walls or ceilings, facing down kill corridors. Can be triggered by pressure plates or motion sensors.
- Strategy: Combine with electric fences to hold zombies in place while darts pepper them. Aim for headshots by placing them at appropriate heights.
- Auto Turrets (SMG/Shotgun):
- Function: Automatically targets and fires upon zombies within its cone of fire. Highly effective damage dealers.
- Components: SMG/Shotgun Turret (crafted at Workbench), Ammunition (crafted at Workbench or Chemistry Station), Power Source.
- Integration: Position at the end or sides of kill corridors, or in elevated positions overlooking approach routes. Connect to a power source and load with ammo.
- Strategy: Use in conjunction with other traps. Turrets are ammo-hungry, so ensure a steady supply. Protect them from direct zombie attacks with reinforced blocks.
- Blade Traps:
- Function: Spinning blades inflict continuous damage to any zombie that comes into contact. Devastating in choke points.
- Components: Blade Trap (crafted at Workbench), Power Source.
- Integration: Place on the floor or walls of kill corridors. They are most effective when zombies are forced to walk over or into them.
- Strategy: Create narrow pathways lined with blade traps. Combine with electric fences or barbed wire to slow zombies down, maximizing their time in the blades.
- Junk Turrets:
- Function: A more primitive but still effective auto-turret that fires junk projectiles. Good for early-mid game automation.
- Components: Junk Turret (crafted at Workbench), Junk Rounds (crafted at Workbench), Power Source.
- Integration: Similar to auto turrets, place them to cover kill zones.
- Strategy: A good stepping stone before unlocking more advanced turrets. Can be useful for conserving more valuable ammo.
Integrating Defenses: The Kill Corridor
The true power of advanced defenses lies in their synergistic integration within a well-designed kill corridor. A kill corridor is a strategically built pathway designed to funnel zombies into a concentrated area where your traps and turrets can inflict maximum damage with minimal risk to you.
Basic Kill Corridor Setup:
- Funneling: Use reinforced walls and blockades to guide zombies into a single, narrow path leading to your main base entrance. This prevents them from spreading out and attacking multiple points.
- Entry Point: Design a single, heavily fortified entrance that leads into your kill corridor. This is where the zombies will naturally congregate.
- Initial Slowdown: At the very beginning of the corridor, place deterrents like barbed wire fences, barbed wire, or even simple wooden spikes. These slow down the initial rush.
- Electric Gauntlet: Follow the slowdown with multiple lines of electric fences. These will stun and damage zombies, allowing subsequent traps to hit more easily.
- Damage Zones: Interspersed within the electric fences, or immediately after them, place blade traps on the floor and dart traps on the walls/ceiling. Ensure zombies are forced to traverse these zones.
- Automated Firepower: At the end of the kill corridor, or overlooking it from a secure position, place your auto turrets. They will pick off weakened zombies and provide continuous fire.
- Player Position: Designate a secure firing platform or bunker behind your turrets, allowing you to safely shoot at zombies that make it through, or repair damaged traps.
- Maintenance Access: Ensure you have safe access to all your traps and turrets for reloading ammo, repairing damage, and replacing broken components during a horde night.
Advanced Kill Corridor Tips:
- Layering: Don't just put one of each trap. Layer them! Multiple rows of electric fences, followed by multiple blade traps, then multiple turrets.
- Verticality: Use vertical space. Dart traps on ceilings, turrets on elevated platforms, and even drop traps (pits with spikes/blade traps at the bottom) can be highly effective.
- Repair Stations: Keep a supply of repair kits (e.g., Advanced Repair Kits for mechanical traps, Electrical Repair Kits for electrical components) and a Workbench nearby for emergency crafting.
- Power Management: Plan your power grid carefully. Use generators with sufficient fuel or a robust solar bank setup. Group power-hungry defenses on separate circuits if necessary to prevent overload.
- Loot Collection: Design your kill corridor with loot collection in mind. Can you safely retrieve dropped items after the horde, or will they be inaccessible?
- Backup Defenses: Always have a secondary line of defense, even if it's just reinforced walls, in case your primary kill corridor is breached.

100% Human-Written. AI Fact-Checked. Community Verified. Learn how AntMag verifies content