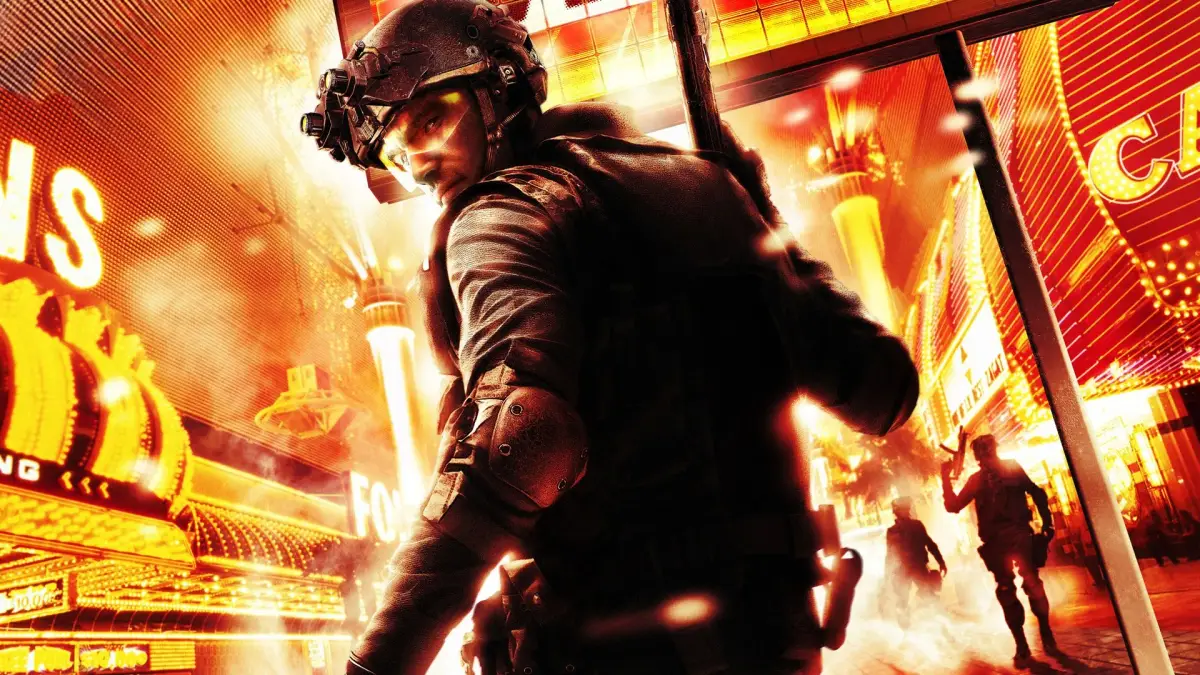
Complete Part 7 of Tom Clancy's Rainbow Six Vegas, including hacking the security network and clearing the casino.
Walkthrough
- 1From the last supply crate, move towards the gray pickup truck and then the last taxi.
- 2Locate the MG turret at the very back on top of a damaged pickup truck.
- 3Move to the marked objective wall and order your team to set demolition charges.
- 4Enter the hole to find a small office. Clear the first hall up to the double doors.
- 5Stack your team at the double doors and snake them for target priorities, dealing with one tango patrolling the hall. Suppressors or infiltrate mode are optional.
- 6In the last room with three entries (left, middle, right), snake the left and middle doors (which have doors) and tag targets.
- 7Move in through two entries with your team, crouching for cover (press the cover button to crouch behind walls or objects) behind cubicle walls. Be cautious of enemies hiding inside cubicles.
- 8Proceed through the office to the door at the end.
- 9You are now inside the casino, starting in a maintenance hall.
- 10Enter the next room, a large slot machine area with two sections, using the door on the right. Snake it and tag the first two tangos.
- 11Stack your team on the right door and return to the door on the left. Snake this door, noting two tangos conversing on the left and one patrolling.
- 12Time your attack to down the patrol if possible, or eliminate him after the first two pairs. Order your team to clear with frags as you open your door and clear your side.
- 13Move your team inside to watch the right side while you hug the left wall.
- 14As you hug the left wall, a door will open with 2-3 tangos armed with the SPAS 12. Rush them as they exit.
- 15While dealing with them, your team should handle enemies coming from the second room of slot machines on your right. Flank around the outside wall and move your team to the pillars.
- 16Deal with any tangos hiding behind slot machines, but focus on the half-dozen enemies emerging from the cashier room.
- 17Stand to the left of the first group of 4 slot machines on the left to get a good angle on the cashier window and eliminate most enemies. Watch your left for flankers.
- 18Clean up remaining enemies by flanking on the left or right walls. Be cautious entering the cashier room as enemies may hide behind the counter.
- 19From the cashier room, head out the hallways and rappel down the elevator shaft.
- 20Wait for your team to descend, then switch to infiltrate mode. Use a suppressor if desired.
- 21Sneak into the large vent and peek into the vault door room. Prioritize the first two tangos on the right.
- 22Tell your team to hold position near the opened vent and sneak to the left side.
- 23At the next vent (closed), you will see another pair of tangos. Time your attack with your team to clear the room.
- 24Move into the room and stop before the large vault door.
- 25If possible, take out any tangos waiting inside the vault door area without entering. Otherwise, prepare for a firefight.
- 26Quickly run through the vault door to the opposite side, then run back and find cover. This triggers the spawning of several enemies from double doors.
- 27Consider throwing a frag down to the double doors just before running back.
- 28Shoot any enemies emerging from the double doors. Clear any survivors in the middle with frags or by sending your team.
- 29When moving inside, check your right for tangos on the balcony or hiding in the staircase.
- 30Head through either door on the bottom level (they are connected) and watch for a lone tango charging down the hallway.
- 31At the end of this hallway, you have two paths into a large, two-level room: a staircase on the left to go upstairs, or double doors on the right to the bottom floor.
- 32Send your team through the bottom doors and clear the top yourself. Your targets include a pair of tangos at the bottom and another pair upstairs.
- 33Follow the objective marker to the office with the computer Jung needs to hack.
- 34As Jung starts hacking, find a camping spot on either the left or right doorways from the office. You can send Michael to cover the other side or have him near the window to cover Jung.
- 35Enemies will appear from the left or right staircases and from the two double doors.
Tips
- Return to the last supply crate if you need to resupply or are low on health.
- Camp near the gray pickup truck or the last taxi for defensive positions.
- Use suppressors and infiltrate mode for stealthy approaches when possible.
- Crouch for cover behind cubicle walls.
- Be cautious when moving on cubicles as enemies may ambush you.
- Time your attacks with your team for maximum effectiveness.
- Use frags to clear enemies from a distance.
- Rushing enemies armed with the SPAS 12 as they exit the door can be an effective tactic.
- Utilize the cashier window for cover and to eliminate enemies.
- Be aware of flankers when engaging enemies.
- When dealing with the vault door, trigger the enemy spawn and then find cover to deal with them effectively.
- Check your surroundings carefully for enemies on balconies or in staircases.
- Send your team to clear areas you are not directly engaging in.
- Position yourself to cover Jung while he hacks the security network.
100% Human-Written. AI Fact-Checked. Community Verified. Learn how AntMag verifies content