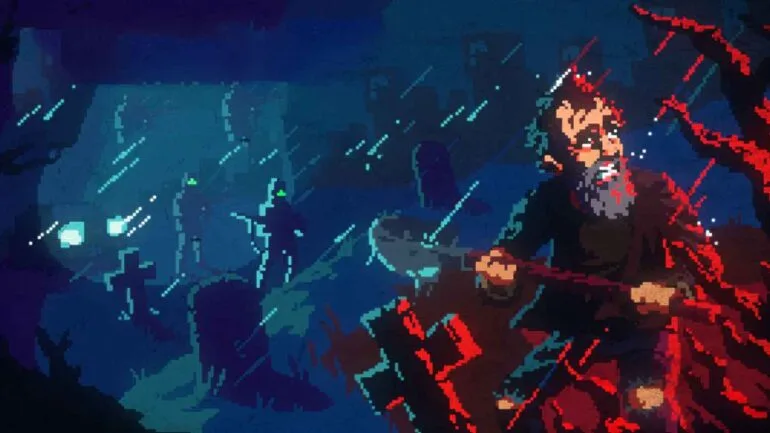
Complete walkthrough for The Drifter's Crystal Forest area, including collectible locations and hidden paths.
Walkthrough
- 1Head West from Central Town towards the Crystal Forest.
- 2Before the gap in Western Dregs, destroy the large crate to the South.
- 3Continue to a place with a [MISSING COLLECTIBLE NAME].
- 4Head back to the main path, dash over the gap, and continue West until you see a large grey metal object near a very large gap.
- 5From there, walk South and West to activate an invisible switch, revealing a path leading to the [MISSING COLLECTIBLE NAME].
- 6Head for the West exit and collect a [MISSING COLLECTIBLE NAME] just North of it.
- 7Immediately head South through the trees in the Crystal Forest to get the [MISSING COLLECTIBLE NAME].
- 8Go back North and continue West to a cliff.
- 9Dash South from the cliff, then continue West and walk through the trees to access an elevator.
- 10Down here, collect the [MISSING COLLECTIBLE NAME], then return to the upper area.
- 11Head back to the previous cliff and continue North to find The Traveling Drifter, who will reveal the location of The Hanged Man.
- 12If you need a [MISSING COLLECTIBLE NAME], there is one further East of The Traveling Drifter's position through the trees.
- 13Head West to the next area.
- 14Walk North to a place full of Dirks; kill them all to collect the [MISSING COLLECTIBLE NAME] / [MISSING COLLECTIBLE NAME].
- 15Collect a [MISSING COLLECTIBLE NAME] in the South East corner.
- 16To get another [MISSING COLLECTIBLE NAME], detour completely South and slightly West from this location to find one hidden in a wooden crate.
- 17Head West, walk up a set of stairs, and continue all the way South.
- 18Slash some flowers in the dead end to access a hidden area through the trees.
- 19Collect the [MISSING COLLECTIBLE NAME] in the hidden area.
- 20Go back to the previous area, dash West over the gap, and dash North.
- 21Follow this path, grabbing a [MISSING COLLECTIBLE NAME] on the way, to a 3-key door. Open it.
- 22Follow the path to the [MISSING COLLECTIBLE NAME].
- 23Go back to the previous area and walk through the trees on the right.
- 24Dash to the third platform and shoot the bush North of it to clear a path.
- 25Dash to the cleared path and walk West to the exit.
- 26Collect the [MISSING COLLECTIBLE NAME].
- 27Head back to the previous area.
- 28Dash back to the platform you came from and continue East to get the [MISSING COLLECTIBLE NAME].
- 29Head back to the main path and take the South Western exit.
- 30Go to the South Western part of the area and activate an invisible switch, revealing a path leading to the [MISSING COLLECTIBLE NAME] / [MISSING COLLECTIBLE NAME] hidden behind some crystals.
- 31Head back to the main path and continue North to a [MISSING COLLECTIBLE NAME] in the North West corner.
- 32Continue East until you locate an exit North inside a tree.
- 33Head all the way North around the tree to find the [MISSING COLLECTIBLE NAME].
- 34You can detour inside the tree to collect a [MISSING COLLECTIBLE NAME] or go back to the previous area and continue South to an elevator.
- 35Grab the [MISSING COLLECTIBLE NAME] among the crates if you need one and continue South.
- 36Kill all Dirks and Dirk Riflemen to get the [MISSING COLLECTIBLE NAME].
- 37Collect the [MISSING COLLECTIBLE NAME] in the North Eastern corner if you want one and exit South.
- 38Head South to find a Crystal Knight and the first intersection of the area.
- 39From the intersection, go South, West, and South again to get ambushed. Kill everyone.
- 40Walk South from the ambush site, then go all the way West to find and activate a switch.
- 41Collect the nearby [MISSING COLLECTIBLE NAME].
- 42Walk South to get the [MISSING COLLECTIBLE NAME] / [MISSING COLLECTIBLE NAME].
- 43Head to the South Eastern corner of the area and walk East through the trees to find a hidden section.
- 44Defeat the three Crystal Knights in the hidden section to gain access to the [MISSING COLLECTIBLE NAME].
- 45Make your way back to the first intersection.
- 46From the intersection, head West and North around the trees to a small part with a Crystal Knight.
- 47Shatter a crystal to make the Crystal Knight appear. Kill him to get the [MISSING COLLECTIBLE NAME] from his corpse.
- 48Head West to the next area.
- 49Head West, activate the teleporter, then continue North and use the elevator.
- 50Head South, dash to the West corner past the turrets, and destroy the crates to find the [MISSING COLLECTIBLE NAME].
- 51Dash South and slash the switch near a [MISSING COLLECTIBLE NAME].
- 52Head to the Eastern passage and dash South past some disappearing tiles.
- 53Collect the [MISSING COLLECTIBLE NAME] on the platform in the corner if needed.
- 54Continue to another switch, slash it, and follow the new path all the way West to find a [MISSING COLLECTIBLE NAME] in a crate among some crystals near a locked door.
- 55Walk back and proceed into the Northern corridor.
- 56Break the crate on the Eastern corner to find another [MISSING COLLECTIBLE NAME].
- 57Continue to a room full of enemies. Kill everyone.
- 58Shoot the distant switch on the North Western side of the room to gain access to the [MISSING COLLECTIBLE NAME].
- 59Search the West wall for a secret passage leading to a room with a [MISSING COLLECTIBLE NAME] and a switch.
- 60Activate the switch to open the Southern path leading to the [MISSING COLLECTIBLE NAME].
- 61Exit the secret room, return to the main path, and use the elevator.
- 62Head North and below a moving block to a Crystal Knight Pistoleer and a switch to slash.
- 63Follow the newly opened path on the East.
- 64Collect the [MISSING COLLECTIBLE NAME] hidden in a crate in the East corner if needed.
- 65Open the door and kill the Crystal Knight Pistoleer.
- 66Exit this room and head back to the moving block part.
- 67Open the first door, kill the two Dirks to get the [MISSING COLLECTIBLE NAME] / [MISSING COLLECTIBLE NAME], and break the crate to get a [MISSING COLLECTIBLE NAME].
- 68Dash all the way West into an alcove to slash another switch, which stops the turrets and unlocks the doors.
- 69Open the South Western door to free a Leaper. Kill him to get the [MISSING COLLECTIBLE NAME] from his corpse.
- 70Open the Northern door and follow this path to a switch behind a Crystal Brute.
- 71Slash the switch and continue North, stopping at an intersection with a path on the West and a Crystal Brute on the East.
- 72Search the corner on your left to activate an invisible switch, revealing a path leading to the [MISSING COLLECTIBLE NAME] and a [MISSING COLLECTIBLE NAME].
- 73Back on the main path, continue to the West end of the area but in [SOURCE TEXT CUT OFF].
Tips
- Be sure to purchase the SLASH DASH early on for easier traversal.
- Stock up on HEALTH KIT PACKs before entering the Crystal Forest.
- Look for invisible switches to reveal hidden paths and collectibles.
- Defeat enemies strategically to avoid being overwhelmed.
- Pay attention to environmental cues, like bushes or crystals, that might hide paths or switches.
100% Human-Written. AI Fact-Checked. Community Verified. Learn how AntMag verifies content