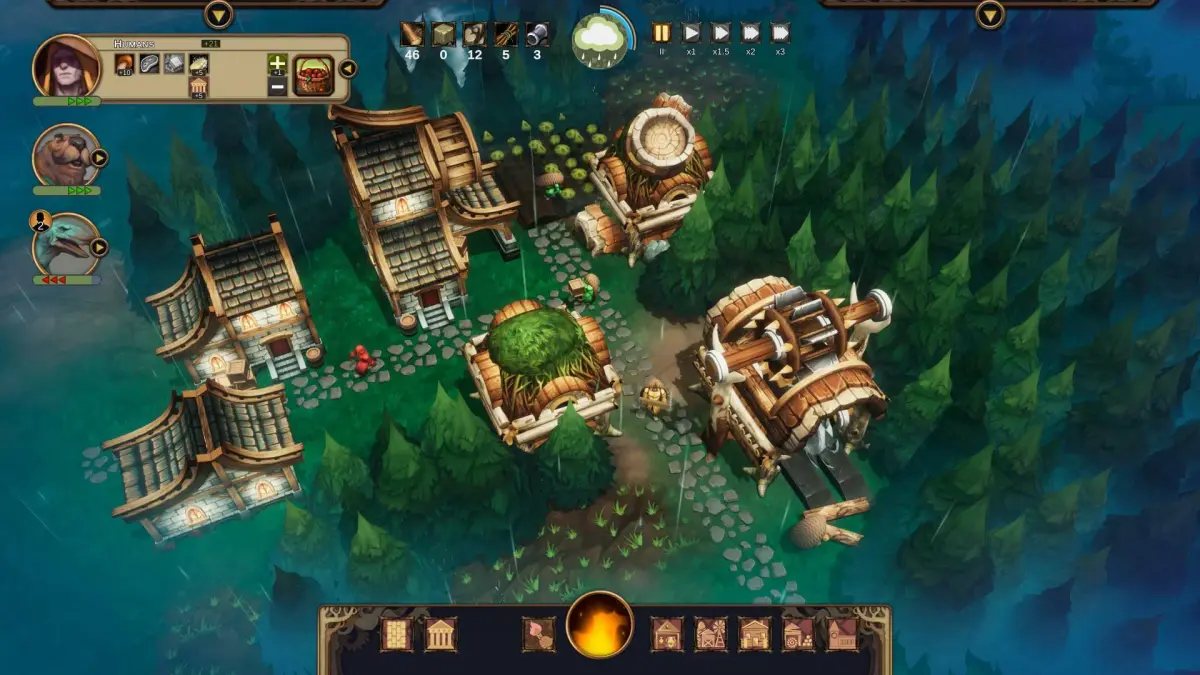
Welcome to Against the Storm, a singleplayer fantasy survival city-builder where you manage a fledgling settlement against the constant threat of the Blightstorm. Each expedition drops you into a procedurally generated biome with unique challenges, requiring you to balance resource gathering, building placement, and villager happiness to survive and fulfill the Queen's demands. It's a deep, rewarding experience perfect for players who love strategic planning and overcoming harsh environments.
This guide will help you master the core mechanics and conquer the game's toughest challenges. We'll dive into optimizing village management, understanding hidden mechanics, and planning successful expeditions to diverse biomes. Get ready to face the Storm and achieve victory!
OPENING MISSION
Learn how to beat the Opening Mission in Against the Storm, including finding the MP40 and dealing with Boris.
- 1The mission features Boris, who is helpful and cannot die permanently. However, if he is knocked out, you are on your own until all enemies are defeated.
- 2Avoid taking low-percentage shots. Consider punching if necessary. Aim for headshots if you have a good percentage chance.
- 3You can patiently break down the locked basement door using bullets, clubs, or your fists.
- 4Inside the basement, you will find an MP40 with clips and some grenades. It is recommended to acquire these items if you have the patience, as it makes the rest of the mission, and the next one, much easier. Try not to hit Boris when using the MP40.
- 5Alternatively, if you are not patient, a picklock can be found in the upstairs bedroom. This can open the basement door if you possess a decent engineering skill.
- Be patient when breaking down the basement door.
- Acquiring the MP40 and grenades before proceeding upstairs makes the mission considerably easier.
- Be careful not to hit Boris when using the MP40.
BASE
New to Against the Storm? Learn about the essential upgrades like Quicker Trader Arrival, Hearth Upgrades, and Embarkation Points to boost your early game success.
TEST OF LOYALTY
Master the 'Test of Loyalty' mission in Against the Storm! Learn the best strategy to overcome the bar fight and secure the valuable rifle.
Alright, so you've hit the 'Test of Loyalty' mission, and you're probably looking at that bar fight and thinking, 'This is gonna be tough.' And you're right, fighting from inside the bar is a losing game. Your weapons just don't have the range, especially if you missed out on the MP40 last time. You'll end up wasting ammo and missing a ton.
Here's the smart play: instead of engaging head-on, you want to get behind the counter. Head out that door and make your way down the stairs. You'll find a chest with some grenades – grab those. Keep going down the next set of stairs. Now, use one of those grenades to blow up the boxes blocking your path. Once that's clear, move to the other side and head up the stairs.
You'll reach the second level where Hide is. Your goal is to get to the wall space between the two windows that look out onto the balcony. Turn on combat mode if it's not already active. From here, you can surprise the enemy chilling out on the balcony. He's got the rifle you really want, and trust me, this rifle is going to make dealing with all those pistol-toting enemies in the level a whole lot easier.
Before you make your exit, take a moment to loot up. Pack your inventory with anything you can sell later. The best items to grab are the British Luger and the TT 1933 pistol. Definitely keep that rifle you just acquired – you'll need it, and it's the best you'll find for a good while.
BASE (2)
Access the arsenal and infirmary in Against the Storm BASE (2). Sell gear and prepare for the Switzerland mission to get a free Scout.
- 1Make use of the arsenal and the infirmary.
- 2Sell most of your unwanted gear to create space for new items from the next mission.
- 3You can buy Sam (your free ally for this mission) a rifle, but he is only present for this mission, and a rifle can be acquired for him in the next level.
- 4With a rifle, you are better equipped to undertake the Switzerland mission.
- 5The Switzerland mission can yield a free Scout.
- 6It is advisable not to wait too long to complete the Switzerland mission, as the Scout is level 2 and you do not want to fall too far behind in progression.
- Prioritize selling gear to maximize inventory space for mission rewards.
- Consider the temporary nature of Sam's assistance when deciding on equipment purchases for him.
- Act promptly on the Switzerland mission to secure the level 2 Scout without delaying your overall progress.
Similar guides you might like


100% Human-Written. AI Fact-Checked. Community Verified. Learn how AntMag verifies content