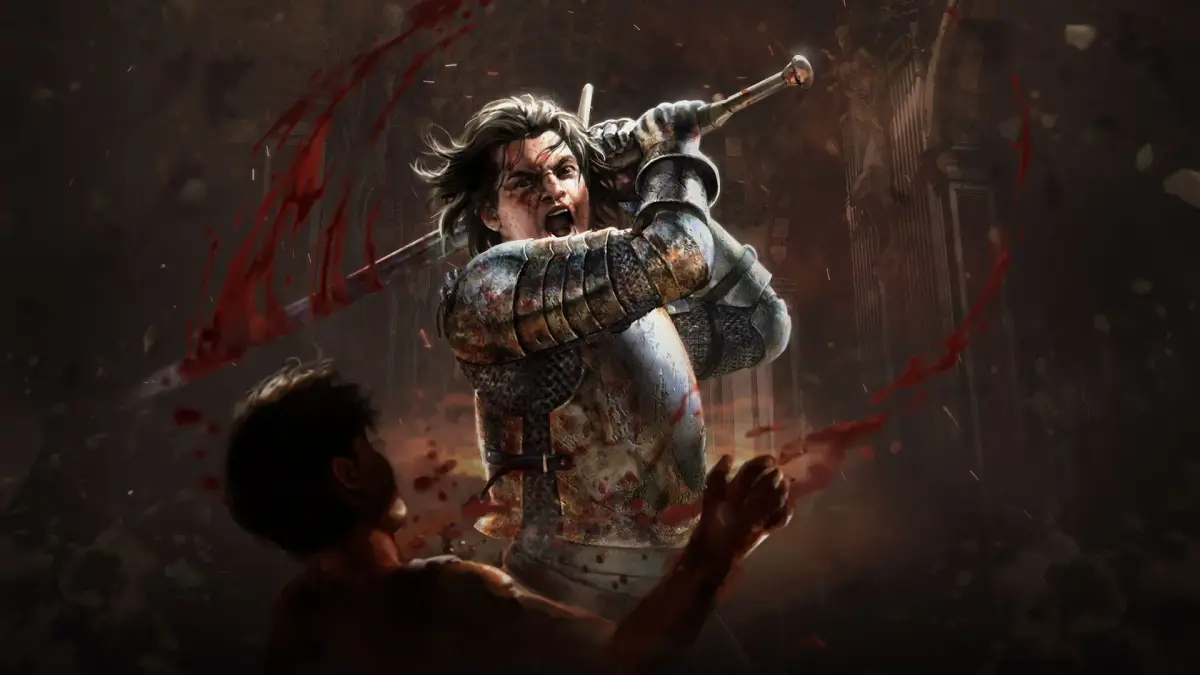
Welcome to Wraeclast, Exile! Path of Exile is a dark fantasy action RPG where you'll carve your own path through a brutal world. You'll battle hordes of monsters, delve into dangerous ruins, and face off against formidable foes. The core of the game is its deep character customization, allowing you to combine powerful skills and support gems to create unique builds.
This guide will help you navigate the complexities of Wraeclast, from mastering essential controls and completing quest walkthroughs to understanding intricate league mechanics like Delve and Betrayal. We'll cover how to conquer challenging bosses and optimize your character's progression, ensuring you can fully experience everything this massive RPG has to offer.
Act 3: The Sarn Encampment
Navigate Act 3 of Path of Exile with our comprehensive guide to the Sarn Encampment. Discover walkthroughs, tips, and strategies to overcome challenges and progress through this critical stage of your journey.
Act 3: The Sarn Encampment
Navigate Act 3 of Path of Exile with our comprehensive guide to the Sarn Encampment. Discover walkthroughs, tips, and strategies to overcome challenges and progress through this critical stage of your journey.
Quest: Sever the Right Hand
Complete the 'Sever the Right Hand' quest in Path of Exile Act 3 by tracking down and defeating Piety in Grand Malachai's laboratory.
The quest "Sever the Right Hand" is a pivotal objective in Act 3 of Path of Exile, given by General Gravicius in the Sarn Encampment. Your mission is to track down and eliminate the treacherous thaumaturge, Piety, who is conducting horrific experiments within the Grand Malachai's laboratory. Successfully completing this quest is crucial for progressing through the campaign and earning a valuable passive skill point.
Quest Objective: Defeat Piety
Your primary goal is to confront and defeat Piety. She is located deep within the Lunaris Temple Level 2. To reach her, you will need to navigate through several dangerous zones:
- The Ebony Barracks: Start from the Sarn Encampment and proceed into the Ebony Barracks. This area is heavily fortified with Blackguard soldiers and various constructs.
- The Lunaris Temple Level 1: From the Ebony Barracks, locate the entrance to the Lunaris Temple Level 1. This temple is infested with Lunaris worshippers and their grotesque creations.
- The Lunaris Temple Level 2: Continue through Lunaris Temple Level 1 to find the entrance to Lunaris Temple Level 2. Piety awaits you at the end of this level.
Navigating the Lunaris Temple
The Lunaris Temple is a multi-level dungeon filled with challenging enemies. Be prepared for:
- Lunaris Concubines: These enemies often cast projectile spells and can be dangerous in groups.
- Lunaris Champions: Stronger melee foes that can deal significant physical damage.
- Undying Grapplers and Alchemists: Expect a mix of physical and elemental damage from these undead horrors.
Maintain your defenses and be mindful of environmental hazards. The layout can be labyrinthine, so keep an eye on your minimap and follow the main path to avoid getting lost.
Boss Strategy: Piety
Piety is a formidable boss with multiple phases and dangerous elemental attacks. She primarily uses Cold and Lightning damage, making resistance to these elements highly beneficial. It is strongly recommended to have your Cold and Lightning resistances capped at 75% or as close as possible before engaging her.
Phase 1: Human Form
In her initial form, Piety will attack with a combination of Cold and Lightning spells:
- Ice Spear: A fast-moving cold projectile. Dodge this as much as possible.
- Spark: Launches multiple lightning projectiles that bounce off walls. Try to position yourself in open areas to avoid being trapped by these.
- Cold Snap/Storm Call: She may occasionally cast area-of-effect spells that deal cold or lightning damage. Watch for ground indicators and move out of the affected zones.
- Teleport: Piety frequently teleports around the arena, making her hard to pin down. Maintain mobility and be ready to re-engage.
Focus on dealing consistent damage while avoiding her attacks. Flasks that grant instant recovery or remove elemental ailments (like Freeze or Shock) will be invaluable.
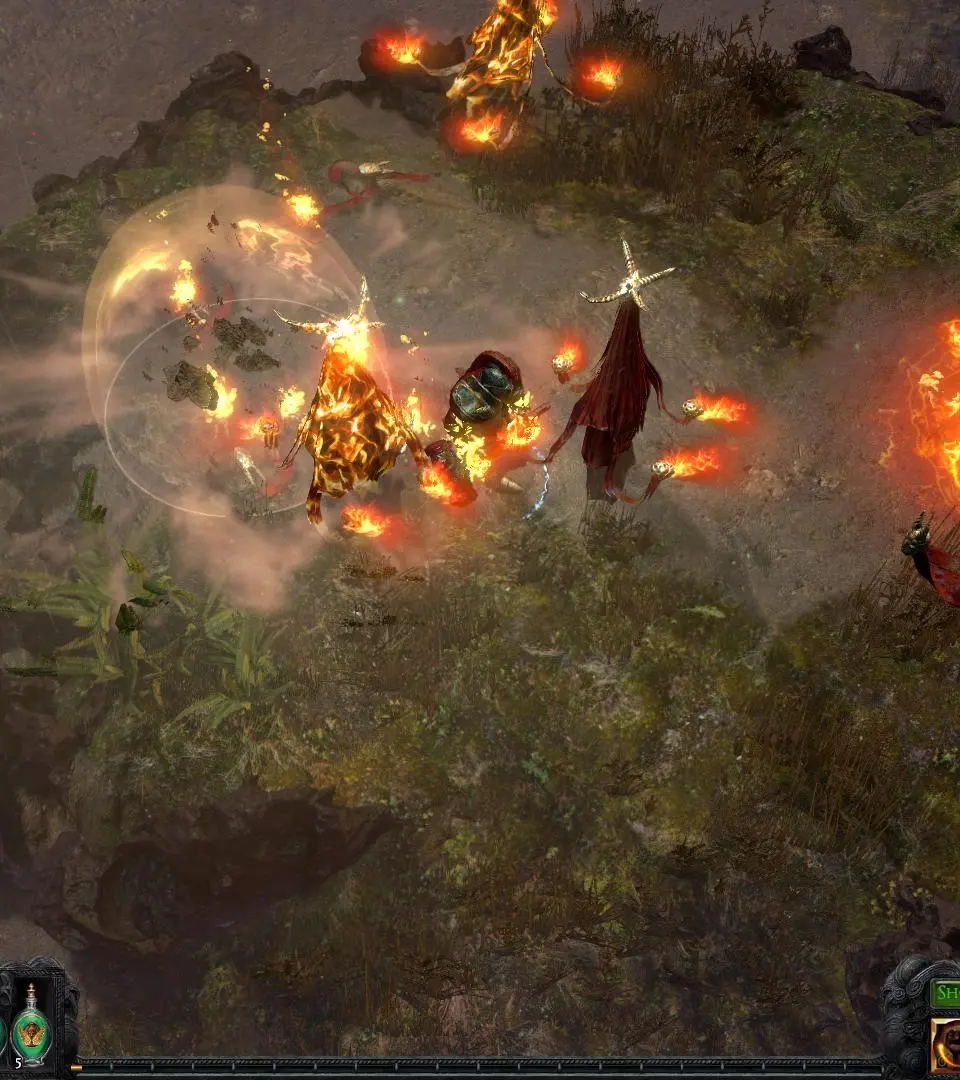
Phase 2: Vaal Oversoul Form (Transformation)
Once Piety's health drops to a certain threshold (approximately 50-60%), she will transform into a grotesque, tentacled monster resembling a miniature Vaal Oversoul. This phase introduces new, more powerful attacks, primarily focusing on Fire damage.
- Fire Breath: She will unleash a cone of fire in front of her. This attack deals high damage and can ignite you. Move behind her or to her sides to avoid this.
- Ground Slam: Piety will occasionally slam the ground, creating a shockwave. This is a physical attack, but it can be telegraphed.
- Summon Adds: She may summon small, fast-moving minions to distract you. Prioritize clearing these adds if they become overwhelming, as they can quickly chip away at your health.
- Tentacle Slam: A powerful melee attack with a short wind-up. Stay mobile and use movement skills to evade.
Key Strategy for Phase 2: While Piety's primary elemental damage shifts to Fire in this phase, her attacks are often mixed. Having balanced elemental resistances (especially Fire, Cold, and Lightning) is ideal. Focus on avoiding her Fire Breath and Ground Slam. If you have any fire resistance flasks, now is the time to use them. Continue to deal damage and use your defensive cooldowns as needed.
General Tips for the Fight:
- Elemental Resistances: Prioritize Cold and Lightning resistance for Phase 1, and Fire resistance for Phase 2. Aim for 75% cap on all three if possible.
- Life Flasks: Bring several instant or hybrid life flasks. Consider flasks that remove Bleeding or Freeze.
- Movement Skills: Skills like Whirling Blades, Flame Dash, or Leap Slam are excellent for dodging Piety's attacks and repositioning.
- Minions/Totems: If your build uses minions or totems, they can draw aggro and provide consistent damage, making the fight significantly easier.
- Damage Over Time (DoT): If your build relies on DoT effects, apply them consistently to Piety, as they will continue to tick even when she teleports or transforms.
Quest Rewards
Upon defeating Piety, return to General Gravicius in the Sarn Encampment to complete the quest.
- 1 Passive Skill Point: A crucial reward that allows you to further customize your character's build on the passive skill tree.
- Access to Imperial Gardens: Defeating Piety opens the path to the Imperial Gardens, allowing you to continue your journey through Act 3.
Trading & The Economy — Path of Exile Guide
Master Path of Exile's player-driven economy. Learn trading strategies, understand currency values, and identify valuable items for wealth accumulation.
Trading & The Economy — Path of Exile Guide
Master Path of Exile's player-driven economy. Learn trading strategies, understand currency values, and identify valuable items for wealth accumulation.

How to Beat Merveil, the Siren
Conquer Merveil, the Siren in Path of Exile. Learn her attack patterns, phases, and strategies to defeat the Act 1 boss within Merveil's Caverns and proceed.
Merveil, the Siren, stands as the climactic final boss of Act 1 in Path of Exile. Defeating her is a crucial step that unlocks access to Act 2 and its challenges. She is encountered deep within Merveil's Caverns, a chilling and treacherous area that serves as her lair. This guide will provide a comprehensive breakdown of her abilities, phases, and effective strategies to ensure your victory.
Preparation and Recommended Gear
Before confronting Merveil, adequate preparation is key. Her primary damage type is Cold, making Cold Resistance your top priority. Aim for as much Cold Resistance as you can comfortably acquire without sacrificing too much damage or other essential defenses.
- Cold Resistance: Prioritize gear with Cold Resistance. Even small amounts can make a significant difference, especially for new players. Look for items like rings, amulets, and body armour with cold resistance modifiers.
- Life Flasks: Ensure your Life Flasks are adequately charged and ideally have modifiers like "Instant Recovery" or "Removes Bleeding" (though bleeding is less of a concern for Merveil specifically).
- Utility Flasks: A Granite Flask (for physical damage reduction in Phase 2) or a Quicksilver Flask (for mobility) can be beneficial.
- Damage Type: Merveil has no specific elemental weaknesses, so focus on maximizing your primary damage skill. Physical, Fire, Lightning, or Chaos damage are all viable.
- Level: Aim to be around level 12-15. Being under-leveled will make the fight significantly harder due to lower life, defenses, and skill points.
Merveil's Phases and Abilities
Merveil's encounter is divided into two distinct phases, each presenting unique challenges and attack patterns. Understanding these phases and their specific abilities is crucial for survival.
Phase 1: The Siren's Song (Humanoid Form)
In her initial form, Merveil appears as a humanoid figure, primarily utilizing a range of potent cold spells from a distance. She remains relatively stationary during most of her attacks, making her a predictable target if you can manage her projectiles.
- Cold Projectile Barrage: Merveil fires multiple fast-moving cold projectiles in a cone.
- Telegraph: She will typically raise her hands slightly before unleashing this barrage.
- Strategy: This is her most common attack. Stay mobile and circle around her to avoid the cone of projectiles. If you're caught, use a Life Flask immediately.
- Ice Nova: Merveil charges briefly, then releases a burst of cold damage in a circle around her.
- Telegraph: A visible icy aura will briefly expand around her before the damage is dealt.
- Strategy: This attack has a relatively small radius. If you are in melee range, quickly dash or run out of the expanding ice circle. Ranged characters should naturally be outside its range.
- Freezing Pulse: She casts a slow-moving, expanding projectile that deals cold damage and can chill or freeze.
- Telegraph: A distinct, glowing blue orb will slowly emerge from her and travel forward.
- Strategy: This projectile is easy to dodge due to its slow speed. Simply move to the side. Be wary of being chilled or frozen, as it can leave you vulnerable to subsequent attacks.
- Summon Cold Minions: Merveil will occasionally summon a small group of Cold Skitterers or other icy minions to distract you.
- Telegraph: She will briefly channel, and a portal will appear from which the minions emerge.
- Strategy: These minions are generally weak and can be dispatched quickly with area-of-effect (AoE) skills. Prioritize Merveil, but don't let the minions overwhelm you or block your movement.
Phase 1 Strategy: Maintain distance if you are a ranged character, constantly moving to avoid her projectile barrages. Melee characters should use hit-and-run tactics, getting in a few hits after dodging an attack, then retreating to avoid the Ice Nova or reposition for the next projectile volley. Focus fire on Merveil; the summoned minions are secondary threats.
Phase 2: The Abyssal Horror (Monster Form)
Upon depleting her first health bar, Merveil transforms into a grotesque, multi-limbed abyssal creature. She becomes a primarily melee attacker, but still retains some cold abilities. This phase is more aggressive and requires careful positioning.
- Tentacle Slam: Merveil slams one of her large tentacles onto the ground, dealing significant physical damage in a small area.
- Telegraph: She will raise a tentacle high before slamming it down. A shadow or visual indicator on the ground might appear.
- Strategy: This is her main physical attack. Always be moving. When you see a tentacle rise, move away from her immediate front.
- Cold Breath/Cone Attack: She exhales a cone of cold damage in front of her. This is similar to her Phase 1 projectile barrage but is a continuous breath attack.
- Telegraph: She will rear her head back slightly and open her mouth, an icy mist forming.
- Strategy: This attack can be devastating if you stand in it. Quickly move to her flanks or behind her. This is a good window for melee characters to get in damage.
- Charge/Dash: Merveil will occasionally charge a short distance towards your location, dealing physical damage to anything in her path.
- Telegraph: She will briefly lower her body and then lunge forward.
- Strategy: This is a quick movement ability. Try to anticipate it and move out of her path. Staying mobile is your best defense.
- Ground Slam (AoE): Less frequent, but she might perform a wider area-of-effect ground slam, dealing physical damage.
- Telegraph: She will rear up on her hind limbs before slamming down.
- Strategy: Similar to the Tentacle Slam, but with a larger radius. Move away from her as soon as you see her rear up.
Phase 2 Strategy: This phase is more about dodging and finding openings. Melee characters should try to stay behind or to the sides of Merveil to avoid her frontal Tentacle Slams and Cold Breath. Ranged characters should continue to kite, but be mindful of her Charge. Use your movement skills (e.g., Dash, Flame Dash) to quickly reposition and avoid incoming attacks. Don't get greedy with damage; prioritize survival and consistent damage over burst. Keep an eye on your Life Flasks.
General Tips for Both Phases
- Stay Mobile: This is the single most important piece of advice. Standing still is a death sentence. Constantly move, even when attacking, to avoid projectiles and ground effects.
- Cold Resistance: Reiterate the importance. If you're struggling, consider farming for better cold resistance gear in the Submerged Passage or Flooded Depths.
- Flask Management: Use your Life Flasks proactively, not reactively. Don't wait until your health is critically low.
- Identify Telegraphs: Pay attention to Merveil's animations. Most of her attacks have clear visual or auditory cues that indicate what she's about to do.
- Damage Over Time (DoT) Skills: If your build utilizes DoT skills (e.g., Caustic Arrow, Contagion, Sunder's bleed), apply them and then focus on dodging. The damage will tick while you're evading.
- Minions/Totems: If your build uses minions or totems, they can be incredibly helpful for drawing Merveil's aggro, allowing you to deal damage more safely.
- Portal Scroll: If you're truly struggling, you can use a Portal Scroll to return to town, restock flasks, and potentially buy better gear from vendors. Just be aware that Merveil's health will not reset.
Rewards
Upon defeating Merveil, you will receive:
- Experience: A significant amount of experience, helping you level up.
- Currency Items: Various currency items like Orbs of Transmutation, Alteration Orbs, and potentially even a Chaos Orb.
- Rare Items: Several rare (yellow) items, which can be useful upgrades or sold to vendors for currency.
- Unique Item (Chance): A small chance to drop a unique item, though this is not guaranteed.
- Quest Completion: The quest "The Siren's Cadence" will be completed.
- Access to Act 2: The most important reward is the ability to progress to Act 2, which is accessed via the Forest Encampment.
By following these detailed strategies and preparing appropriately, you will be well-equipped to overcome Merveil, the Siren, and continue your journey through the perilous world of Wraeclast.
Similar guides you might like


100% Human-Written. AI Fact-Checked. Community Verified. Learn how AntMag verifies content