
New to GTFO? This guide breaks down the essential controls and user interface elements you need to know for your first expedition, helping you survive the darkness.
Alright, so you're diving into GTFO – awesome! Before we get too deep into the darkness, let's make sure you know your way around the controls and what all those little icons on your screen mean. Think of this as your quick-start guide to not immediately getting yourself or your team killed. We'll cover the basics so you can focus on the real challenge: surviving.
This expedition, ALT://R1B1, is a good place to start because it introduces a key mechanic: gathering items. You'll need to find 12 Personnel IDs scattered across a few zones. The cool thing is, you don't have to clear every single area. You've got options, which is rare in GTFO, so let's use that to our advantage.
Objectives
Your main goal here is to Gather Items, specifically 12 Personnel IDs. You can get these from zones 39 through 45. Each of these zones usually has between 3 and 4 PIDs, giving you a total of 18 to find. The catch? You only need 12, and you don't need to explore every zone.
Your Path Options:
- Option 1: Zones 43, 44, and 45. This is a straightforward route if you want to stick to higher-numbered zones. Just be ready for some tougher alarms. Zone 43 is Class II, while 44 and 45 are Class III.
- Option 2: Zones 41 and 42. These zones are generally a bit calmer, but they do contain a Scout each, so keep your ears open!
- Option 3: Zones 39 and 40. These zones are packed with dangerous enemies like Giants and Big Shooters. You'll need a Colored Key from Zone 43 to even get into these, so they're usually a last resort or for experienced players.
Recommended Route:
For a smoother experience, especially if you're still getting the hang of things, I'd suggest this path: Start with Zone 43 to grab that Colored Key (which also has some PIDs), then head to Zone 44, followed by Zone 41 and Zone 42. This way, you can often grab enough PIDs without needing to brave the heavily guarded Zones 39 and 40, or the high-alarm Zone 45.
Once you've collected your 12 PIDs, just make your way back to the entrance and extract. Easy, right? Well, as easy as GTFO gets, anyway.
Resources per Zone
Knowing where to find supplies is crucial. Here's a general breakdown of what you can expect in each zone. Remember, these can vary a bit, but it's a good guideline:
| Zone | Ammo | Medi | Tool |
|---|---|---|---|
| 38 | 20% | 20% | 20% |
| 39 | 40% | 60% | 40% |
| 40 | 40% | 60% | 40% |
| 41 | 40% | 60% | 40% |
| 42 | 40% | 60% | 40% |
| 43 | 40% | 60% | 40% |
| 44 | 40% | 60% | 40% |
| 45 | 40% | 60% | 40% |
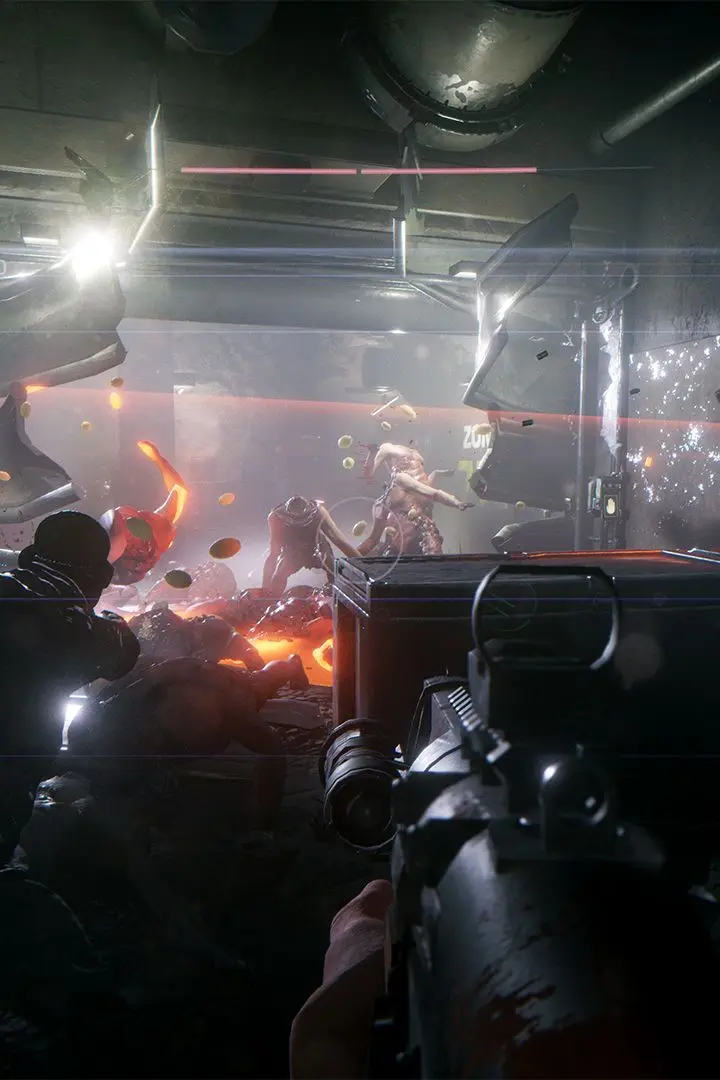
Enemy Types
Keep an eye out for these nasties. Knowing what you're up against is half the battle:
- Striker
- Shooter
- Giant
- Big Shooter
- Scout (Found in Zones 41 & 42)
Pro Tip: The Scouts are particularly dangerous because they can alert hordes if you're not careful. Listen for their distinct sounds and take them out quickly and quietly!
Expedition Map
Here's a look at the layout for ALT://R1B1. It's always good to have a visual reference, especially when planning your route. You can see how the zones connect and where the optional paths might lead.
Remember, you don't need to explore every single area marked here. Focus on hitting those objective zones and getting out.
100% Human-Written. AI Fact-Checked. Community Verified. Learn how AntMag verifies content