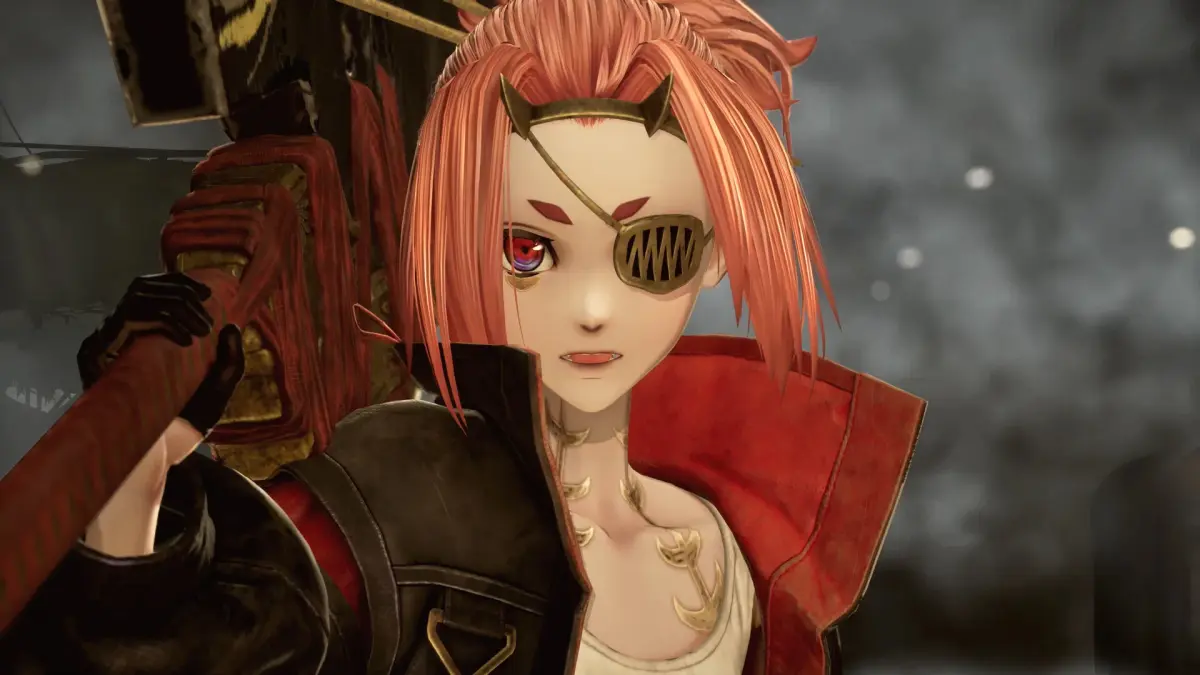
Code Vein II throws you into a desperate fight for survival in a shattered world. As a Revenant, you'll team up with chosen partners, battling monstrous foes and uncovering a story that spans ages. Master your Blood Codes and Gifts to overcome challenging encounters and explore the ruins of civilization.
This guide is your essential companion for navigating the treacherous paths of Code Vein II. We cover everything from tracking down every last collectible to conquering the toughest boss encounters, ensuring you can achieve all possible endings and master the game's intricate systems.
Burden System Explained: Getting Started
Master the Burden System in Code Vein II! Learn about Strength, Dexterity, Mind, Willpower, Vitality, and Fortitude benefits and penalties to optimize your gameplay.
Burden System Explained: Getting Started
Master the Burden System in Code Vein II! Learn about Strength, Dexterity, Mind, Willpower, Vitality, and Fortitude benefits and penalties to optimize your gameplay.
Burden System Explained: Tips And Tricks 2
Dive deep into Code Vein II's Burden System. Learn the benefits and penalties of Overburden for Strength, Dexterity, Mind, Willpower, Vitality, and Fortitude to optimize your gameplay.
Burden System Explained: Tips And Tricks 2
Dive deep into Code Vein II's Burden System. Learn the benefits and penalties of Overburden for Strength, Dexterity, Mind, Willpower, Vitality, and Fortitude to optimize your gameplay.

Changing Your Character's Appearance
Learn how to change your character's appearance in Code Vein II. Find the mirrors in MagMell and access the full customization menu anytime, free of charge.
Before you can recustomize your character, you need to reach Magmell, which is just down the road from the tutorial dungeon.
You’ll start the game in the company of a woman named Lou, who will mostly just escort you around for a bit before you find yourself on MagMell Island in the past. After this, you’ll be accompanied by a character named Noah with the goal of reaching the MagMell facility along the northern edge of the island - clear the tutorial dungeon and when you’re outside you’ll find yourself on the southeastern edge of MagMell Island.
Just follow the road northwest, starting by crossing a bridge and ending when you reach a Mistle near a gate. From here just go north through said gate, work your way uphill and enter the facility - a few enemies, a bit of walking and an elevator ride are all that really separate you from MagMell, the game’s hub area.
Find a room with some mirrors on it and interact with them to return to the character customization menu.
All the amenities and services you can think of can be found in MagMell, although not everything will be unlocked during your first visit, and not everything that is unlocked has much practical use until you get more gear and resources to make it relevant. The ability to alter your toon’s appearance, however, is available right from your first visit. After riding the elevator down, head down the stairs to the northwest, go into the first door to the left (southwest), work your way southwest down a hallway and at another door turn right (northwest) and go upstairs. Turn left (southwest again) and go through a door partially covered by a banner to reach the dressing room outside of the spa. Here you’ll find some mirrors in the southern corner. They’re marked by purple lights and if you interact with any of them you’ll be taken to the character customization menu again.
There is no cost, no usage limits, cooldowns or anything, and you have unrestricted ability to alter your toon’s appearance. You can edit your voice, height, body type, skin color, clothing, accessories, makeup, hair… pretty much anything you want to tweak can be edited at a whim. You can even change your gender, but you have to select the rather obtuse “Reselect Appearance” option for that. All in all, one of the more generous recustomization options we’ve seen in a game! So don’t fret if something you crafted in character creation doesn’t survive the first few cutscenes. You’re but a jog away from altering your character throughout most of the game!
Burden System Explained: Tips And Tricks
Unlock the secrets of Code Vein II's Burden System! Learn the benefits and penalties of Strength, Dexterity, Mind, Willpower, Vitality, and Fortitude Overburden states to optimize your gameplay.
Hey there! Let's break down the Burden System in Code Vein II. It's a core mechanic that can really change how you play, so understanding it is key. Basically, when you're 'Overburdened' in a certain stat, you get a sweet bonus, but also a nasty penalty. The trick is to manage these so the benefit outweighs the drawback. We'll go through each stat so you know exactly what you're getting into.
Strength
When you're Overburdened in Strength, your close-range attacks get a nice power boost. The downside? Every time one of your attacks misses, you'll chew through extra stamina. The higher your penalty level, the more stamina you'll lose on a whiff. So, be sure of your aim!
Dexterity
Overburdening Dexterity means you'll absorb more ichor when you perform a drain attack – pretty sweet for keeping your resources topped up. The penalty here is that getting hit will drain your ichor. The more severe your penalty level, the more ichor you'll lose when you take damage.
Mind
The benefit of being Overburdened in Mind is a bigger maximum ichor pool. This is great for casting more powerful Gifts. However, the penalty is pretty harsh: you'll take constant LP/HP damage during combat if you don't have a buff active that's specifically from a forma. The higher your penalty level, the more forma buffs you'll need to keep that damage at bay. You can spot these forma buffs by the distinct border around their icon.
Willpower
For Willpower, the Overburden benefit is an increase to your attack power when using formae. The penalty, though, is that your attack power will drop temporarily if a forma fails to activate because you don't have enough ichor. The higher your penalty level, the longer this attack power decrease will stick around.
Vitality
If you find yourself Overburdened in Vitality, you'll notice that the amount of LP/HP recovered by regeneration gets a nice bump. The penalty here is that your mobility takes a hit whenever your LP falls below a certain point. The higher the penalty level, the higher that LP threshold is, meaning you'll be slower more often.
Fortitude
Lastly, we have Fortitude. The Overburden benefit is that you'll actually recover stamina when you successfully evade an enemy attack, thanks to the invincibility frames during your dodge. The penalty is that if your stamina ever gets fully depleted, you'll suffer the Inhibit status ailment. This nasty ailment stops you from using both formae and your motorcycle. The higher your penalty level, the longer you'll be stuck with Inhibit.
100% Human-Written. AI Fact-Checked. Community Verified. Learn how AntMag verifies content