Find all the hidden treasures in Bayonetta Chapter 9! This guide details the locations of all 10 chests, including the 5 parts of the Golem's key.
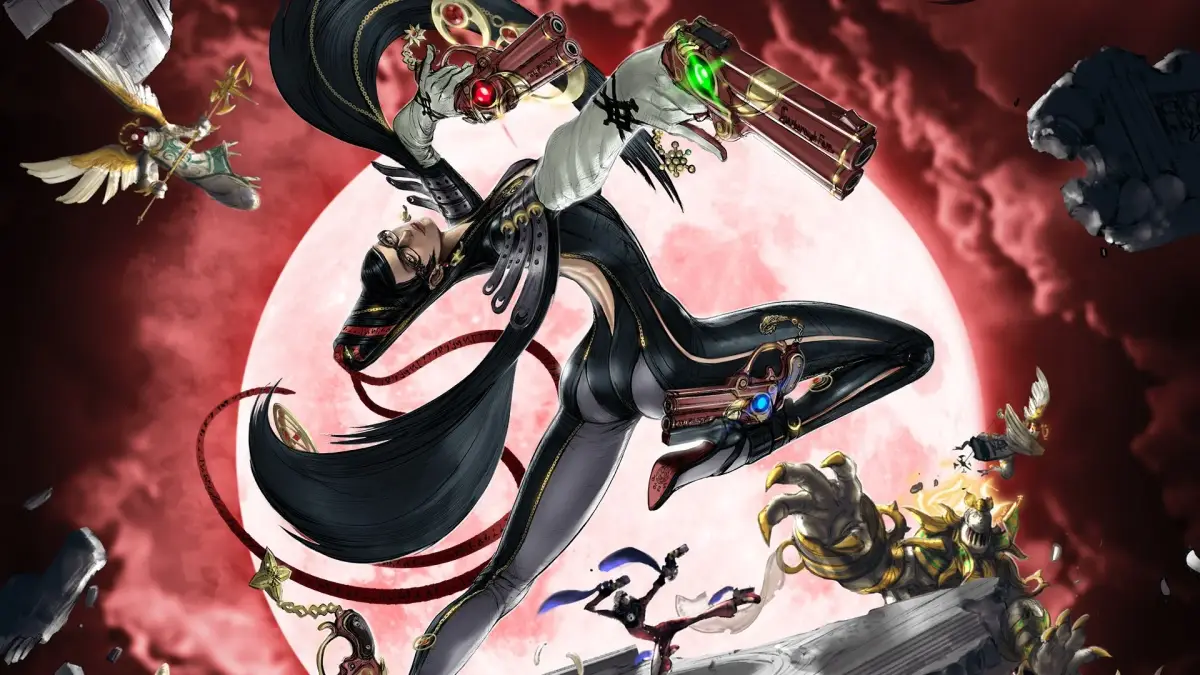
Alright, Chapter 9! This one's a bit more about exploration and finding those shiny things than intense combat, though you'll still get your fair share of action. We've got a bunch of chests to snag here, including some that are part of a set. Let's dive in and grab 'em all!
Walkthrough
- 1Right at the start: As soon as you begin Chapter 9, you'll see some light platforms to jump across. Keep an eye out for a grassy island. You want to land on a platform right next to the wall of this island. The chest should be sitting pretty in the corner there.
- 2After the first fight: Once you've dealt with the initial group of enemies in this area, look for two sun doors. They'll be at opposite ends of where you're fighting. One of them holds a chest, so make sure to grab it.
- 3The Golem's Key Parts (Chests 1-5): Okay, this is a big one. In Vigrid, you'll encounter a Golem that breaks a key into five pieces. You actually *have* to open these five chests to progress, so don't worry about missing them. Just keep an eye out as you go through this section.
- 4Reassembling the Key: After you've collected all five parts of the key from chests #22 through #26, you'll need to put it back together. Find the hole where it belongs, plug it in, and then start jumping across the light platforms. The chest containing the reassembled key is right out in the open and super obvious.
- 5Past the Kinships: Once you've defeated the Kinships, a portal will show up. But hold on! Before you jump into the portal, take a left. You'll find another chest waiting for you there.
- 6Lower Area near Golems: This one can be a little tricky. After you pass the Gates of Hell and get to the area with several Golems, look for a lower section you can reach. If you have the 'Crow Within' ability, it makes flying over much easier. Otherwise, run across the light platforms, drop through an opening, and then transform into a crow to fly to it. At the top of the stairs, you'll find a sun wall. Break it down to reveal the chest.
- 7After the Golem Fight: When you finally defeat the Golem at the end of this section, take the staircase that leads to the left. You'll find the next chest tucked away there.
Tips
- Don't forget to break those sun walls! They often hide valuable items.
- The Golem's key parts are mandatory for progression, so you'll naturally find them as you play.
- If you're struggling to reach the lower area in step #6, make sure you've unlocked 'Crow Within' or look carefully for the platforming route.
100% Human-Written. AI Fact-Checked. Community Verified. Learn how AntMag verifies content